Tag Archives: Tiny Flower Garden

Finish Along 2017 Q1

For a more complete list of my WiPs, look above my header image at the “Project List” link.  That list is a work in progress, too.

Before the end of March, I hope to finish (or work on or think about):

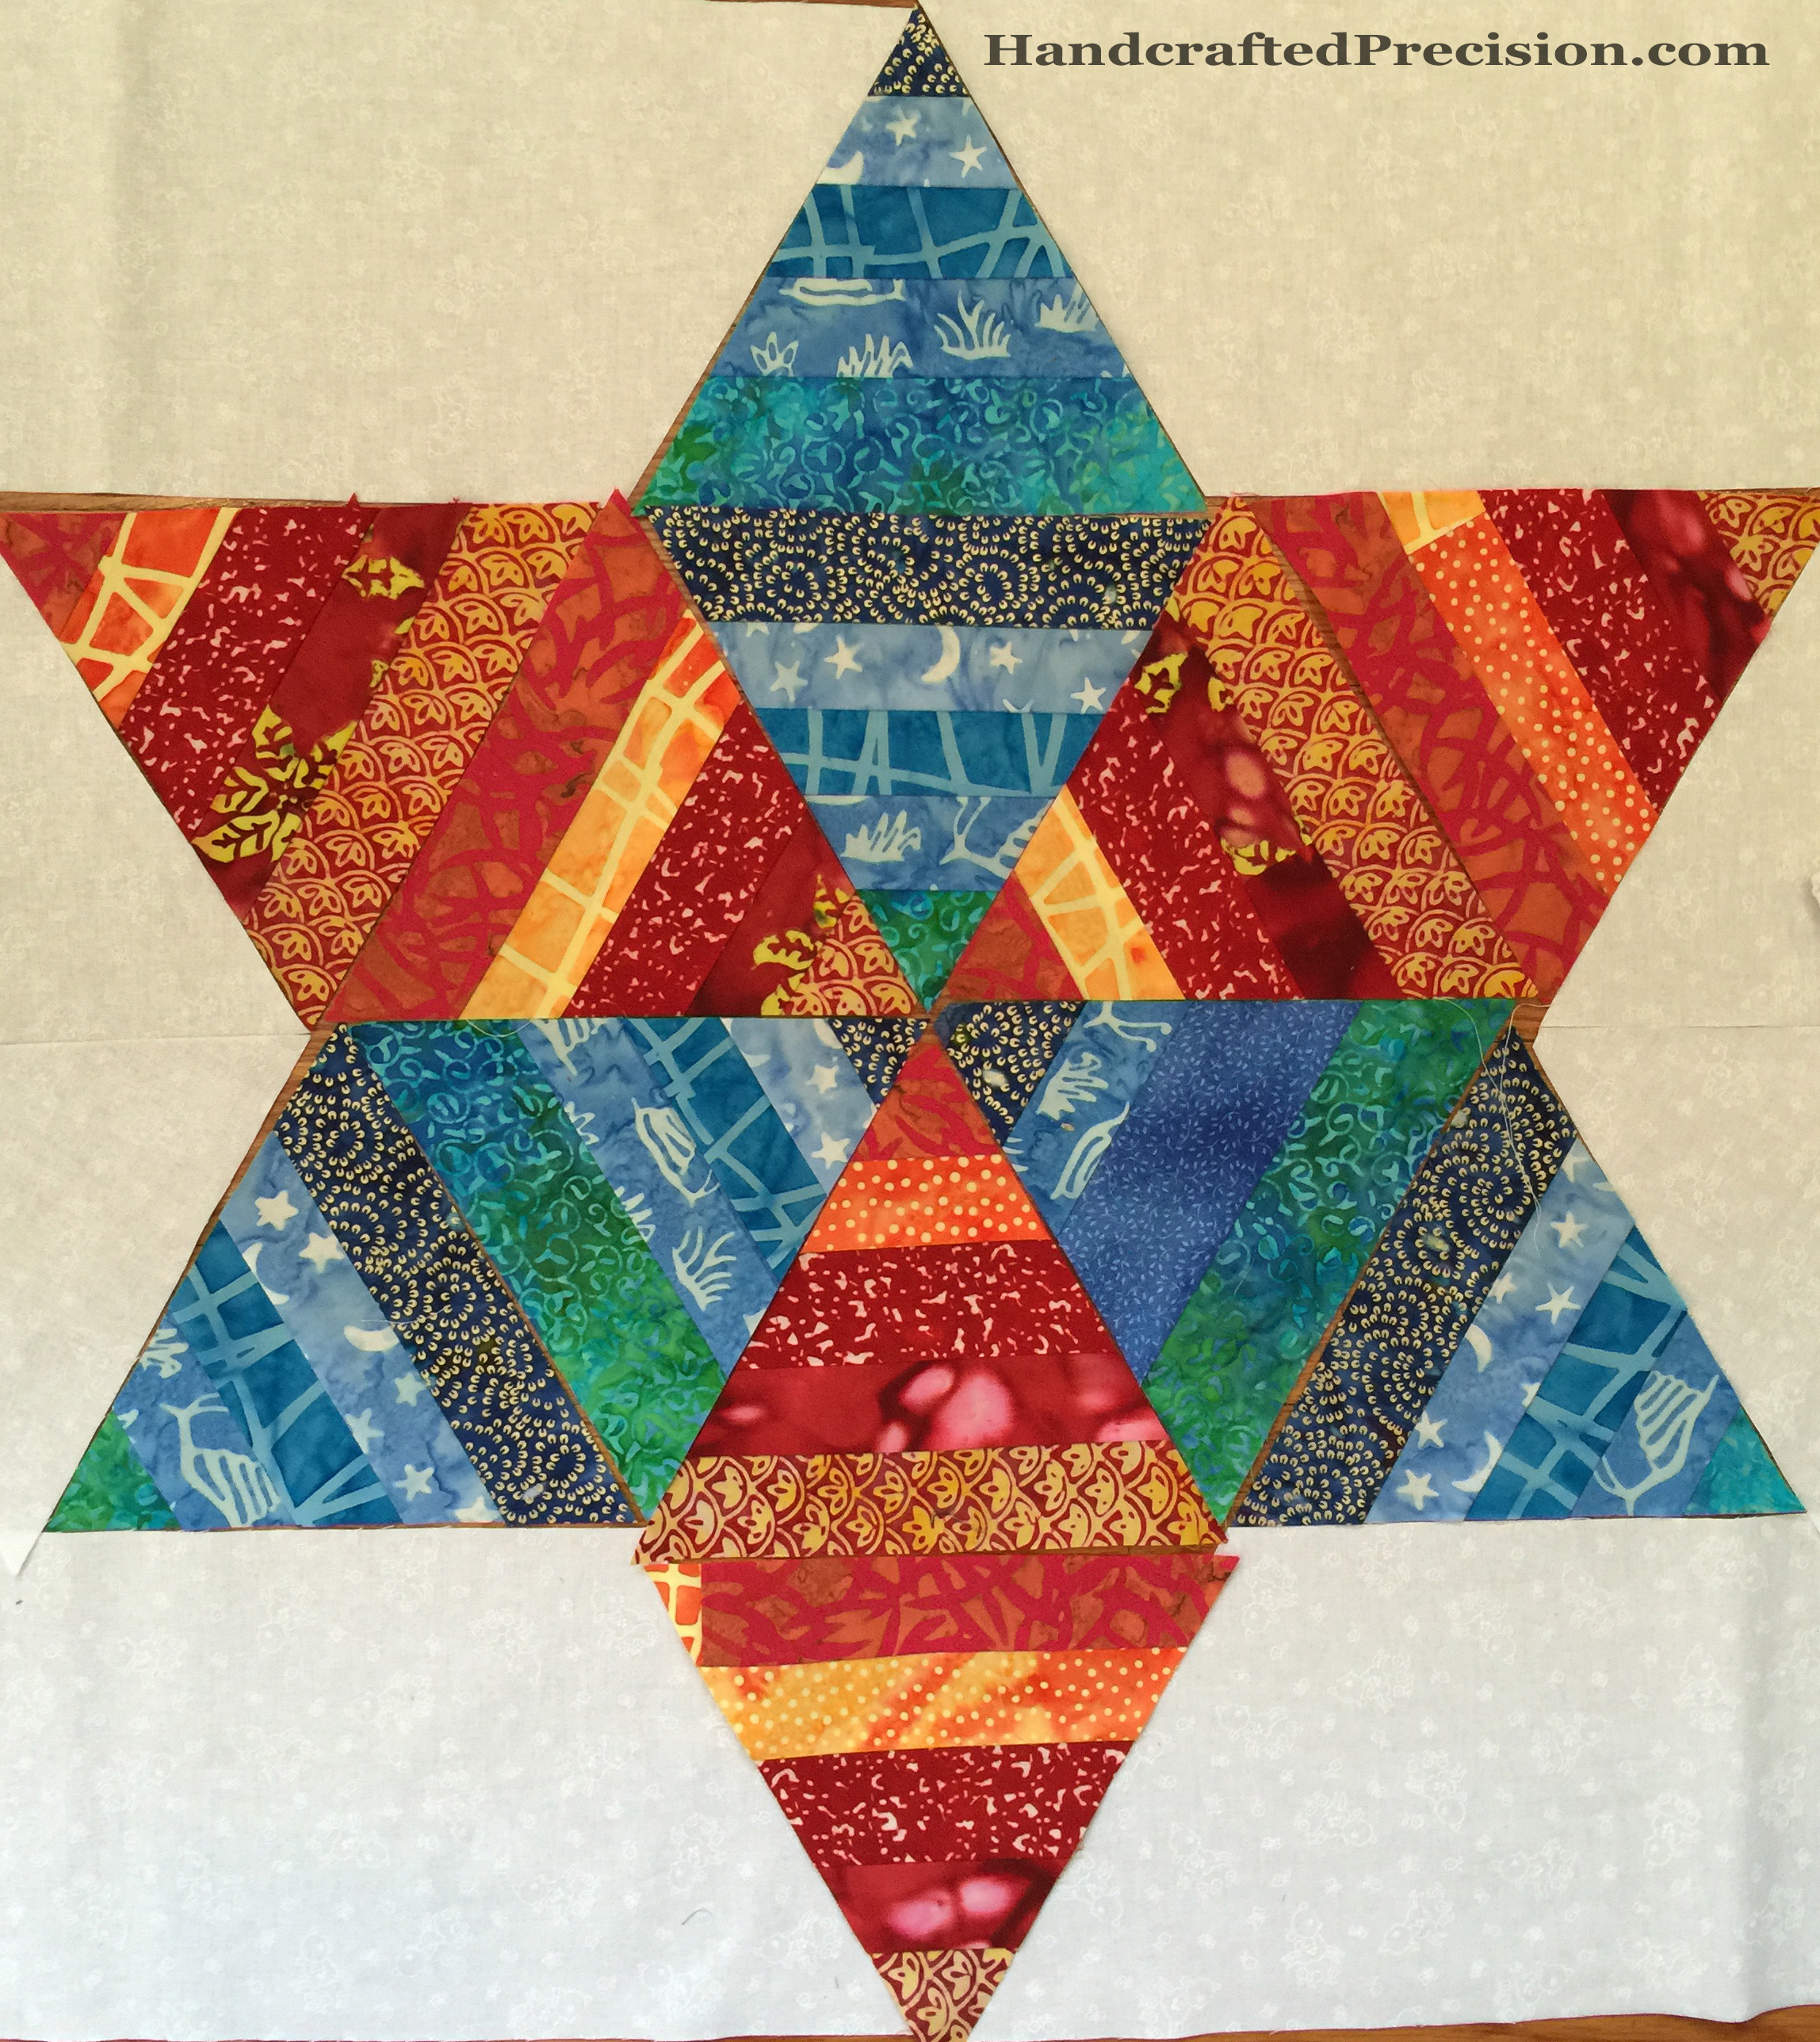
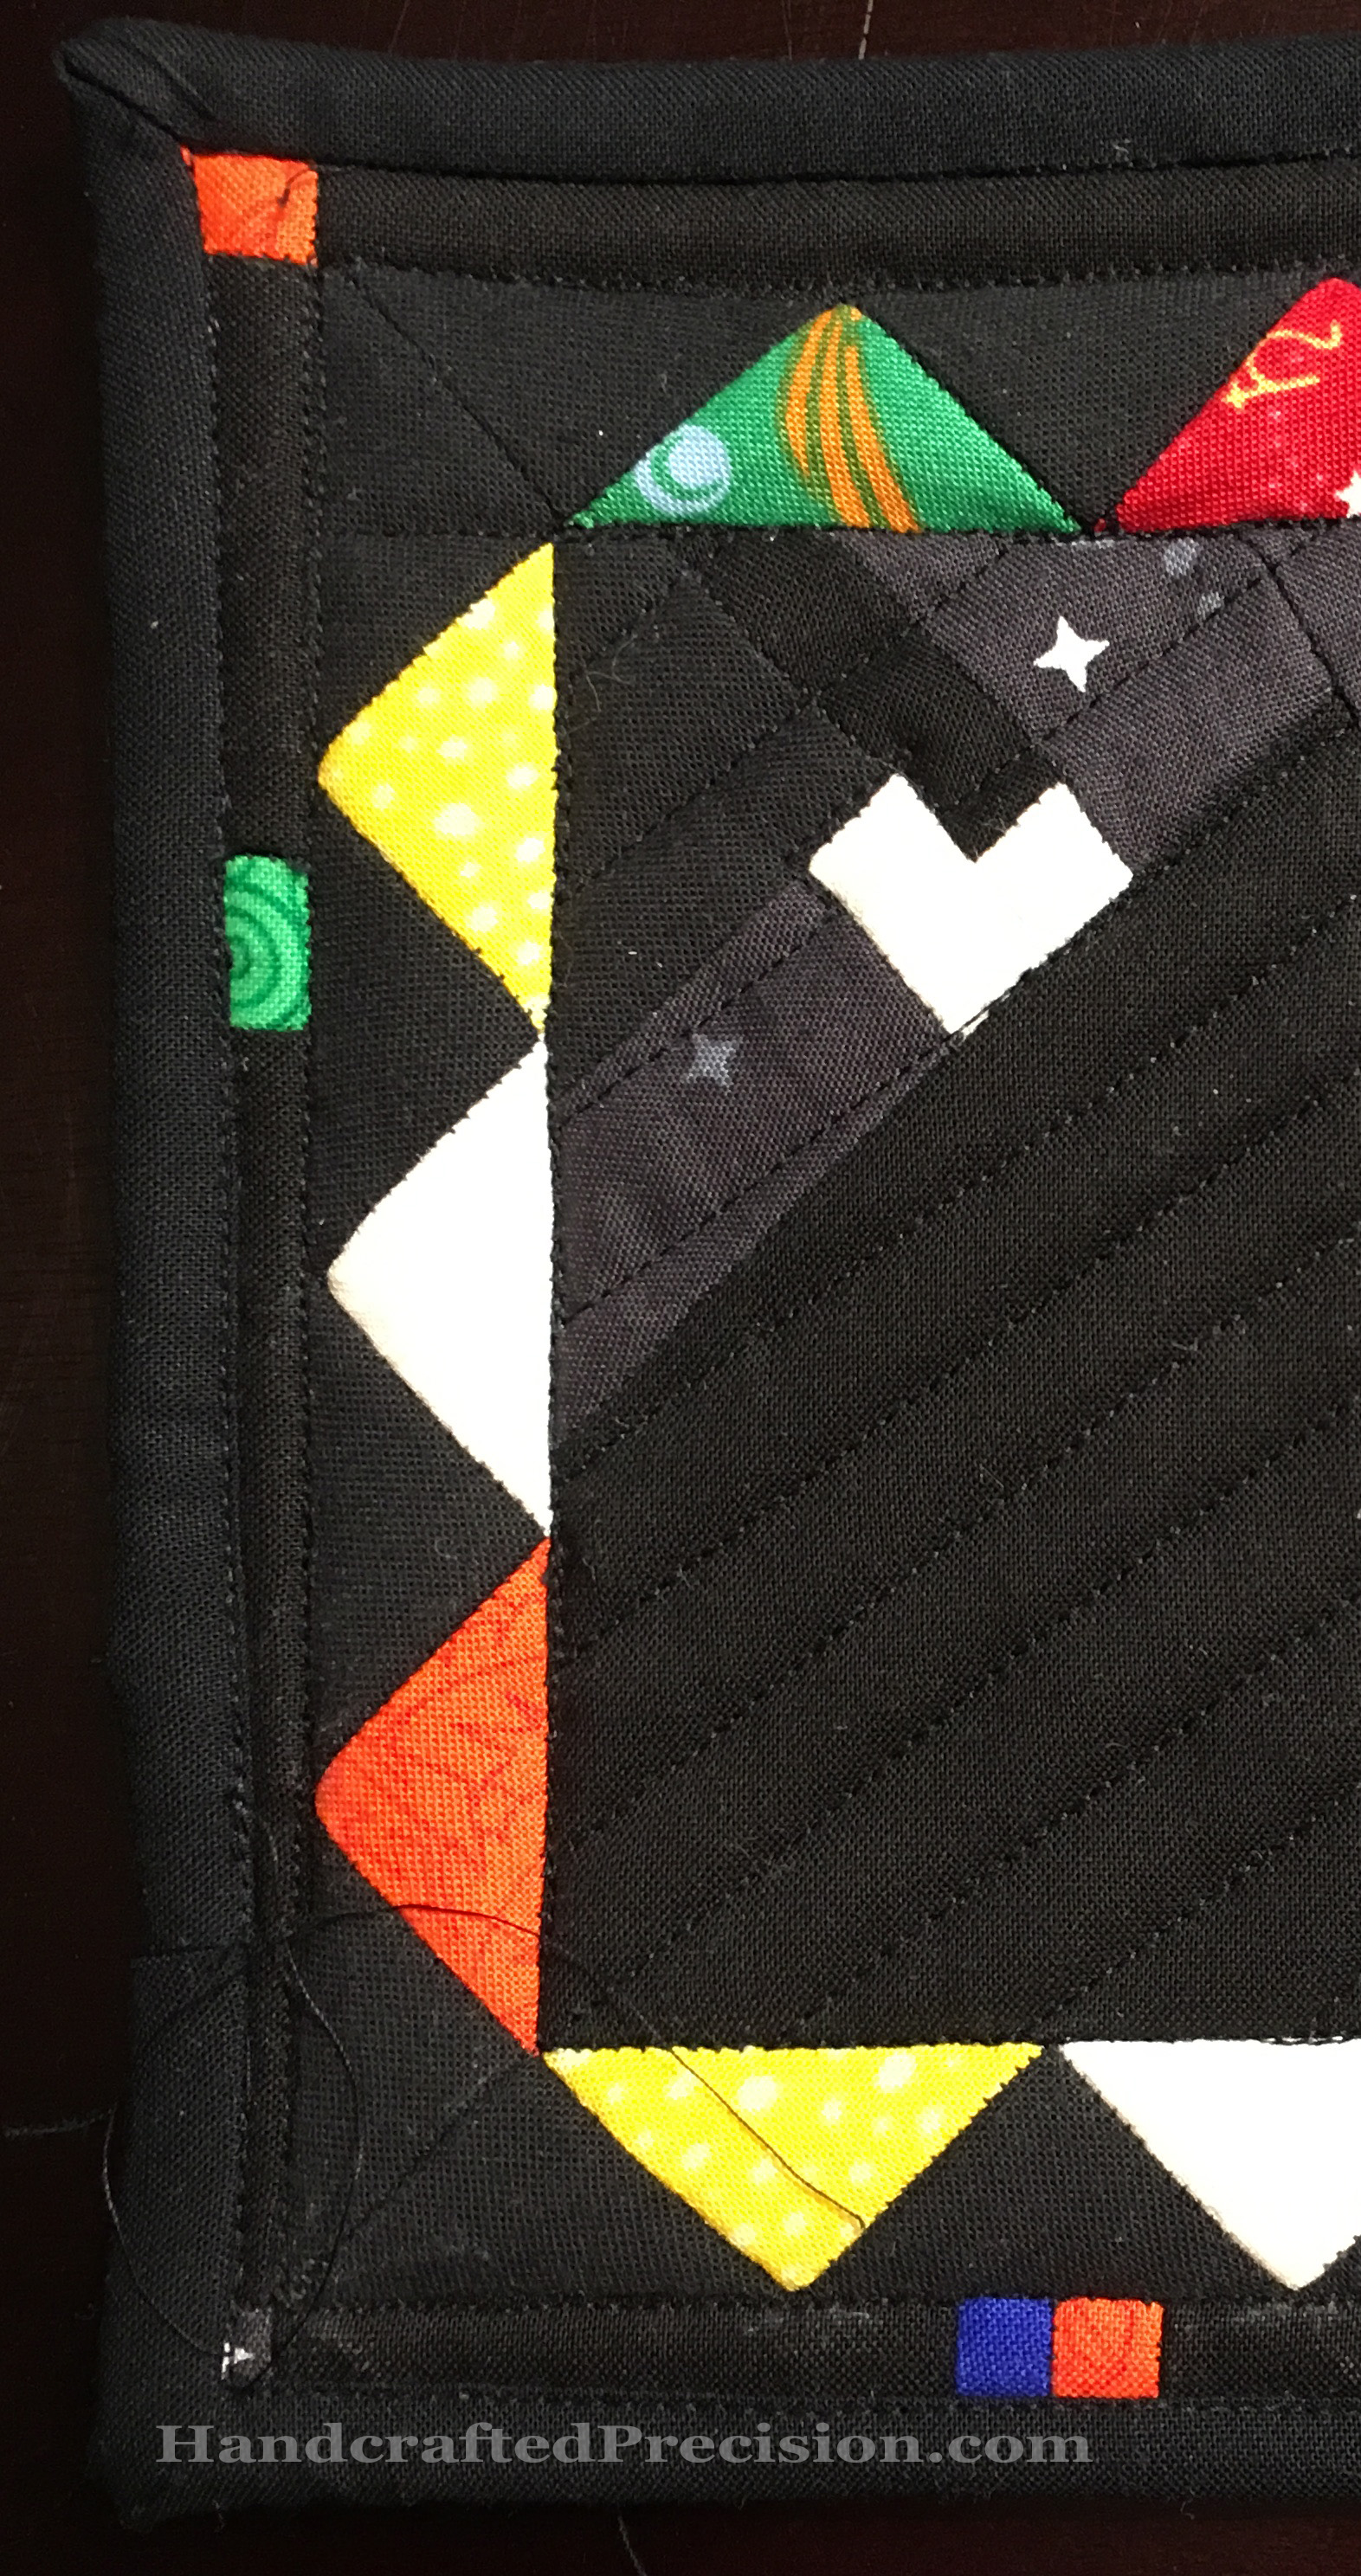
  1. The Star Wall Hanging on black, for my mother.  Two more years and it’s still not done yet.  Argh.
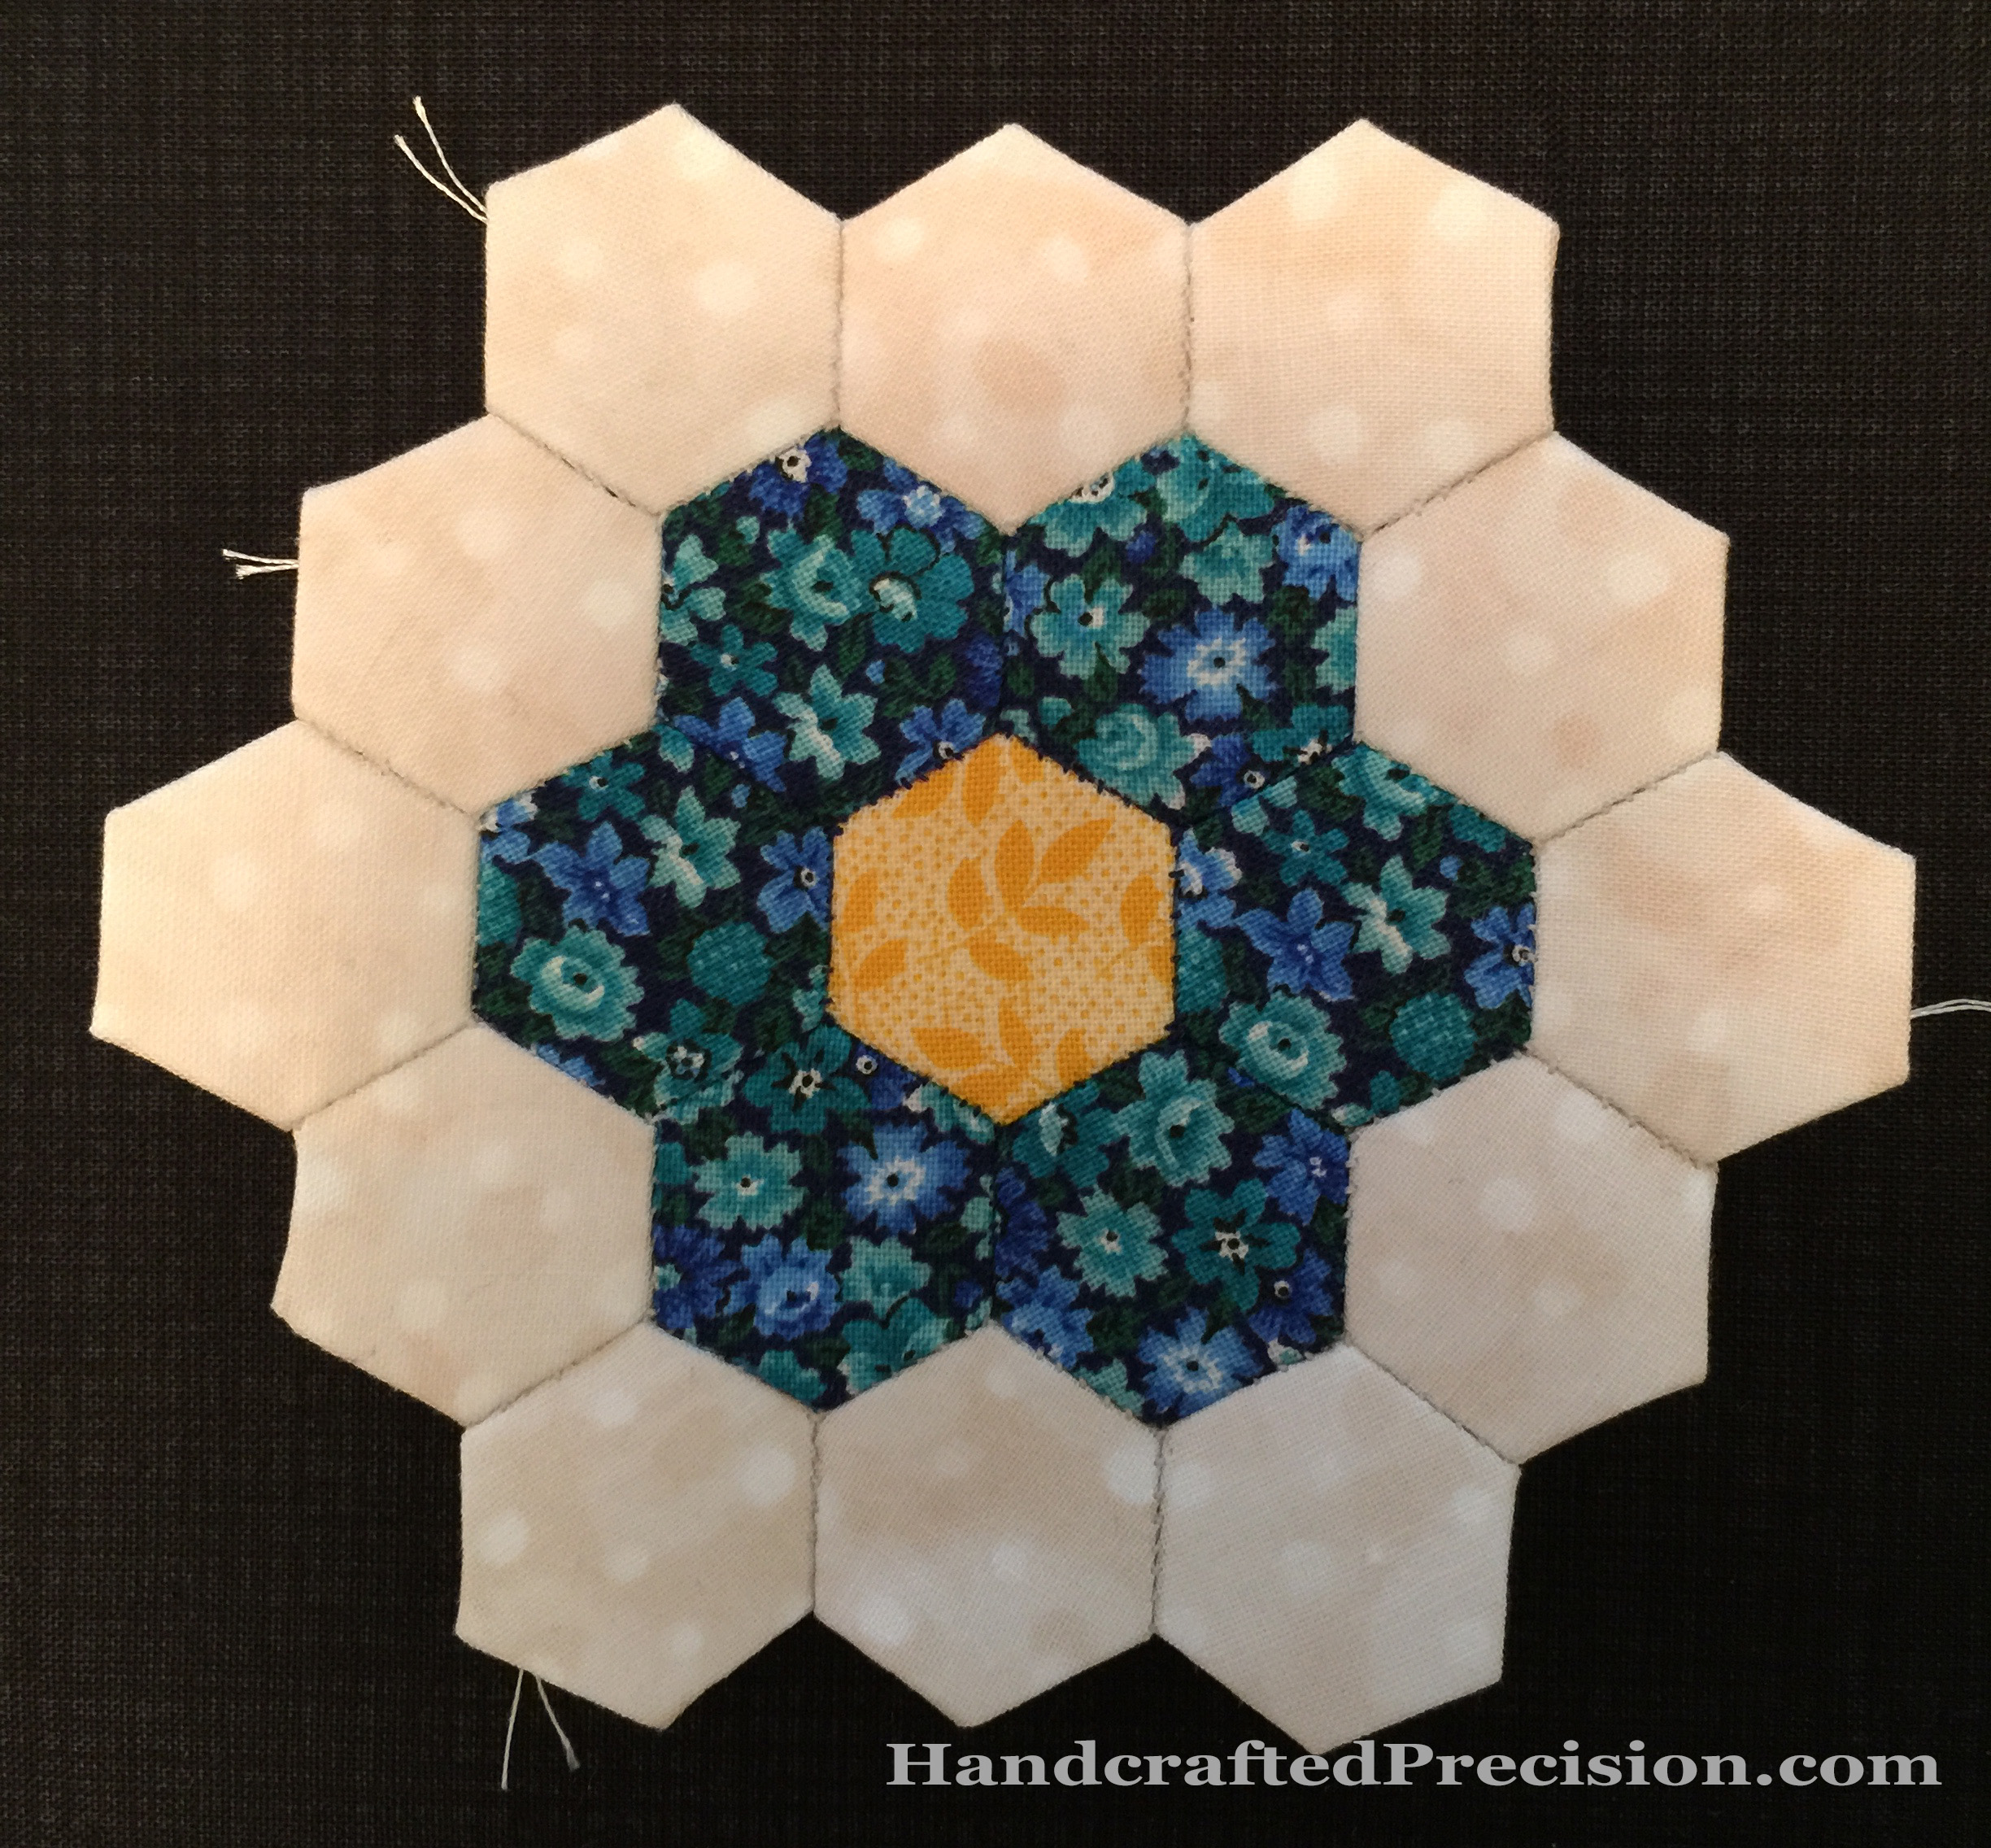
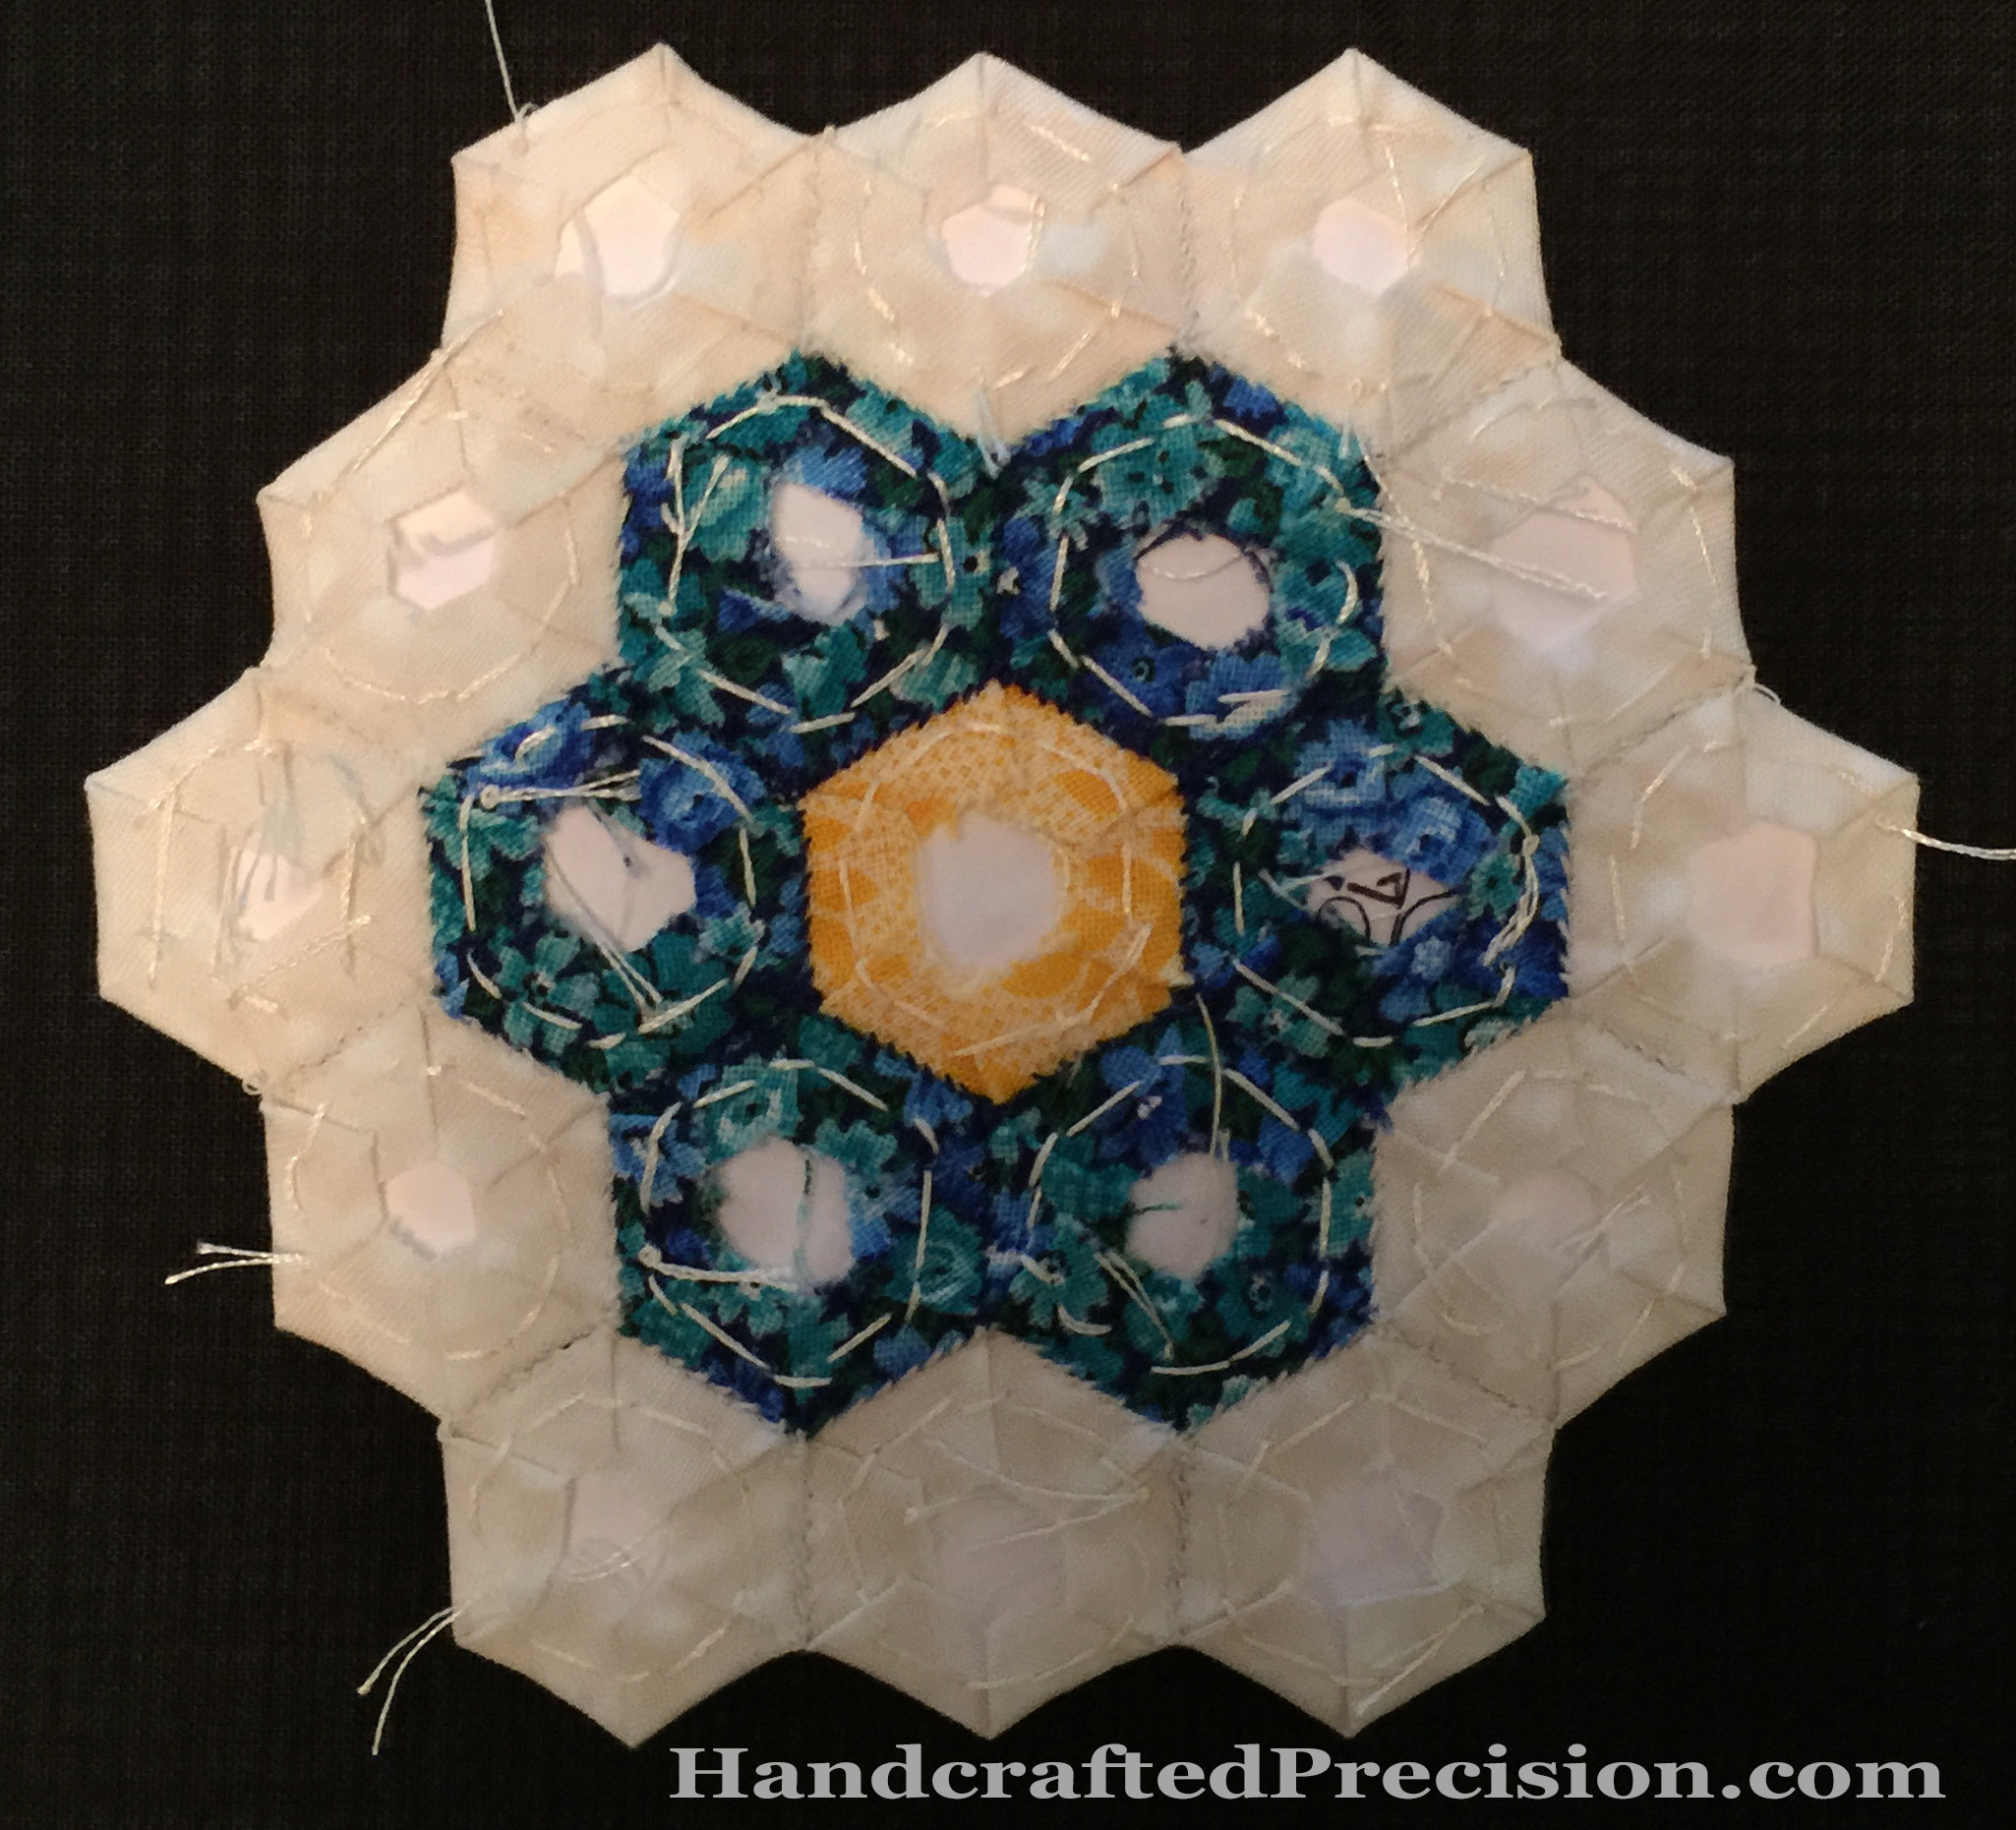
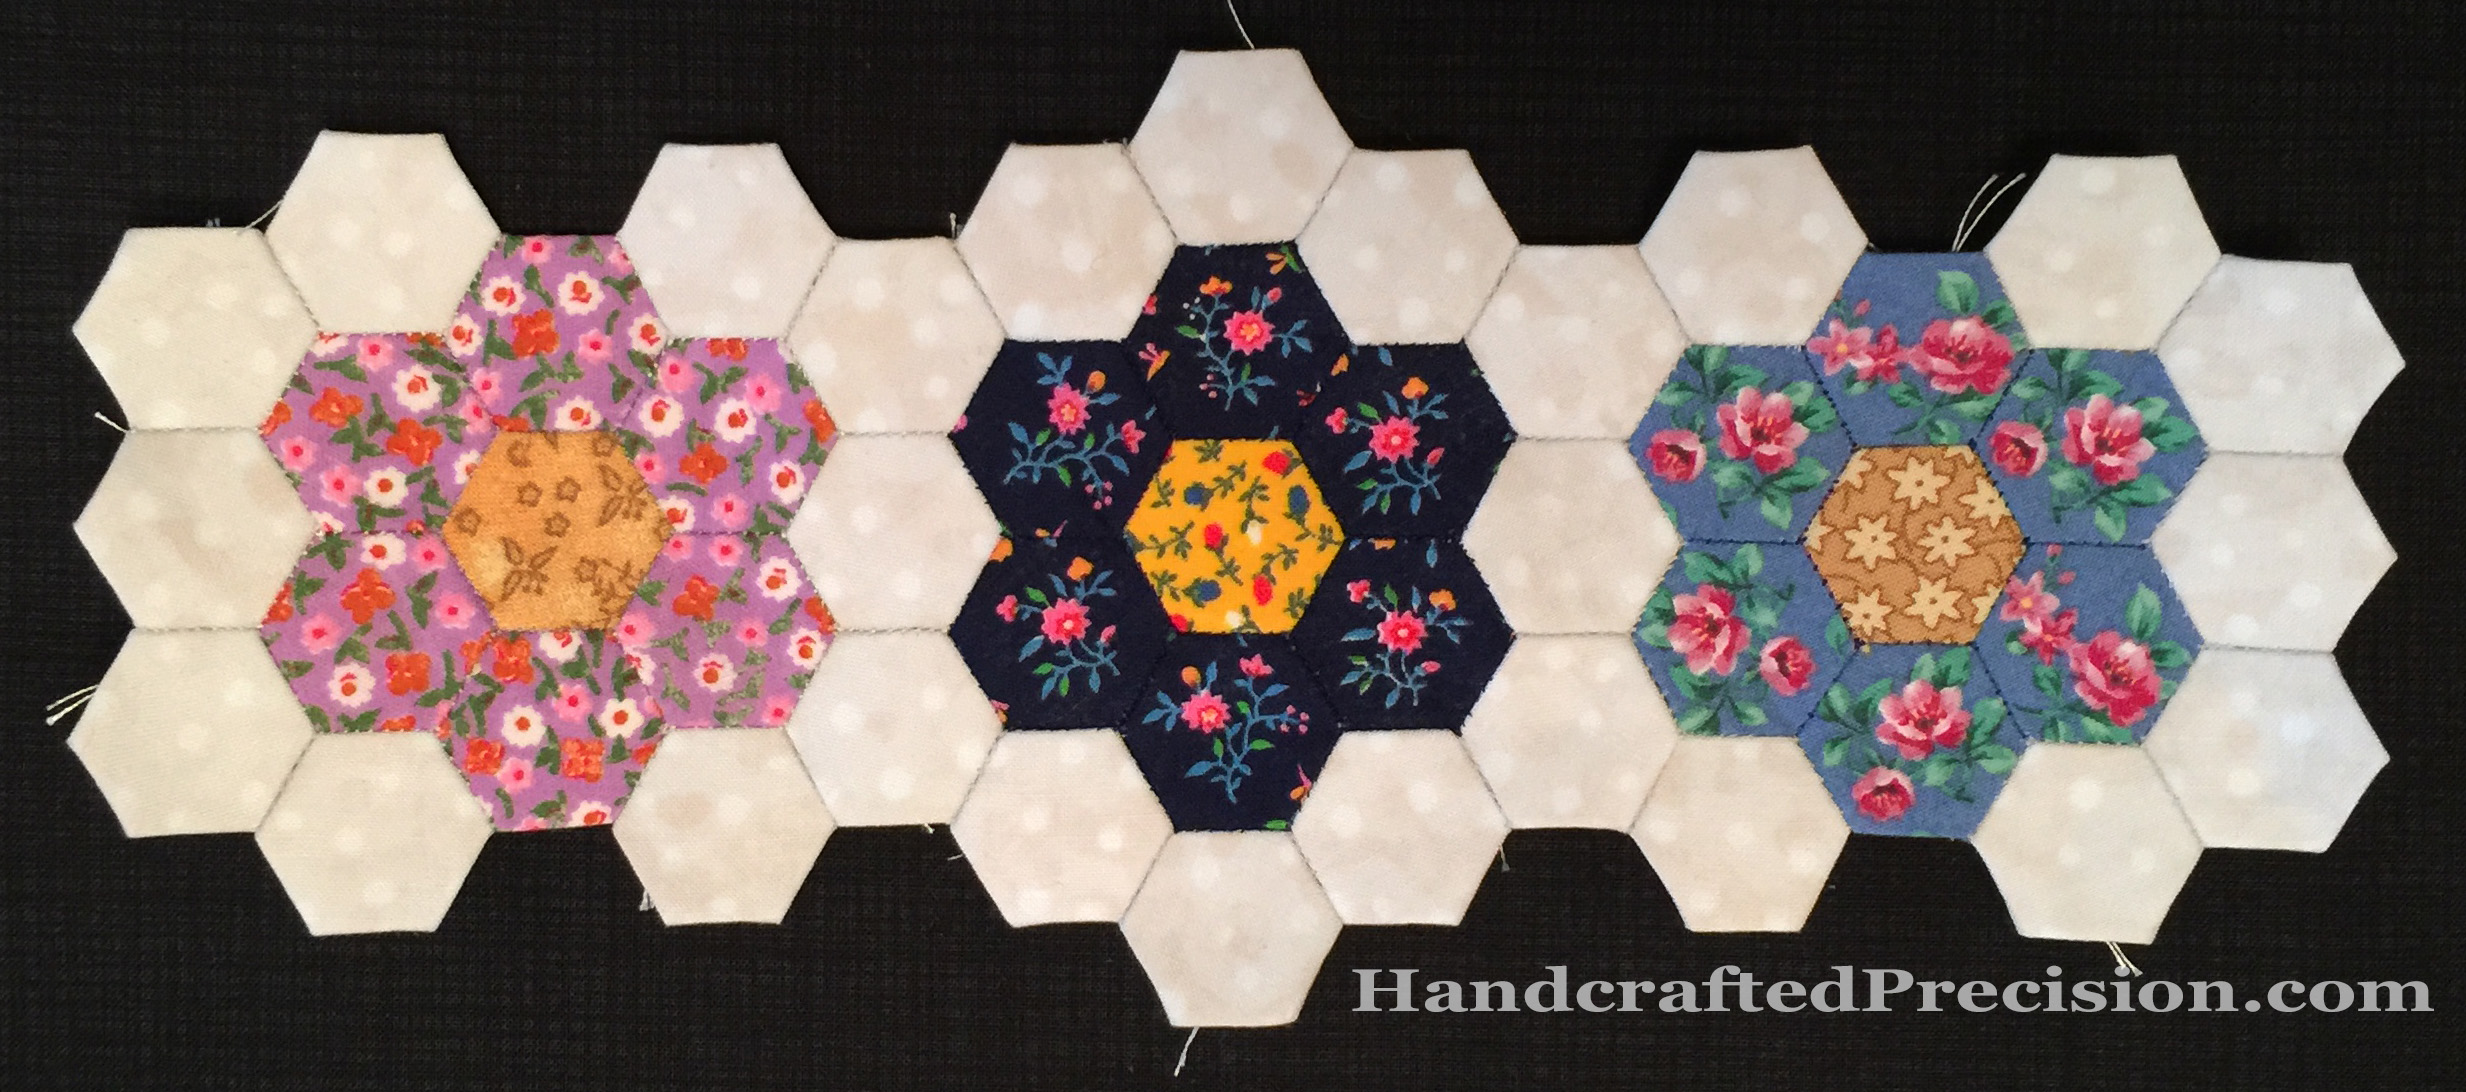
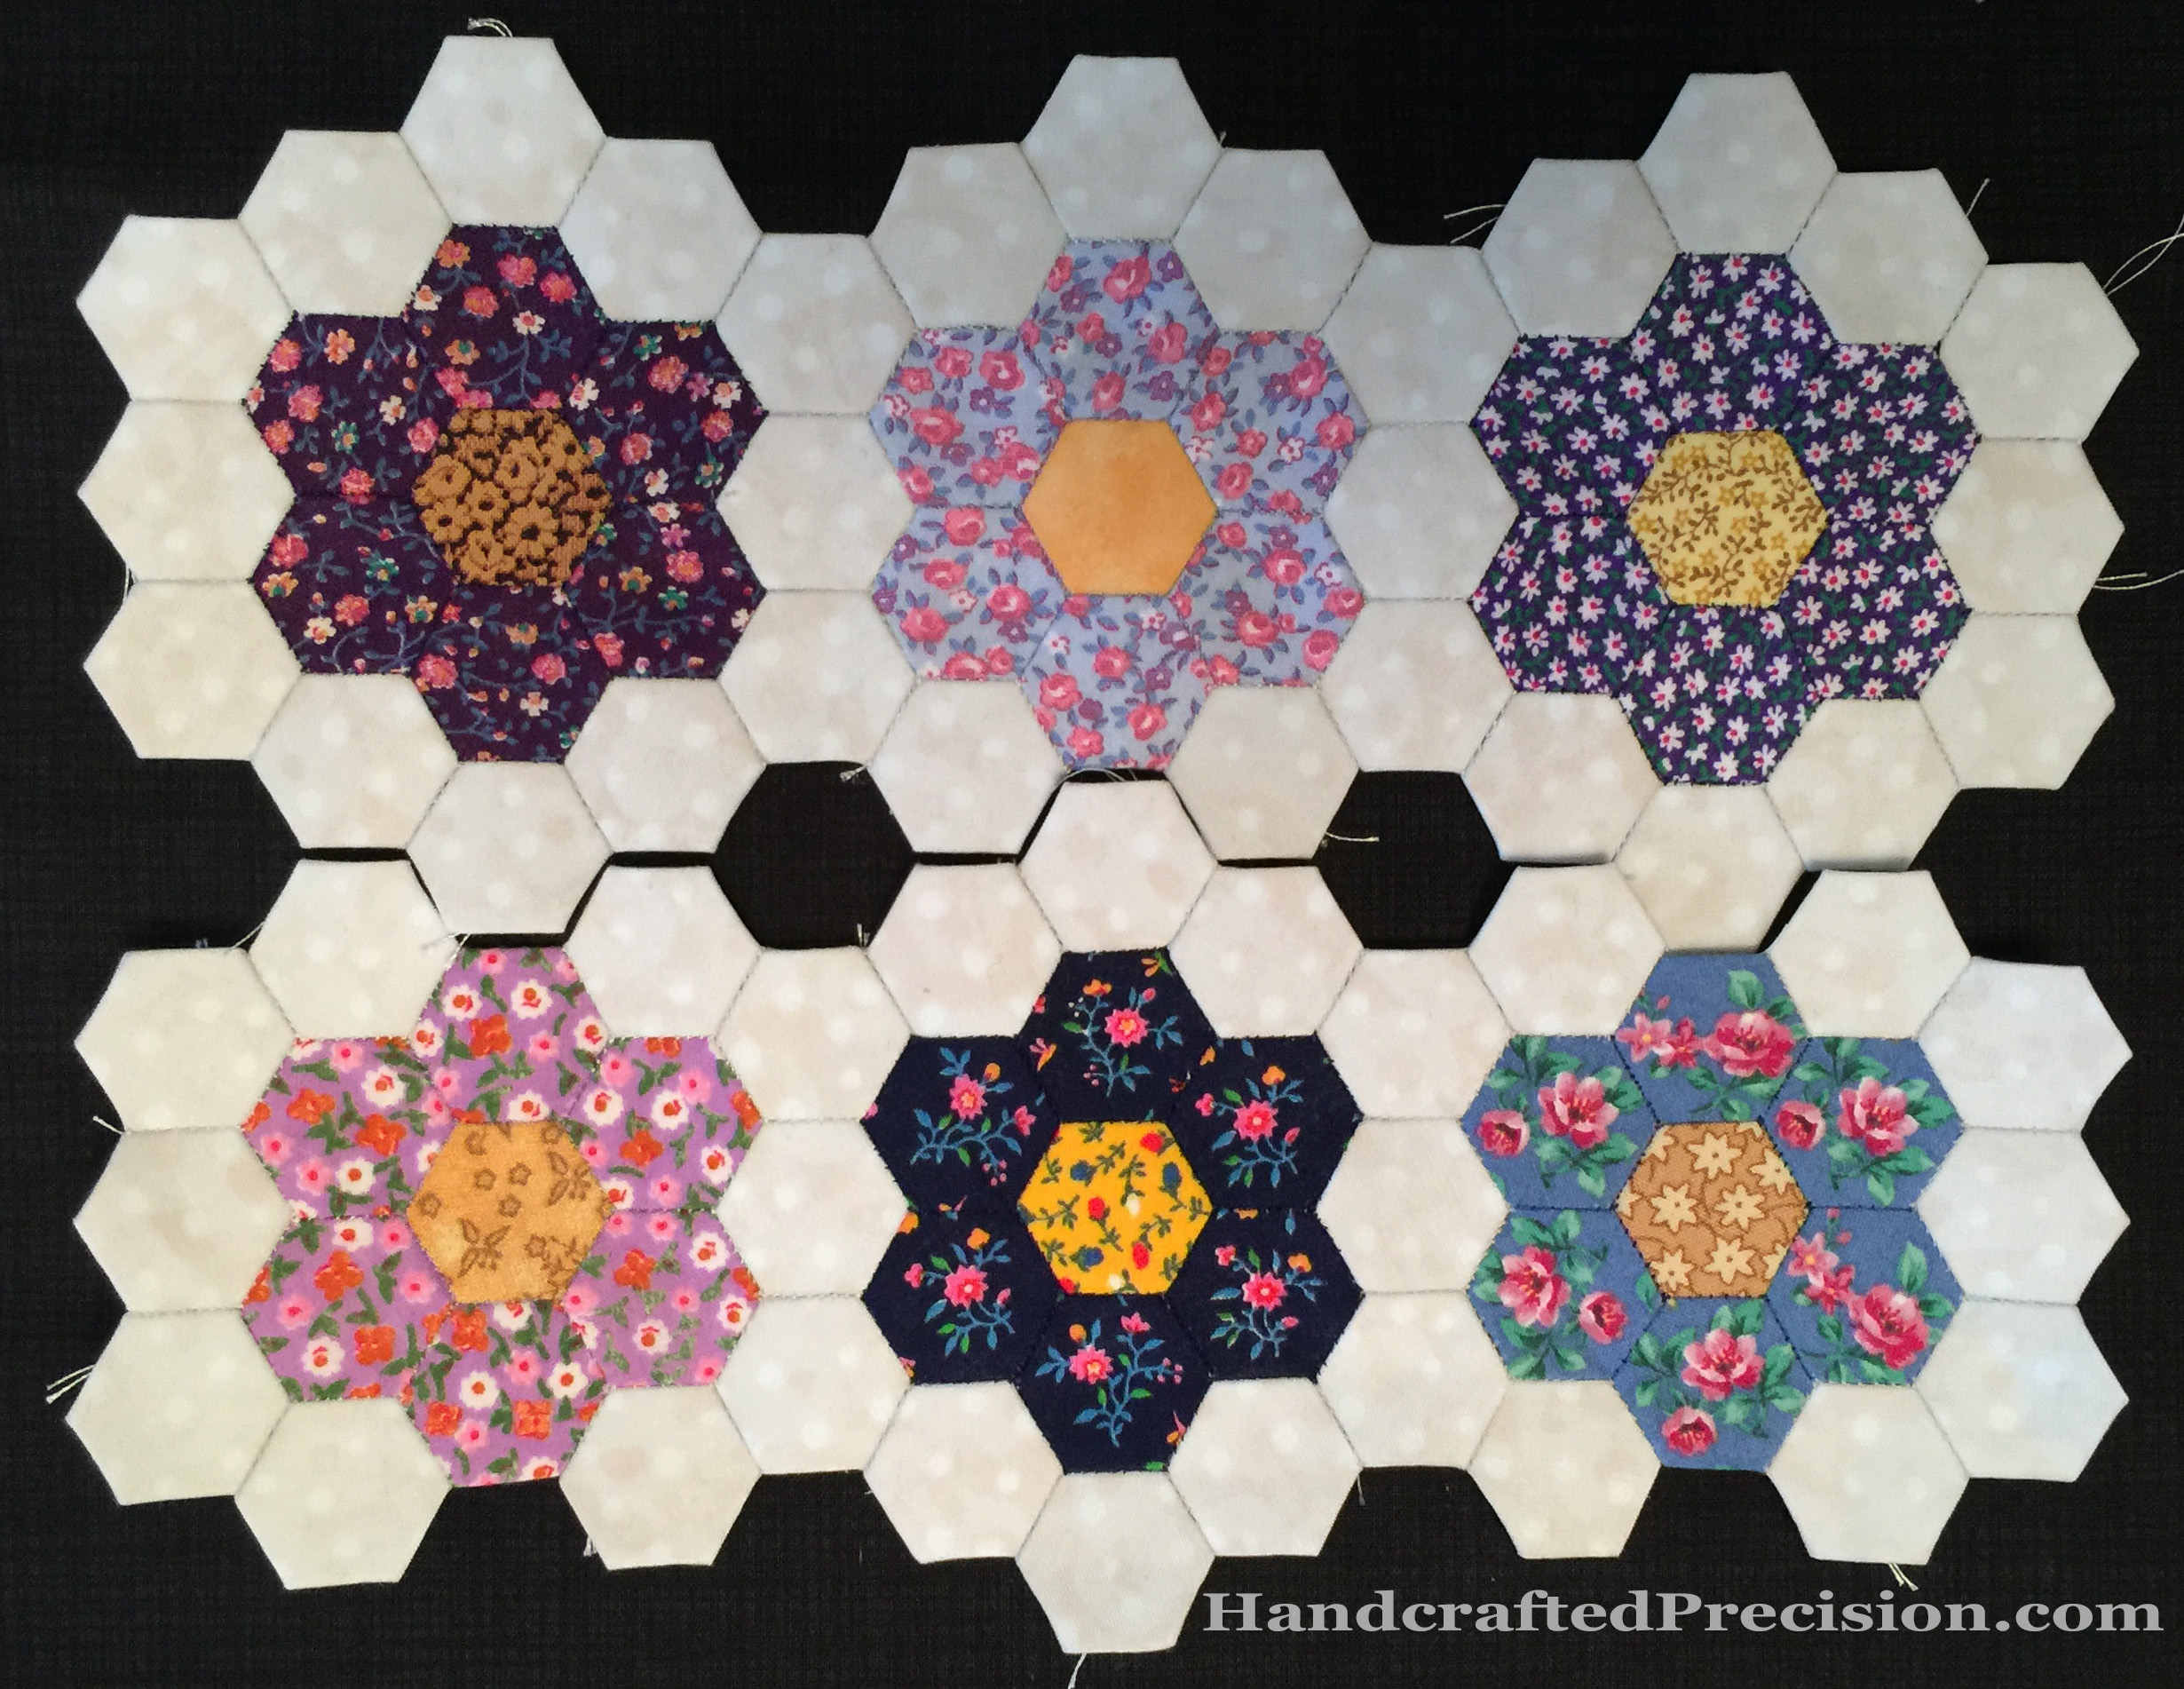
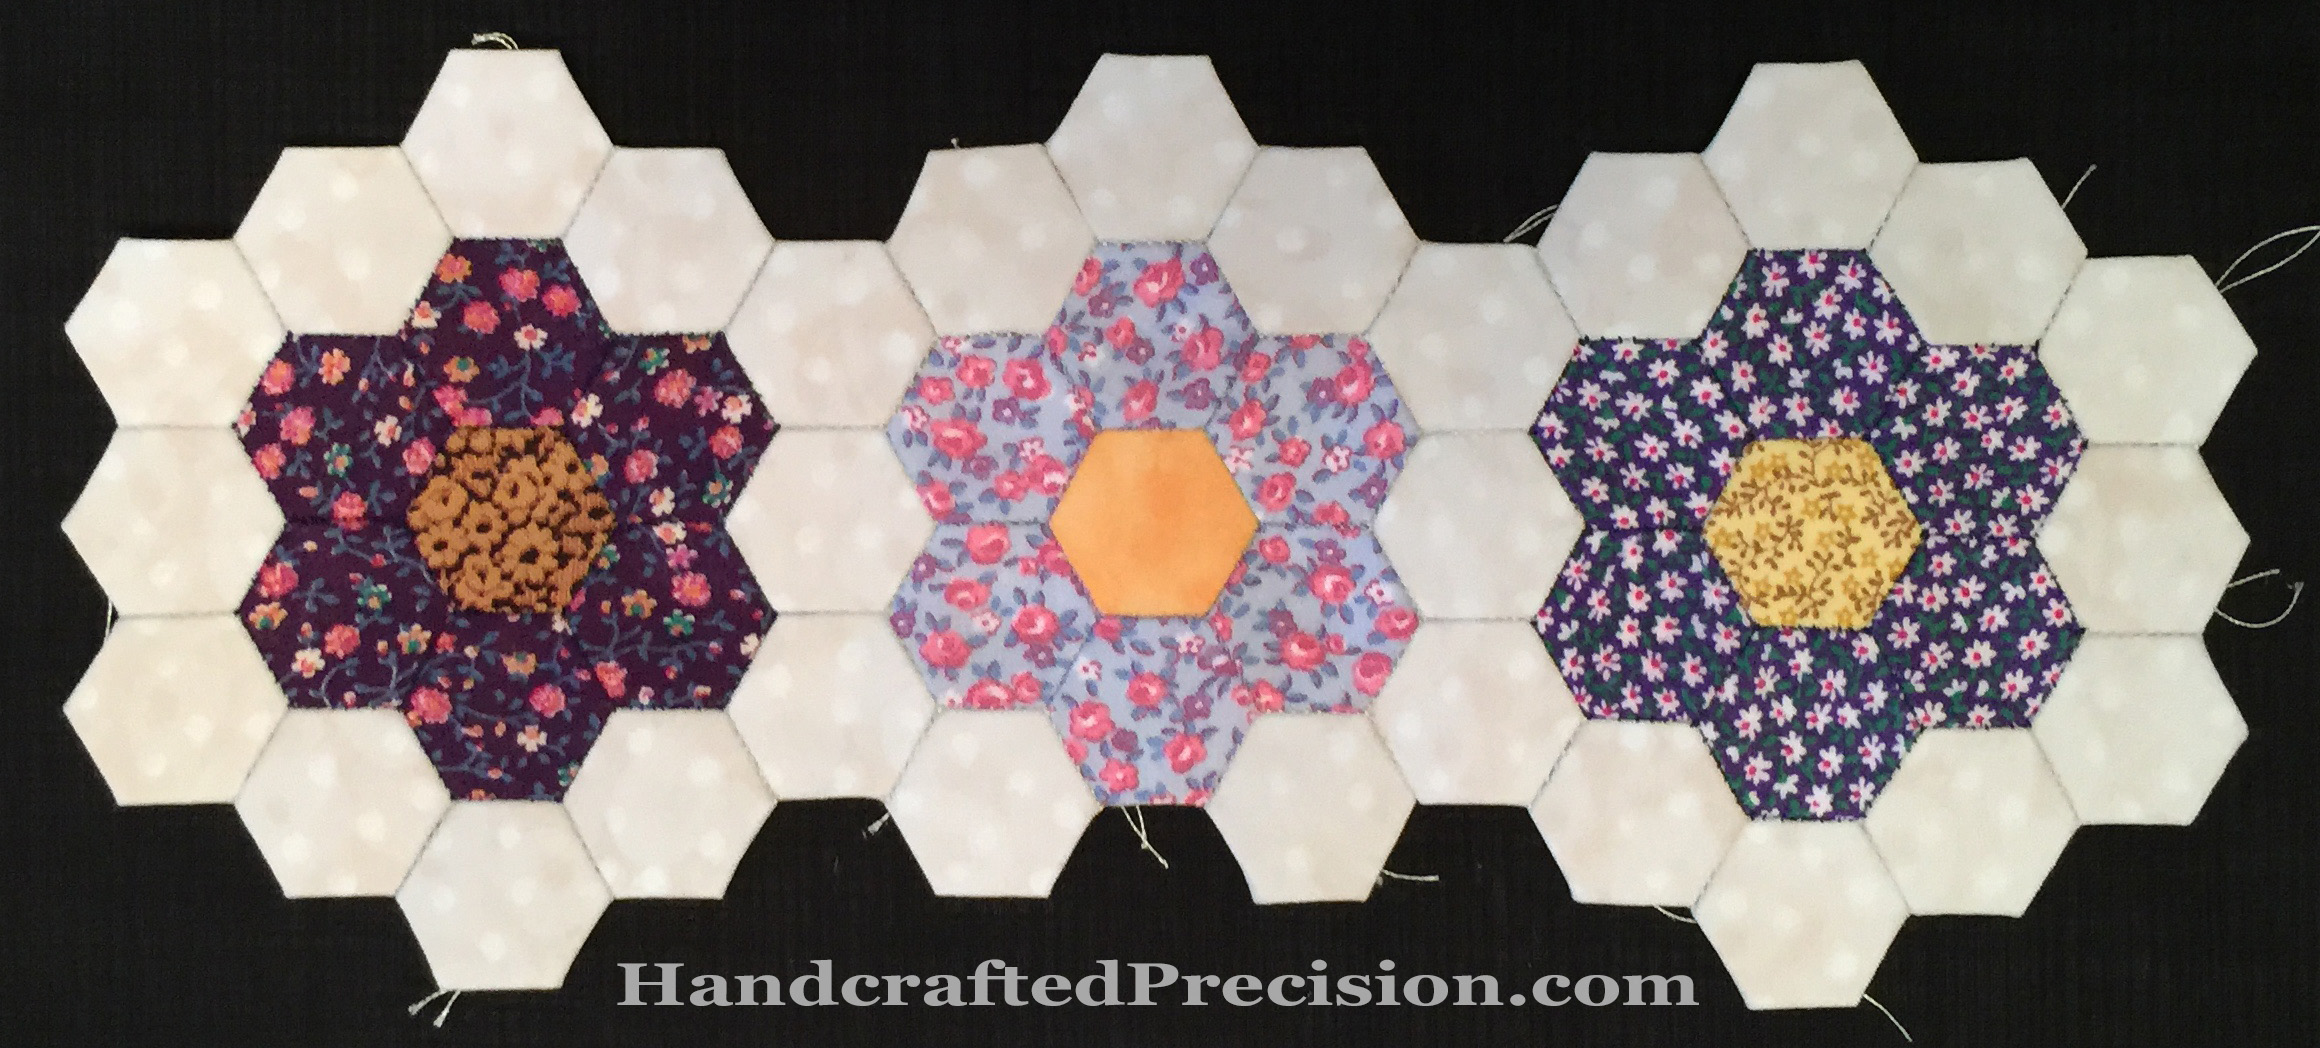
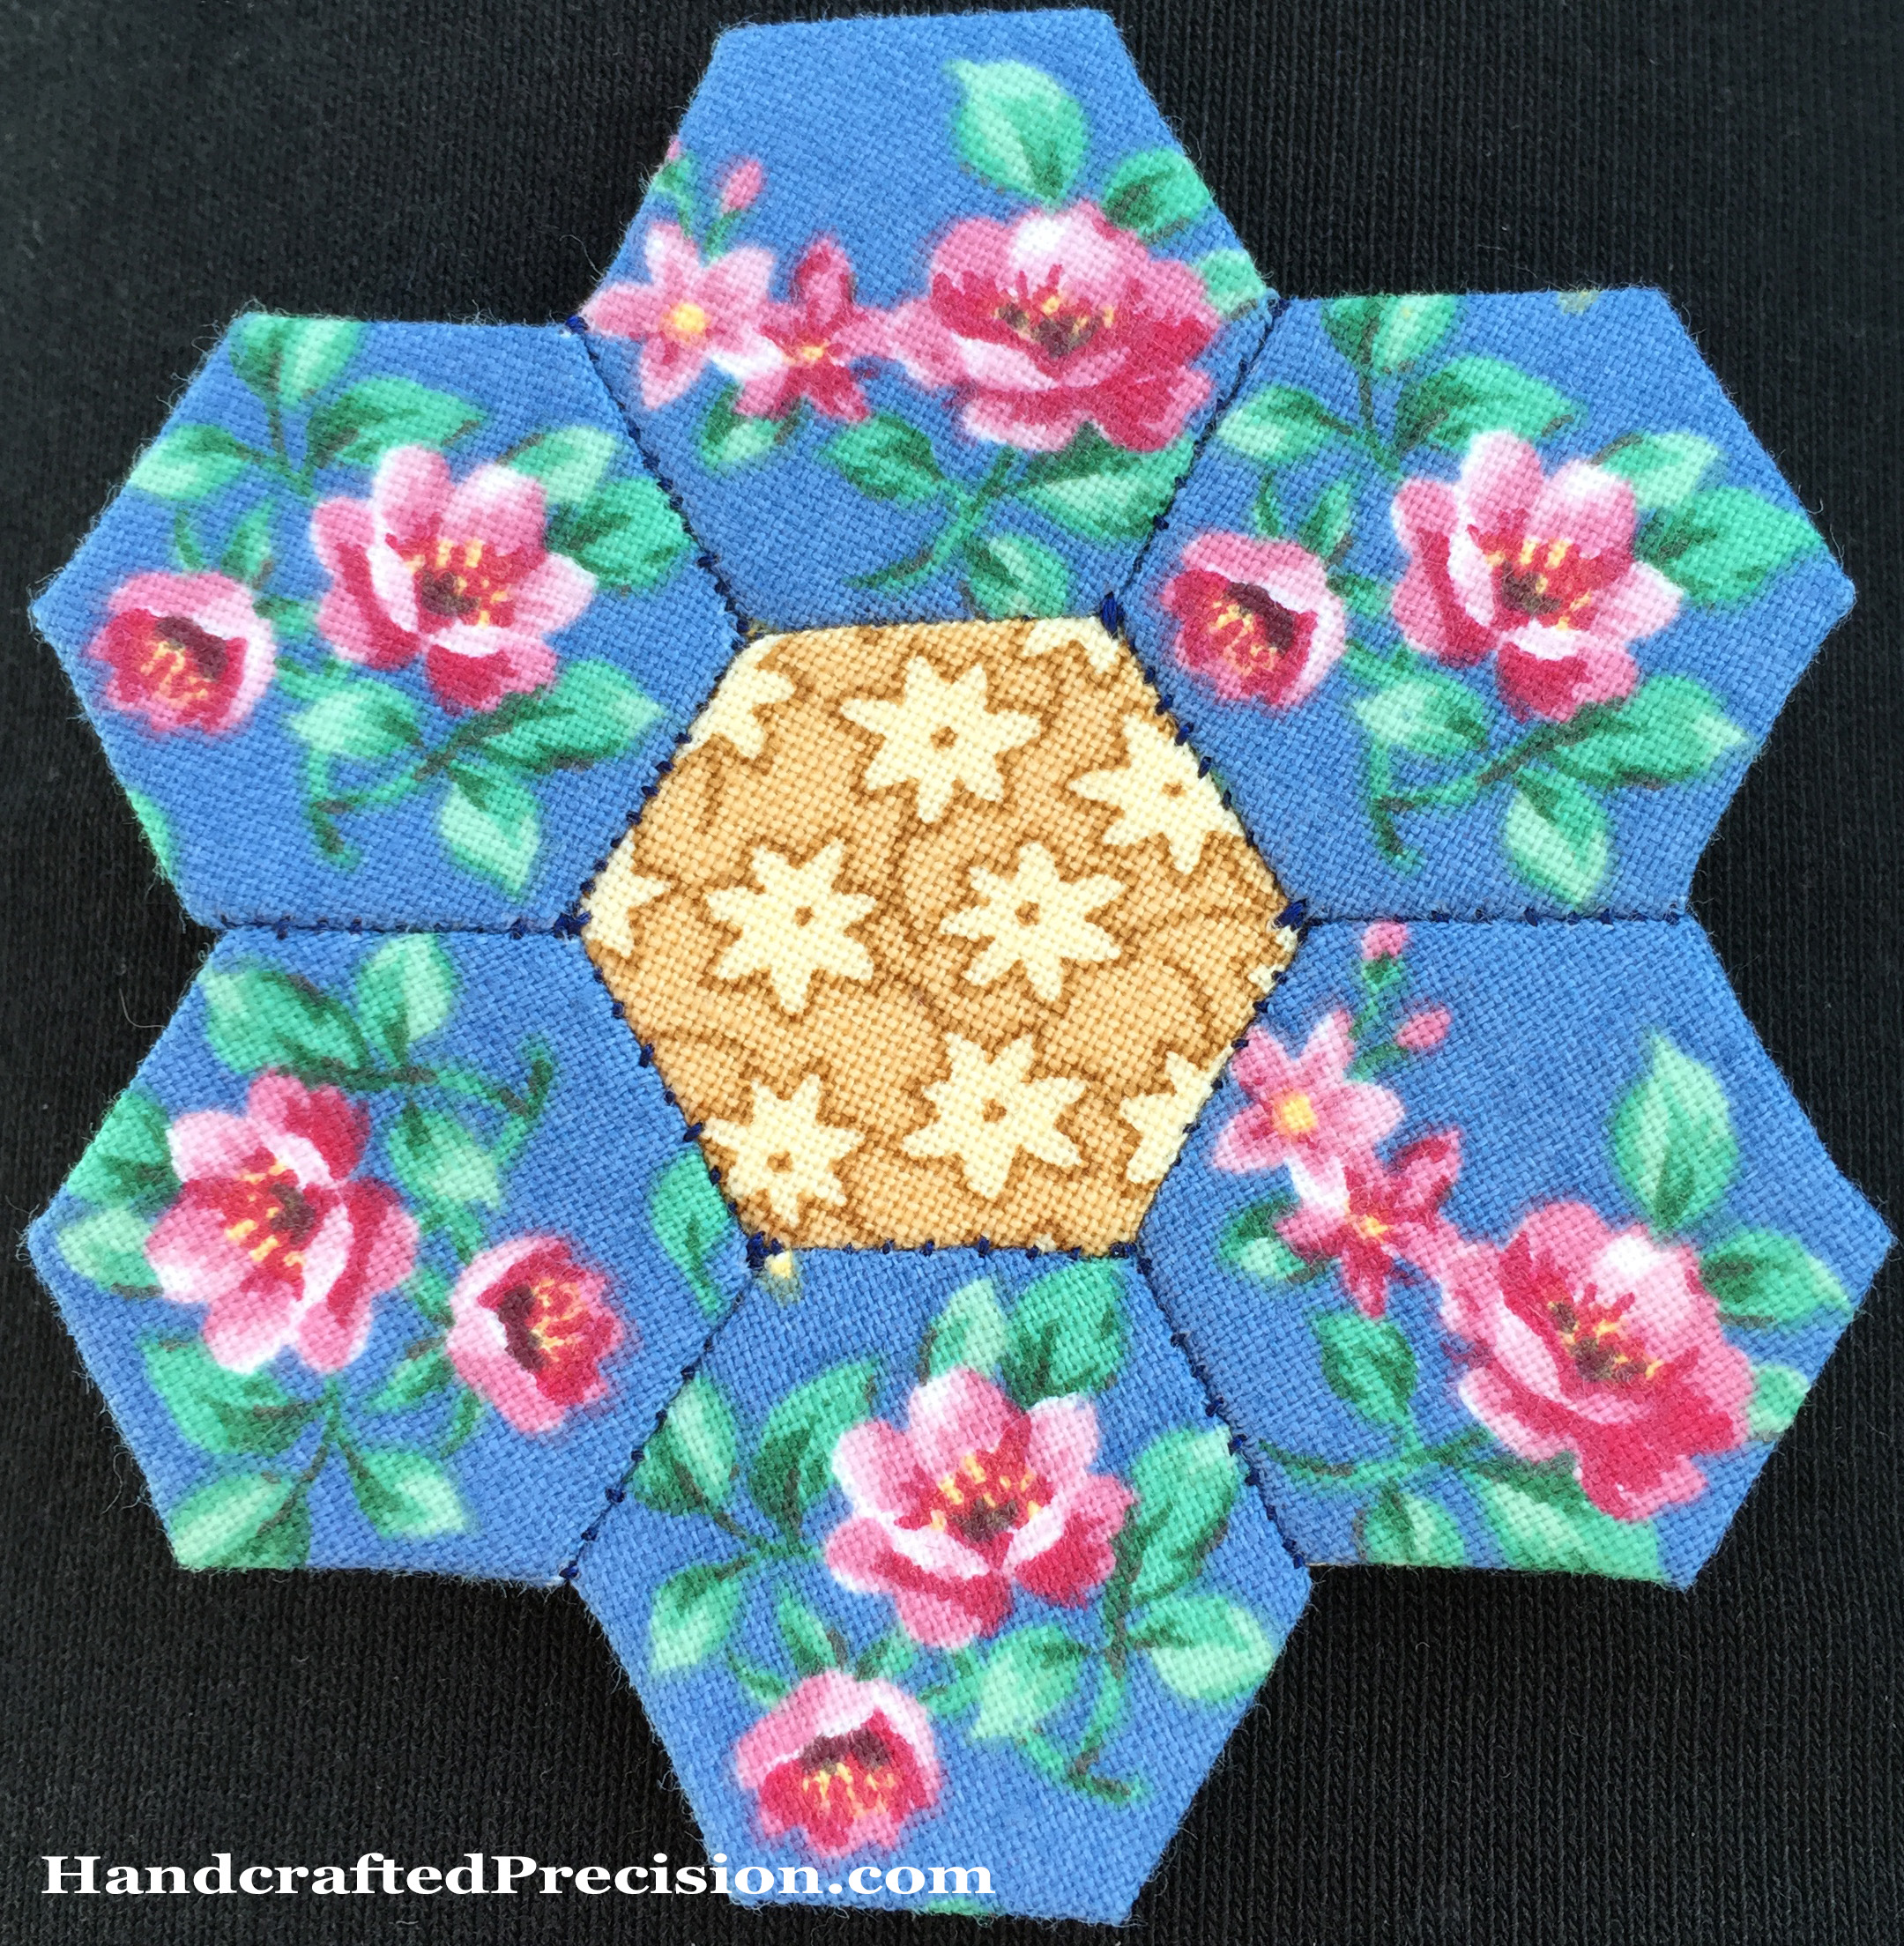
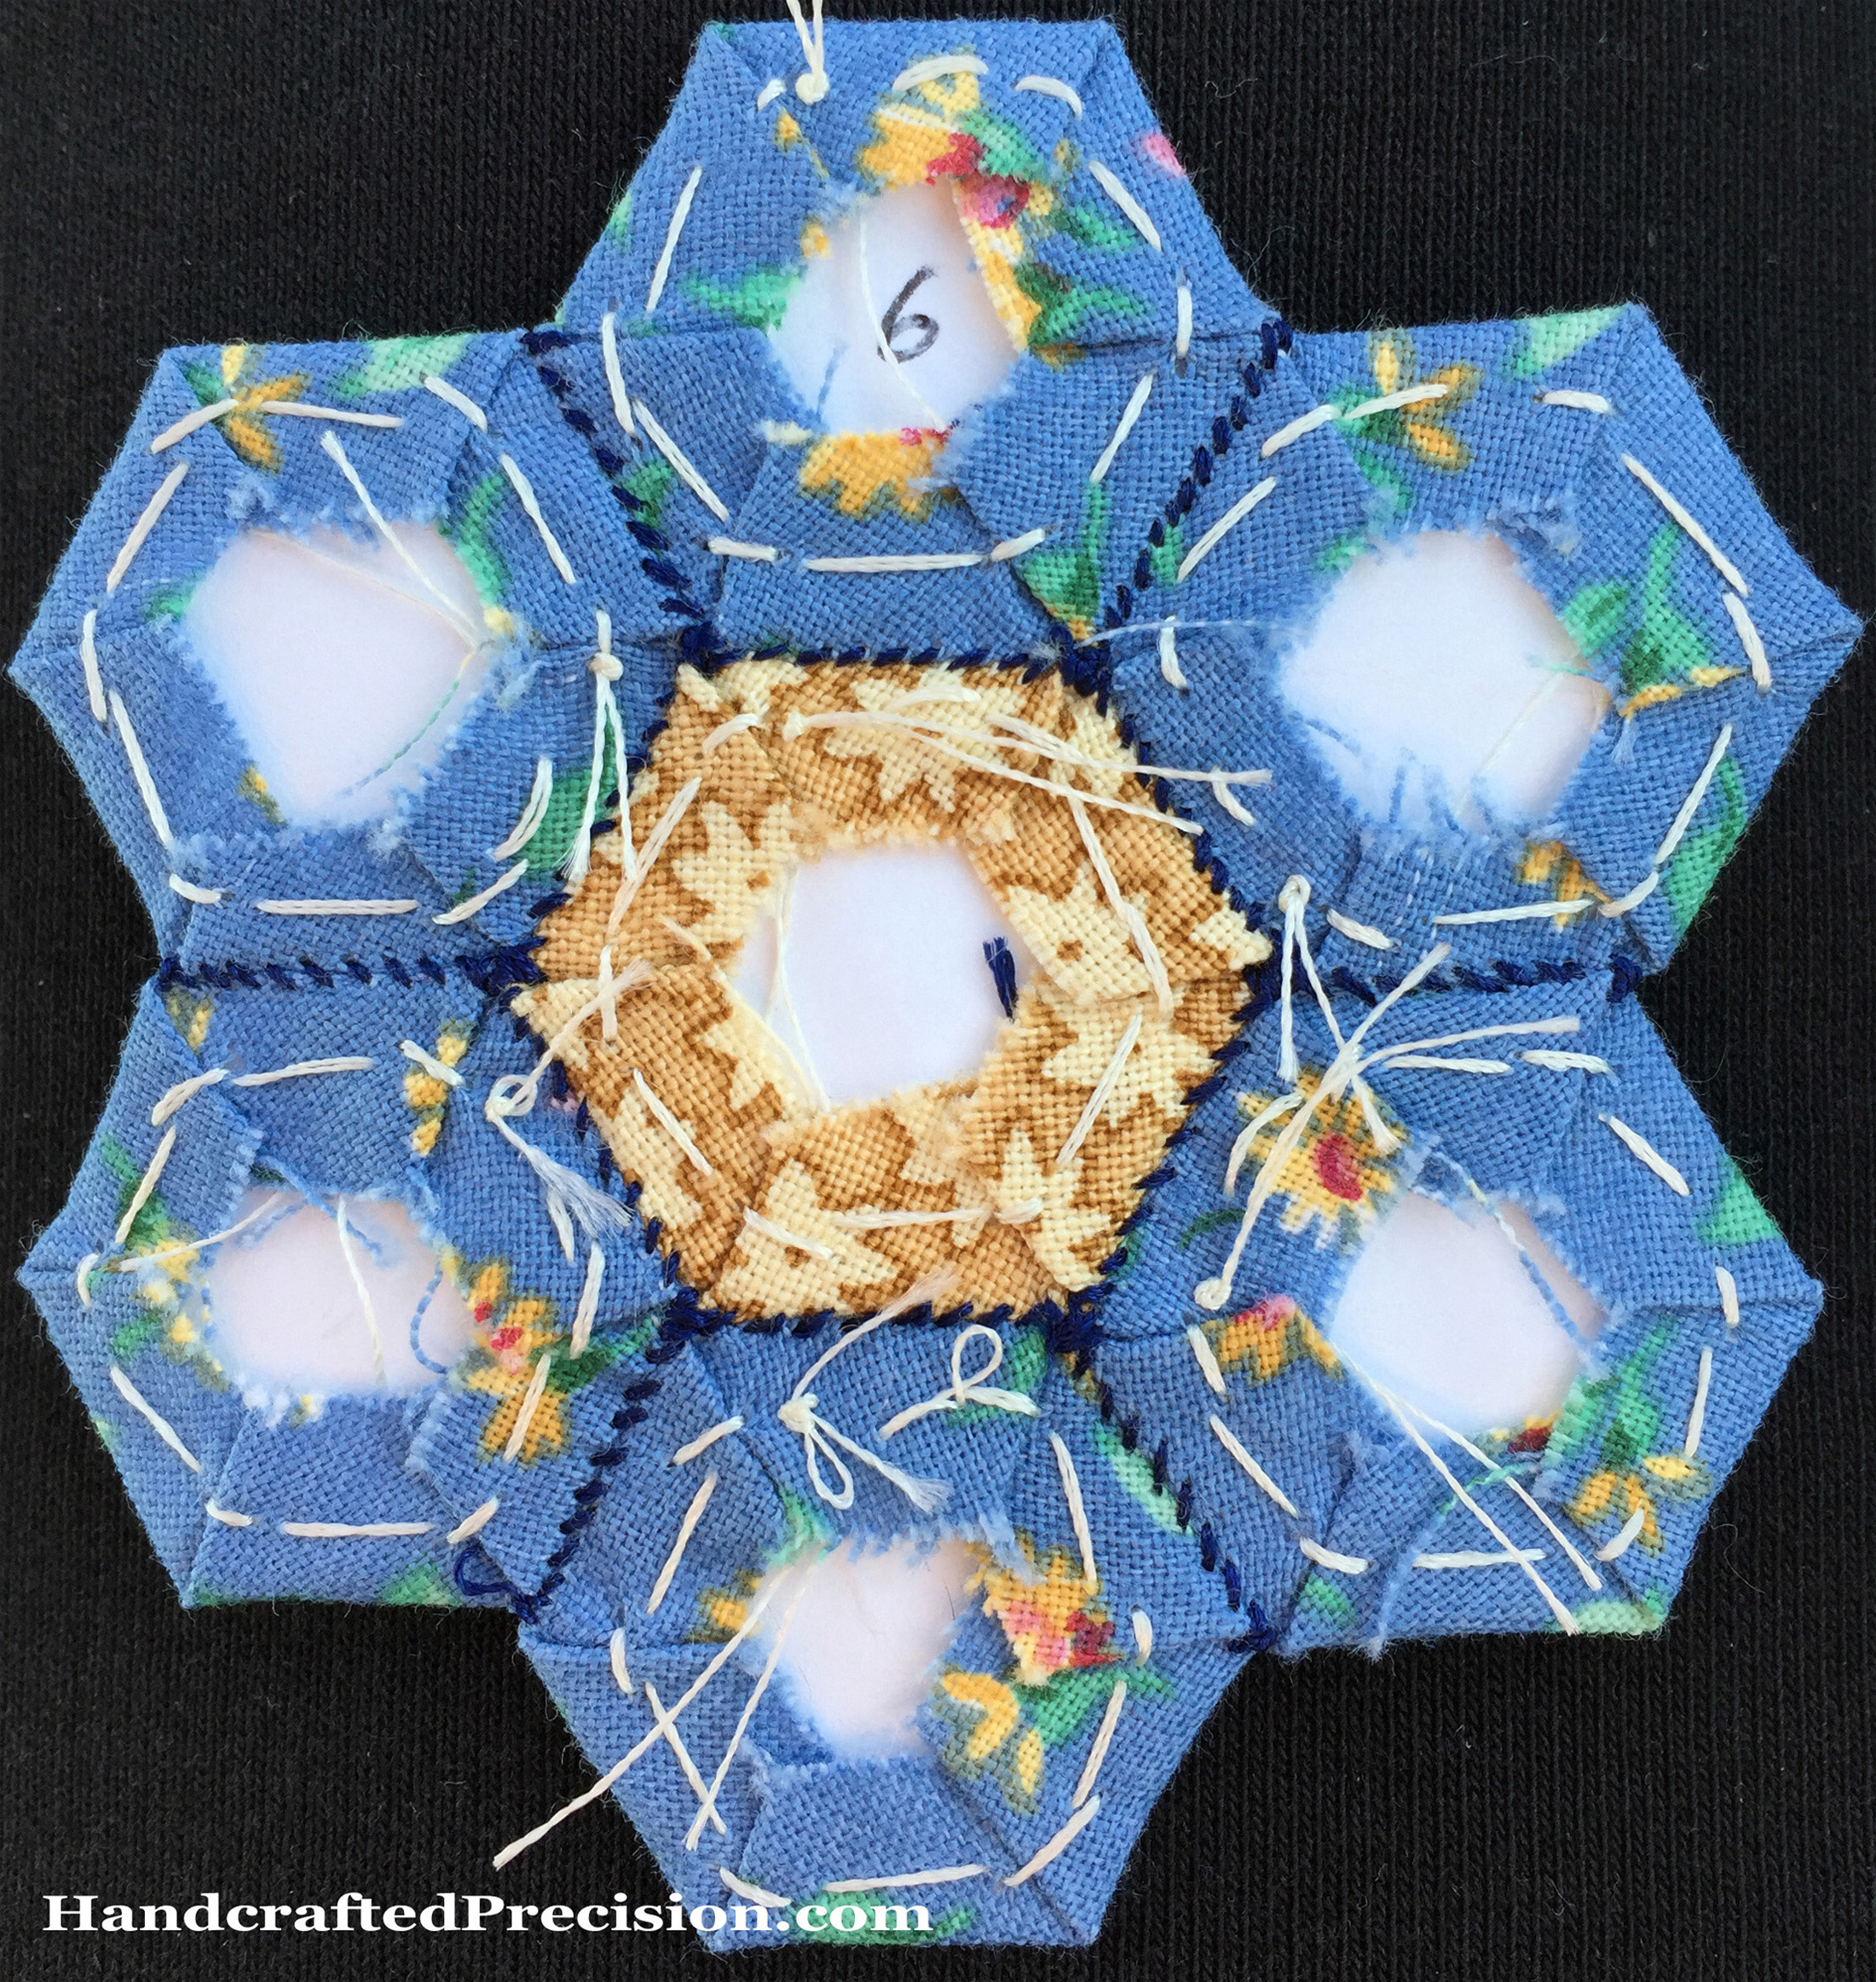
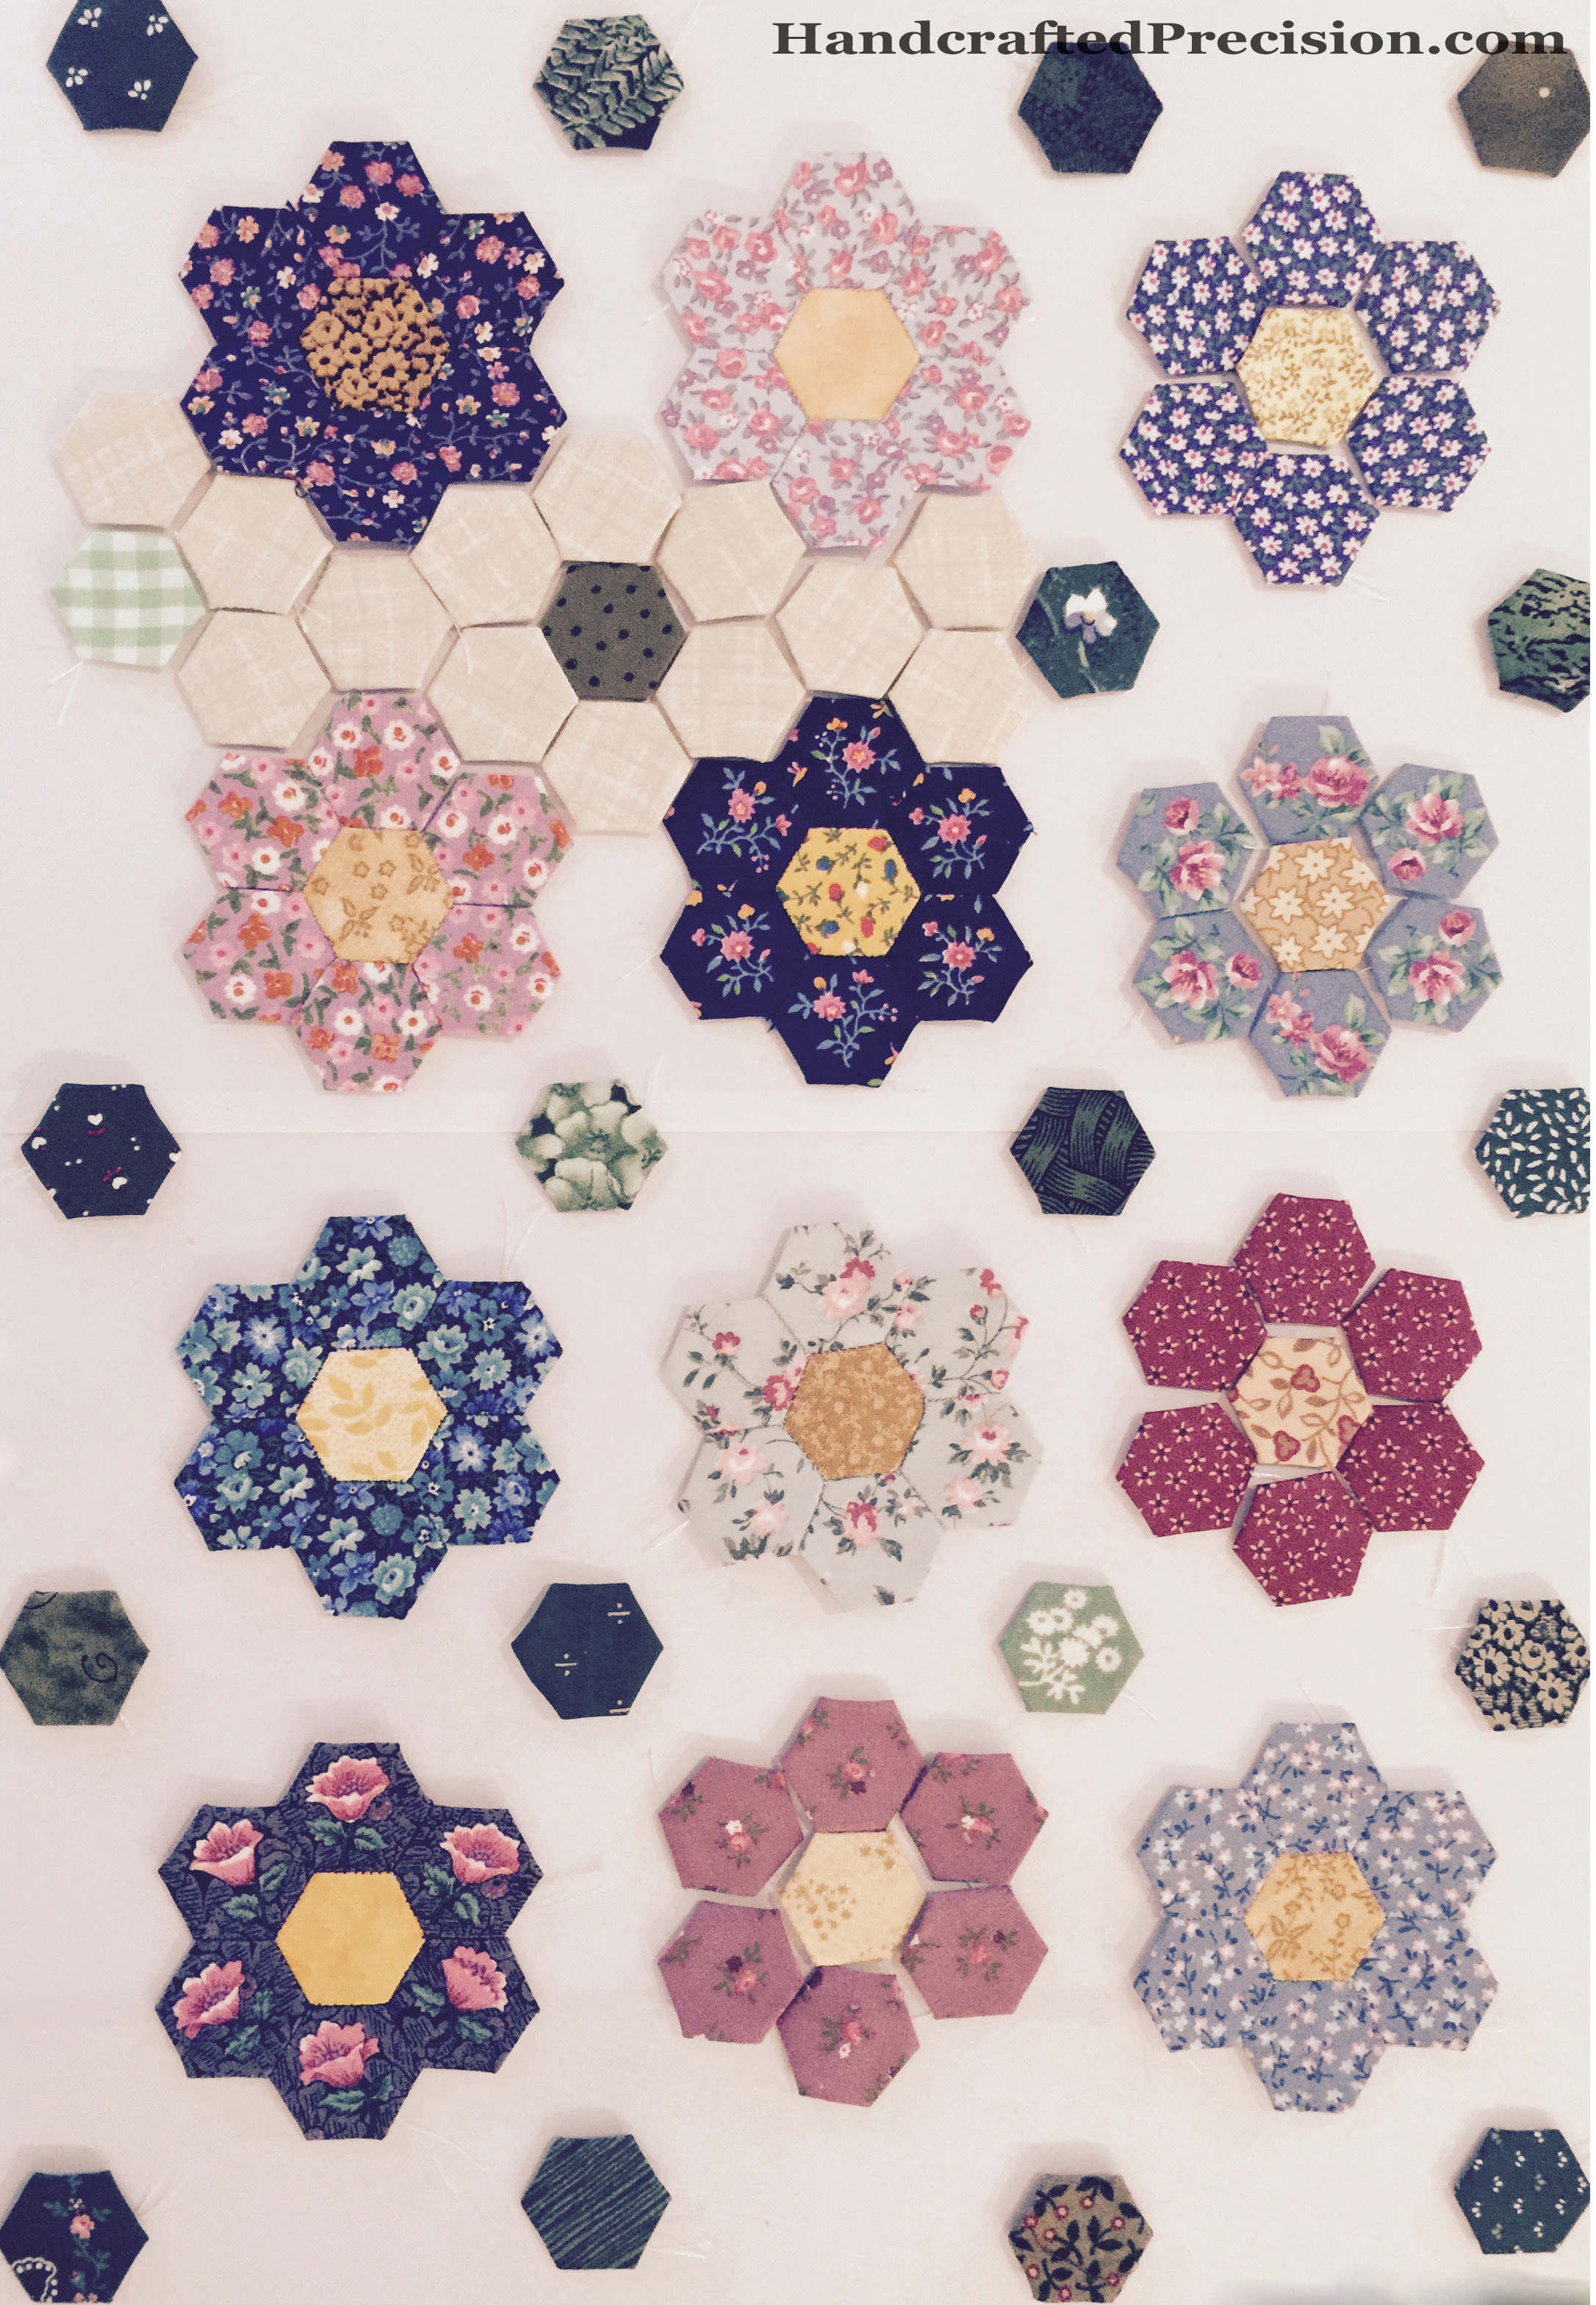
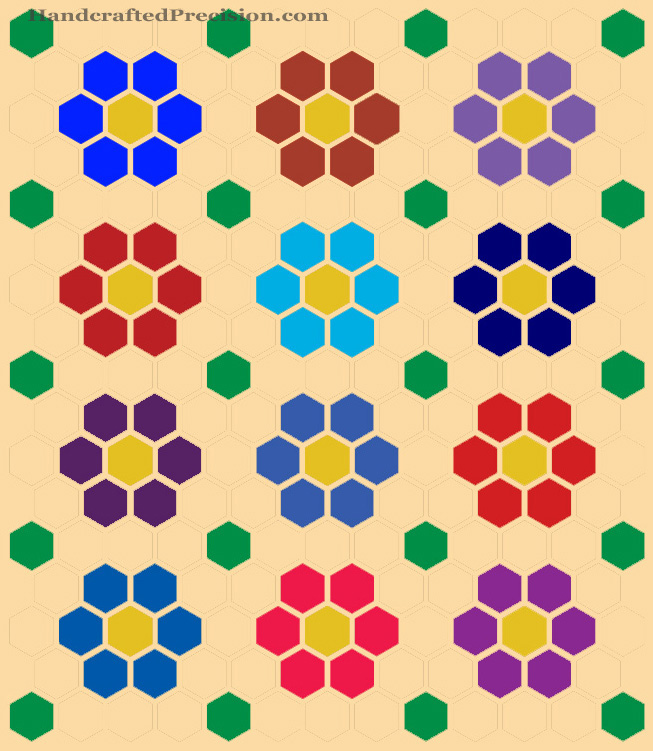
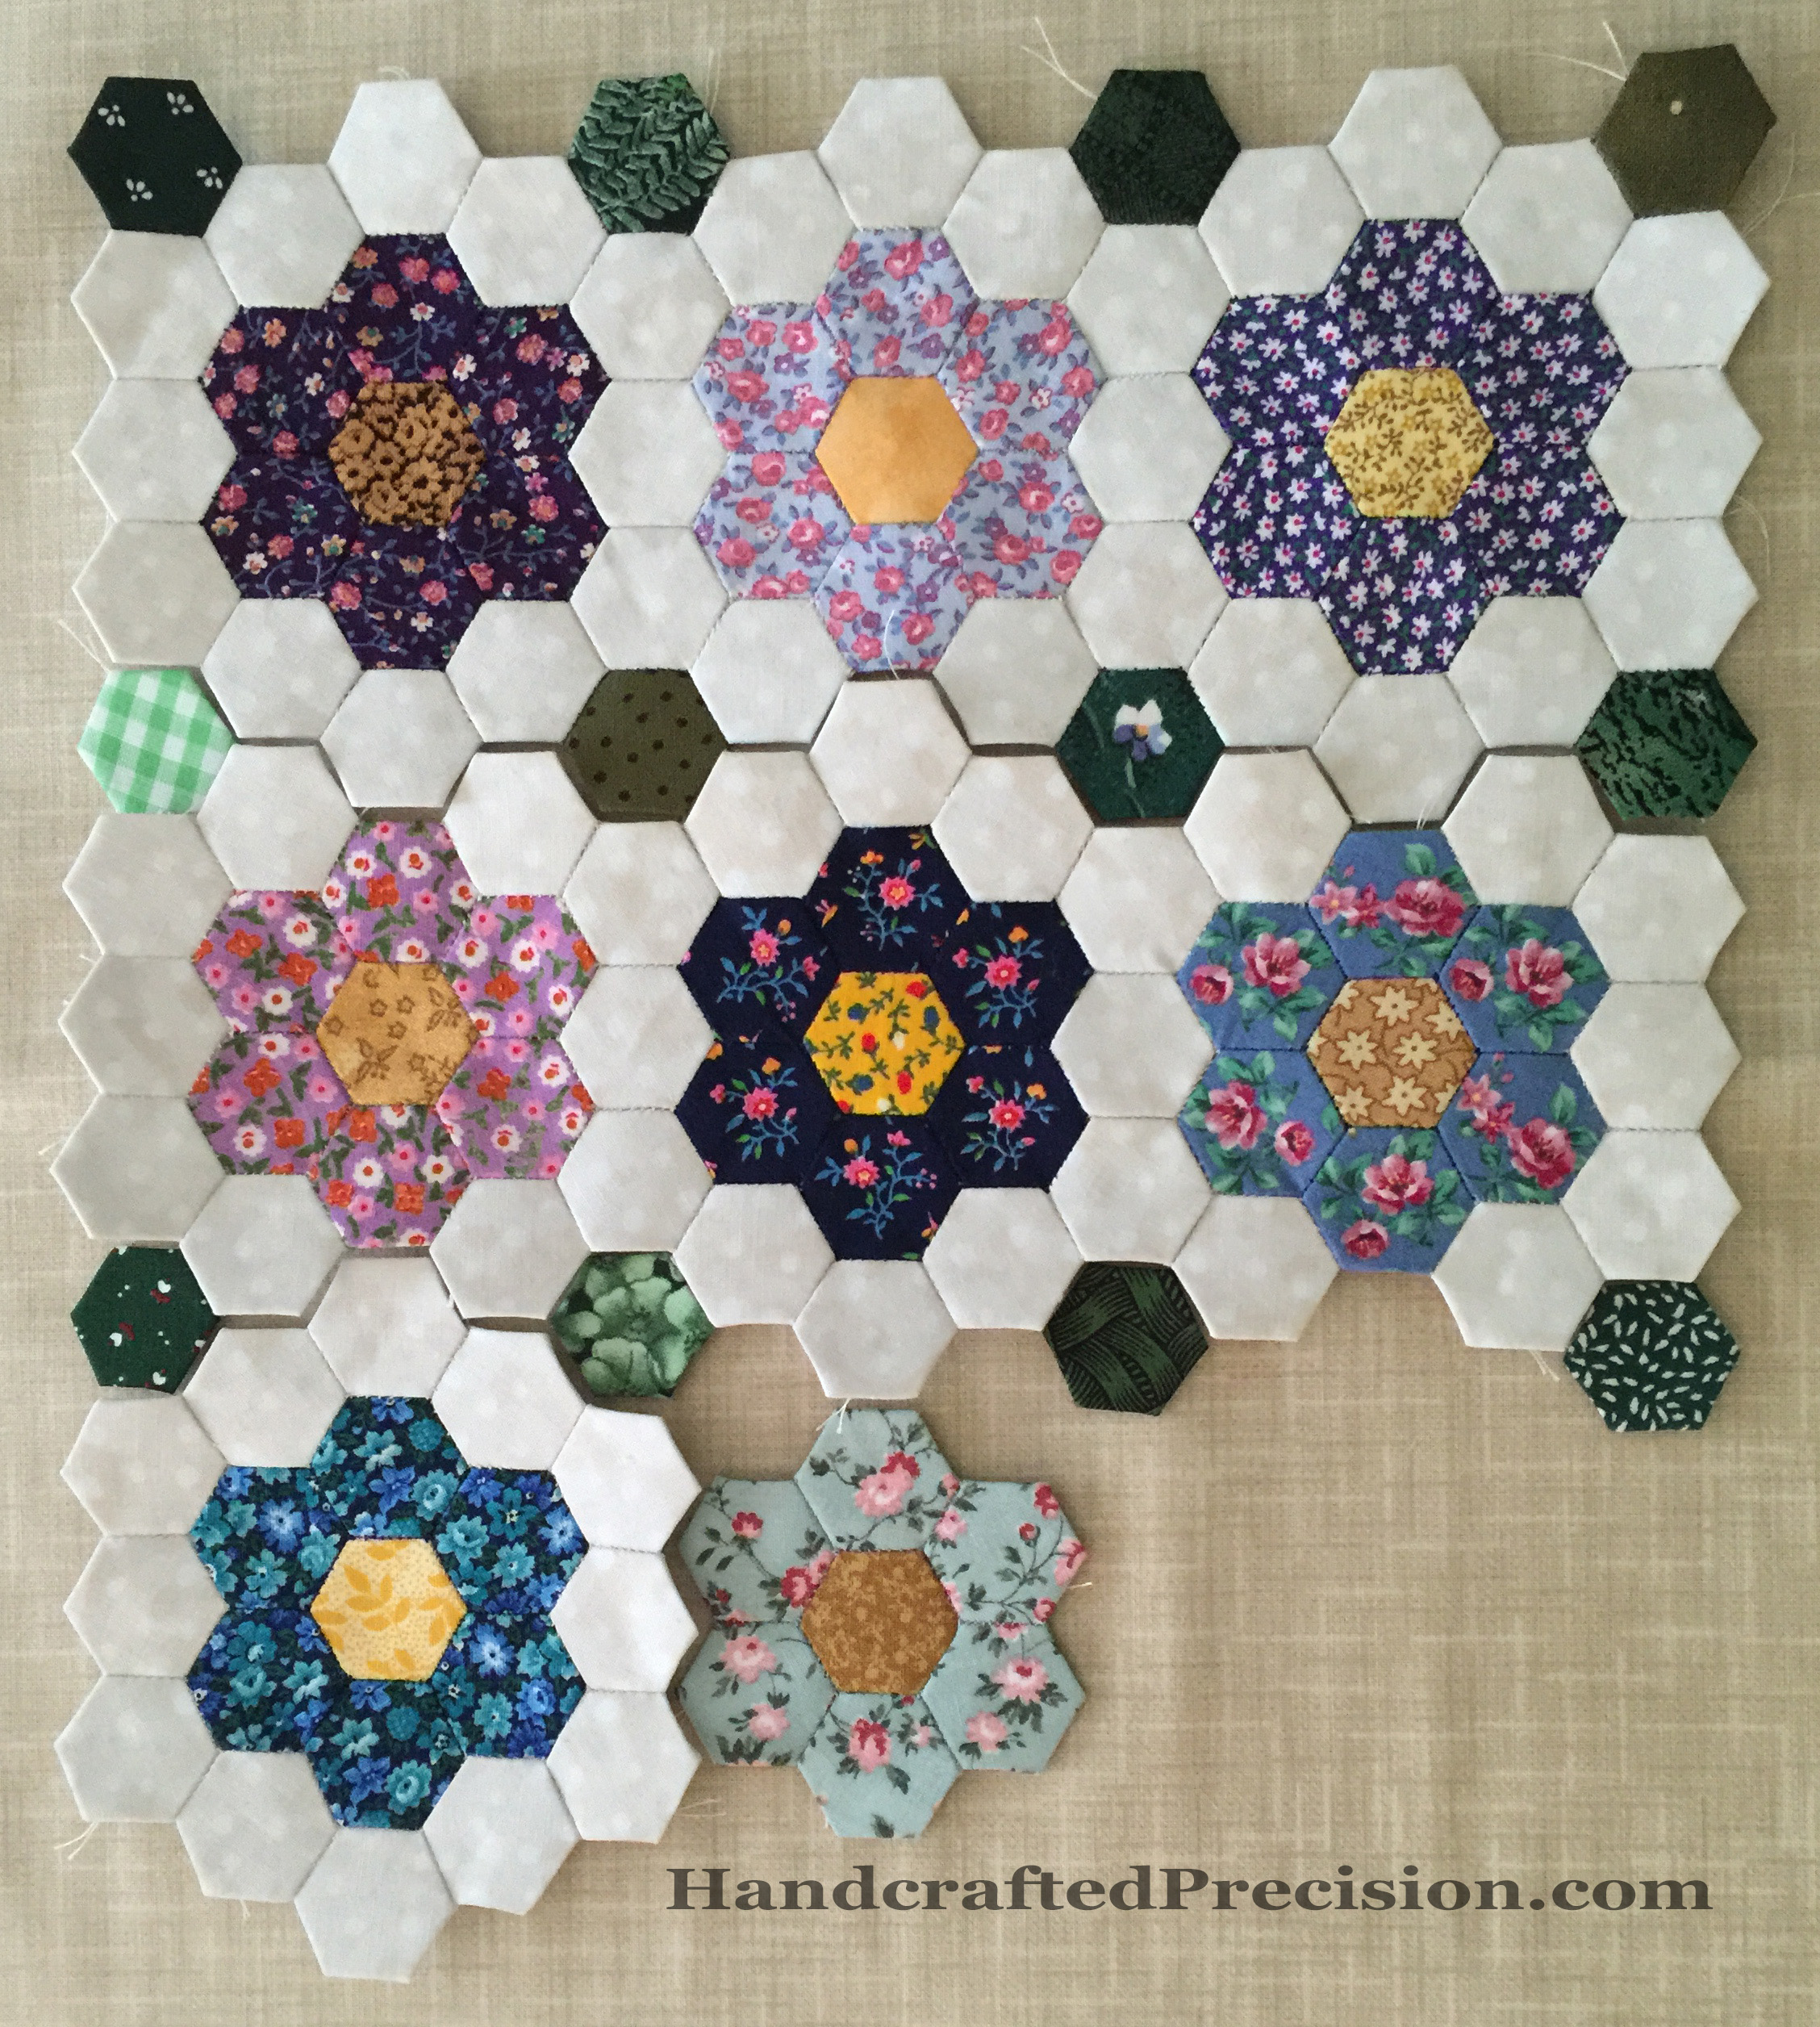
  2. Tiny Flower Garden for Prim.  It’s a lot more done now than it is in this picture, and I have more pictures of its assembly which I have yet to blog.  I think if I really push, I can get it quilted and bound and ready for hanging in under three months.  I’m dreading the applique to the borders, but I think I’ve done enough hand-sewing by now that it’ll be fine.  I have no idea how I’m going to quilt it beyond “simply”, but I’ll cross that bridge when I get to it.

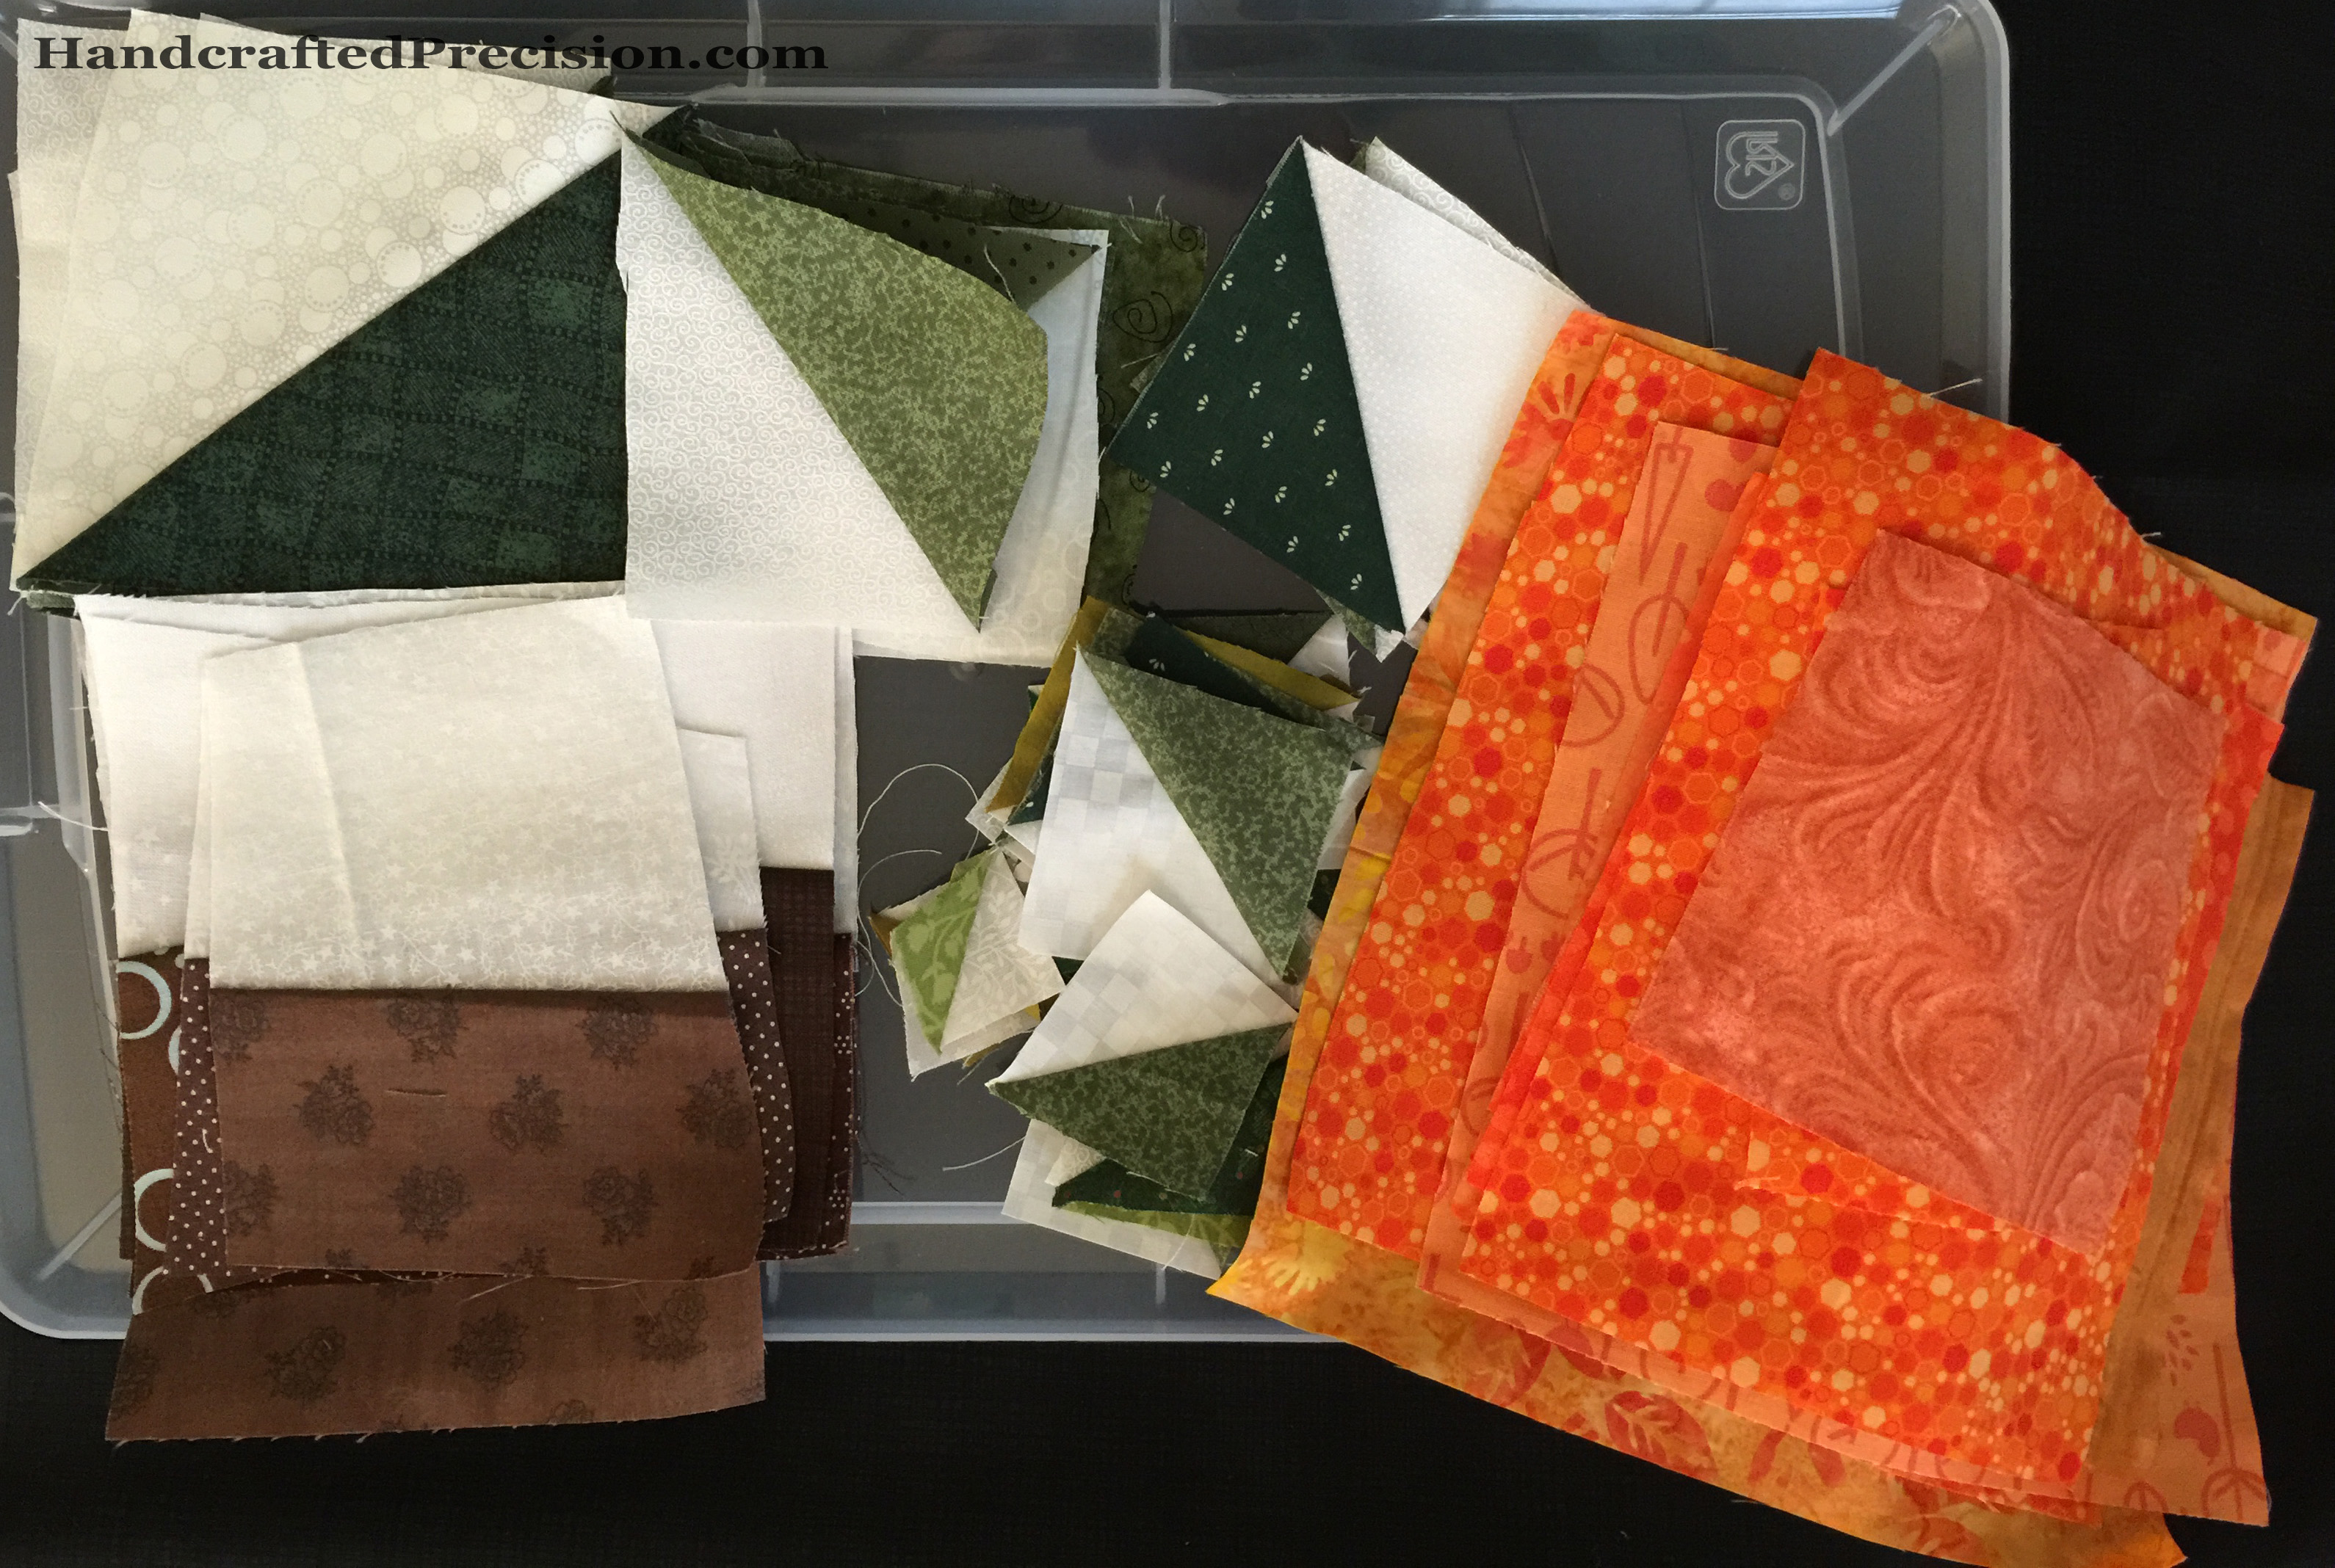
3. Pumpkin Patch for Sec.  I’d decided that this would be a twin-sized quilt, but I’m going back to my toddler-bed-sized plan.  It’ll be a faster finish and he’s not super-into pumpkins anymore, so this can go into storage for someday when he moves out and takes it with him.  Or he can use it on the couch.  Or both.

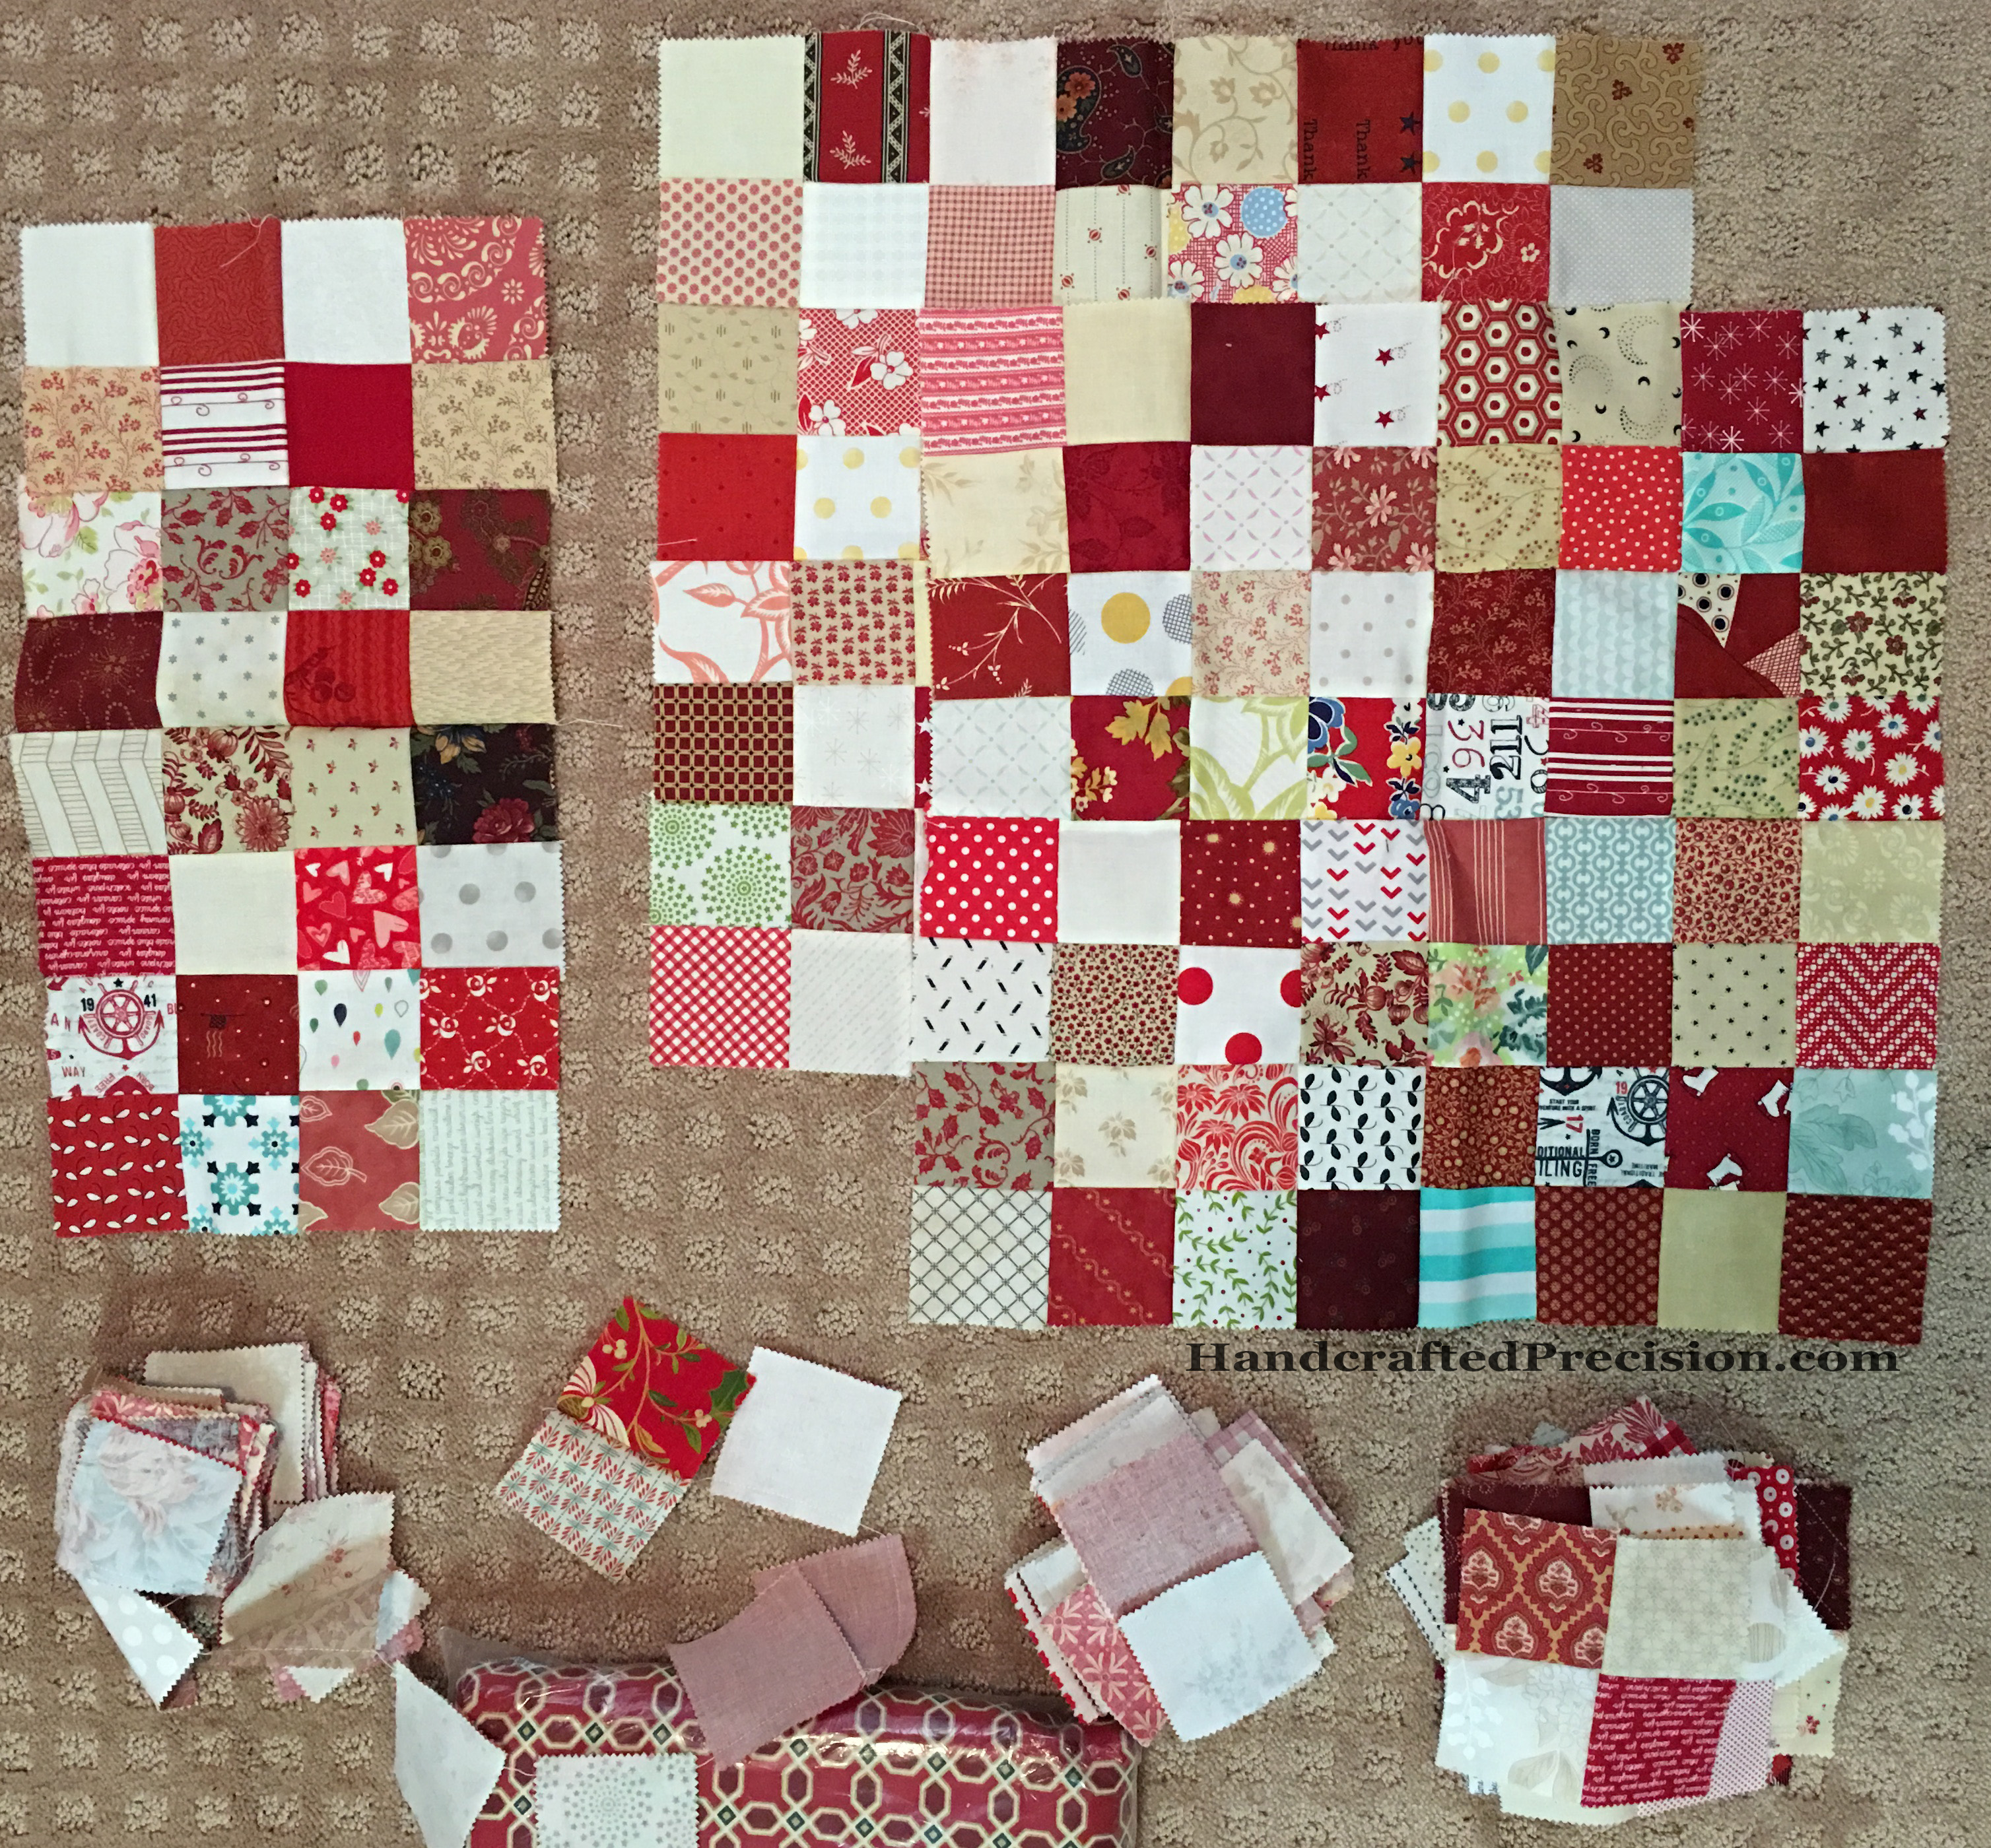
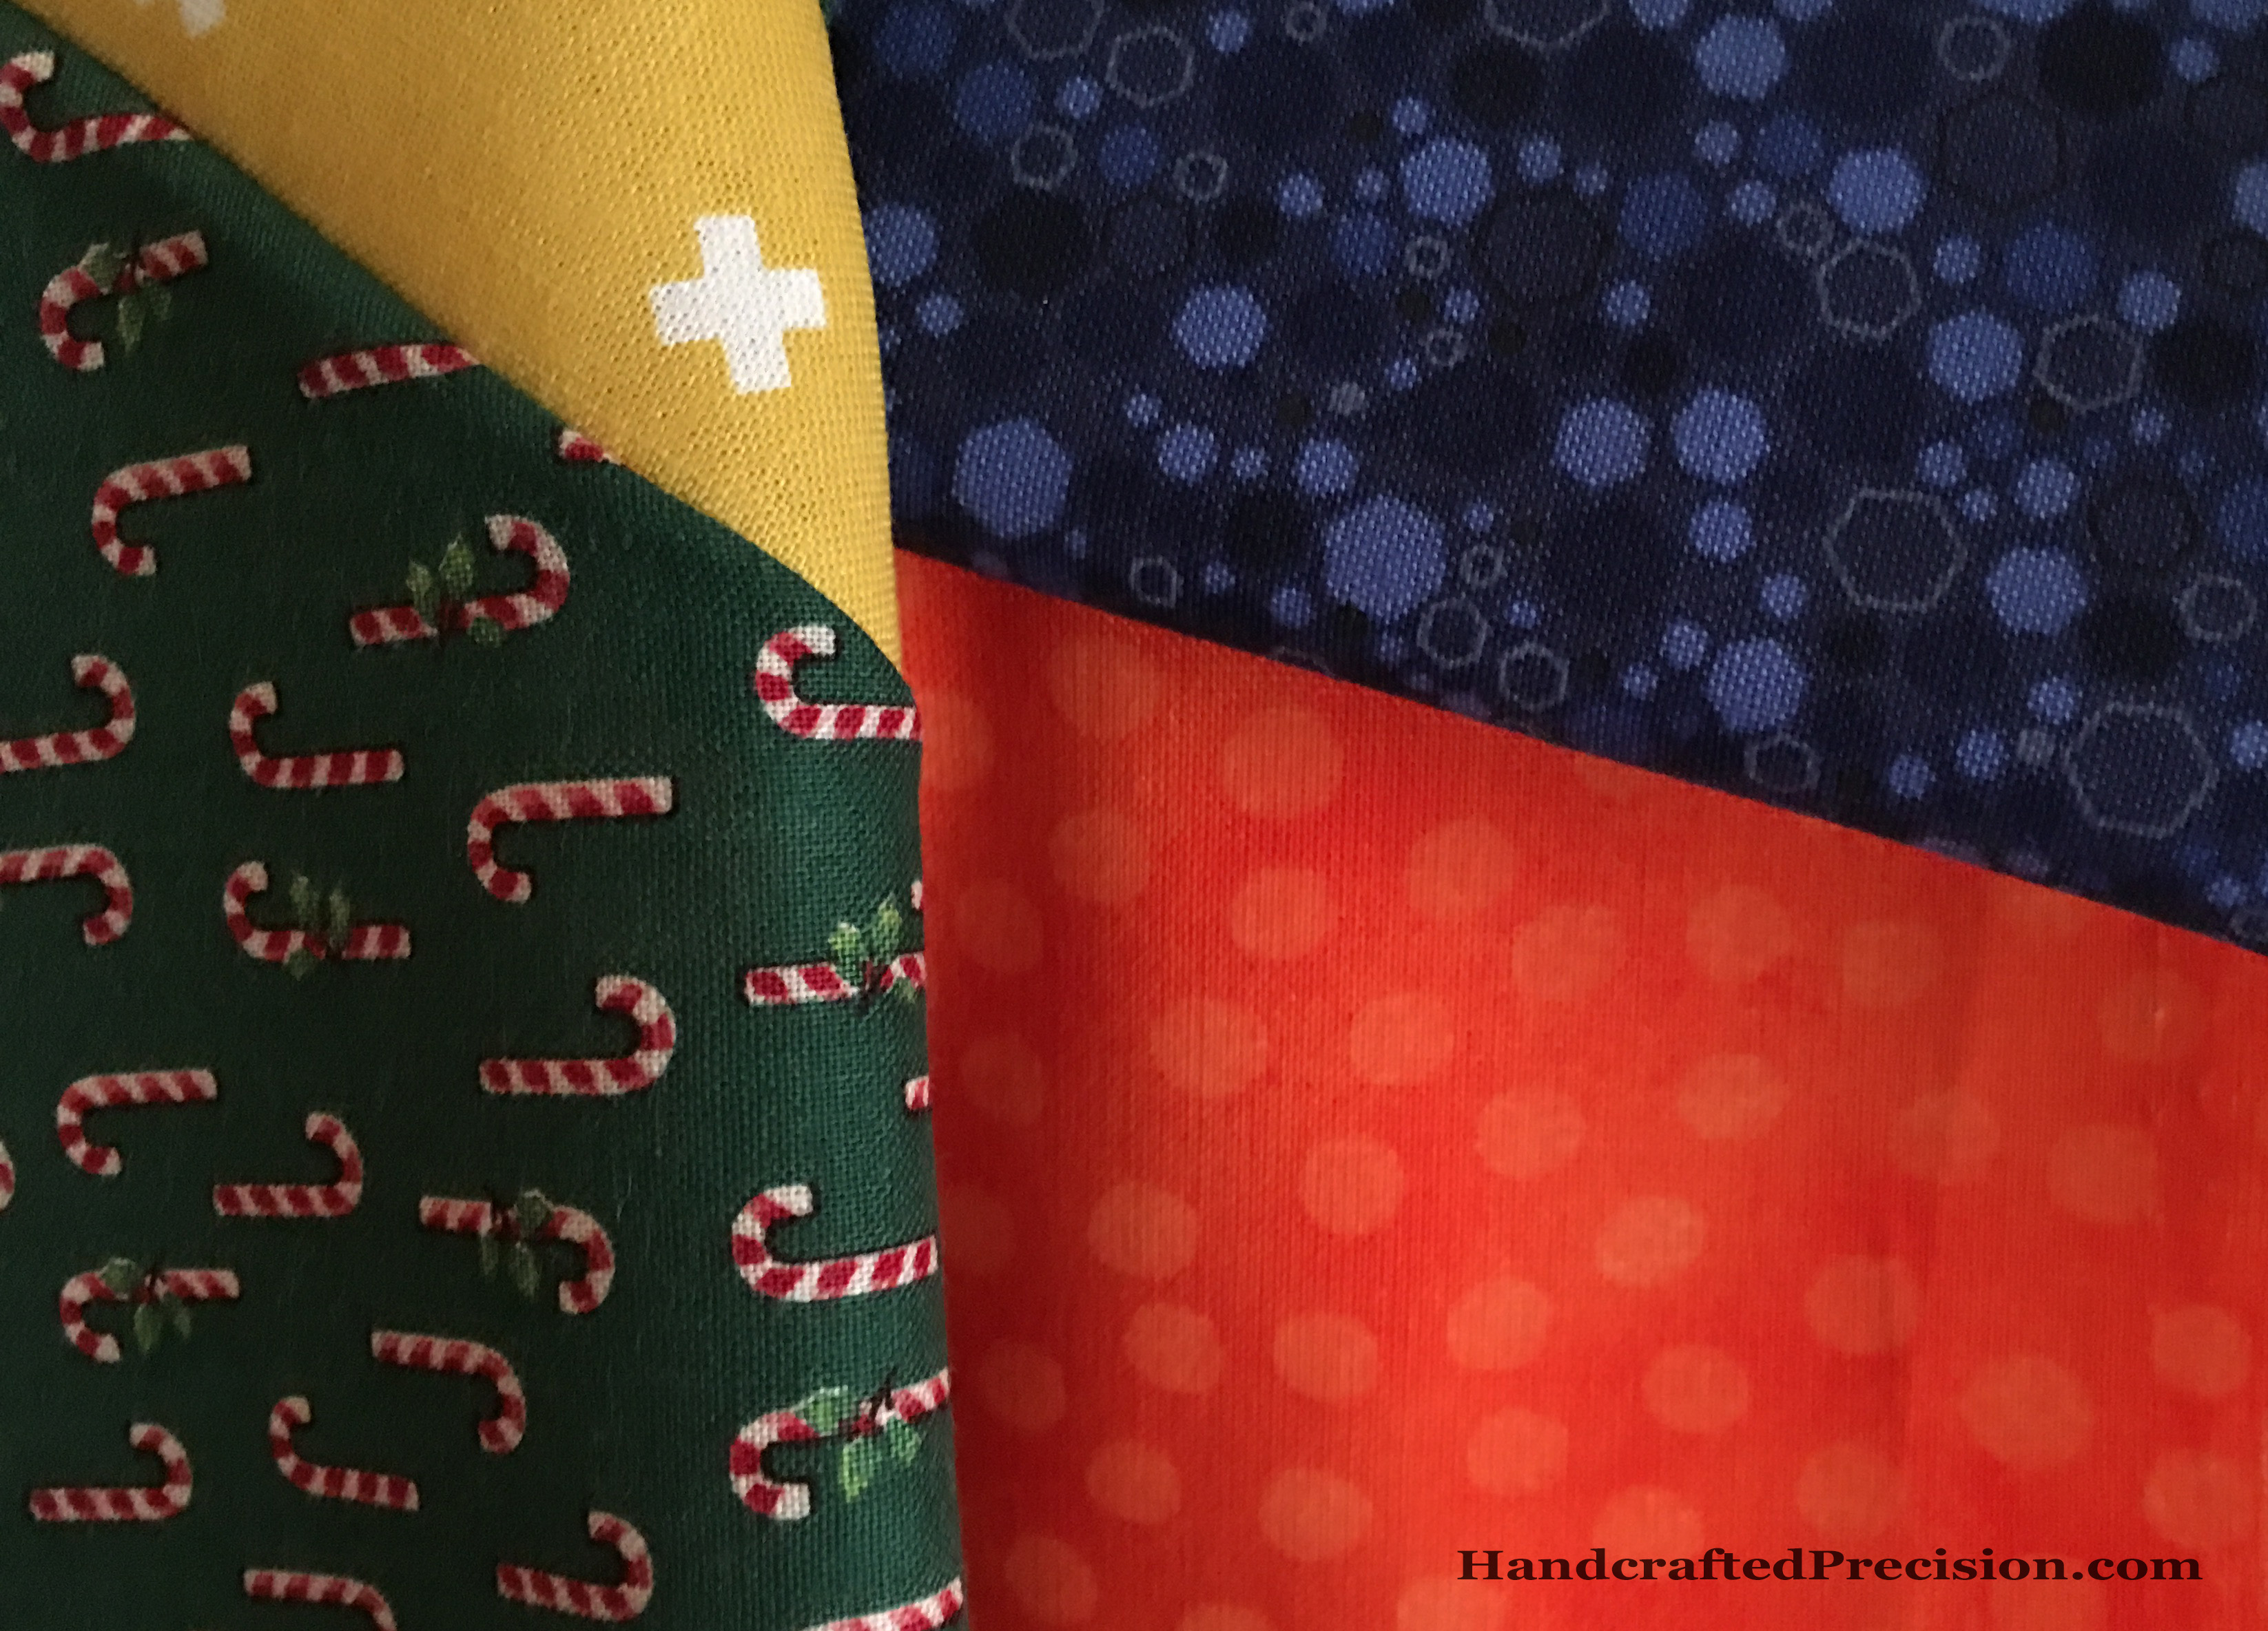
4. Red and white twin-sized bed quilt for Sec.  Not blogged (or named) yet, I’ll add a link when I post about it.

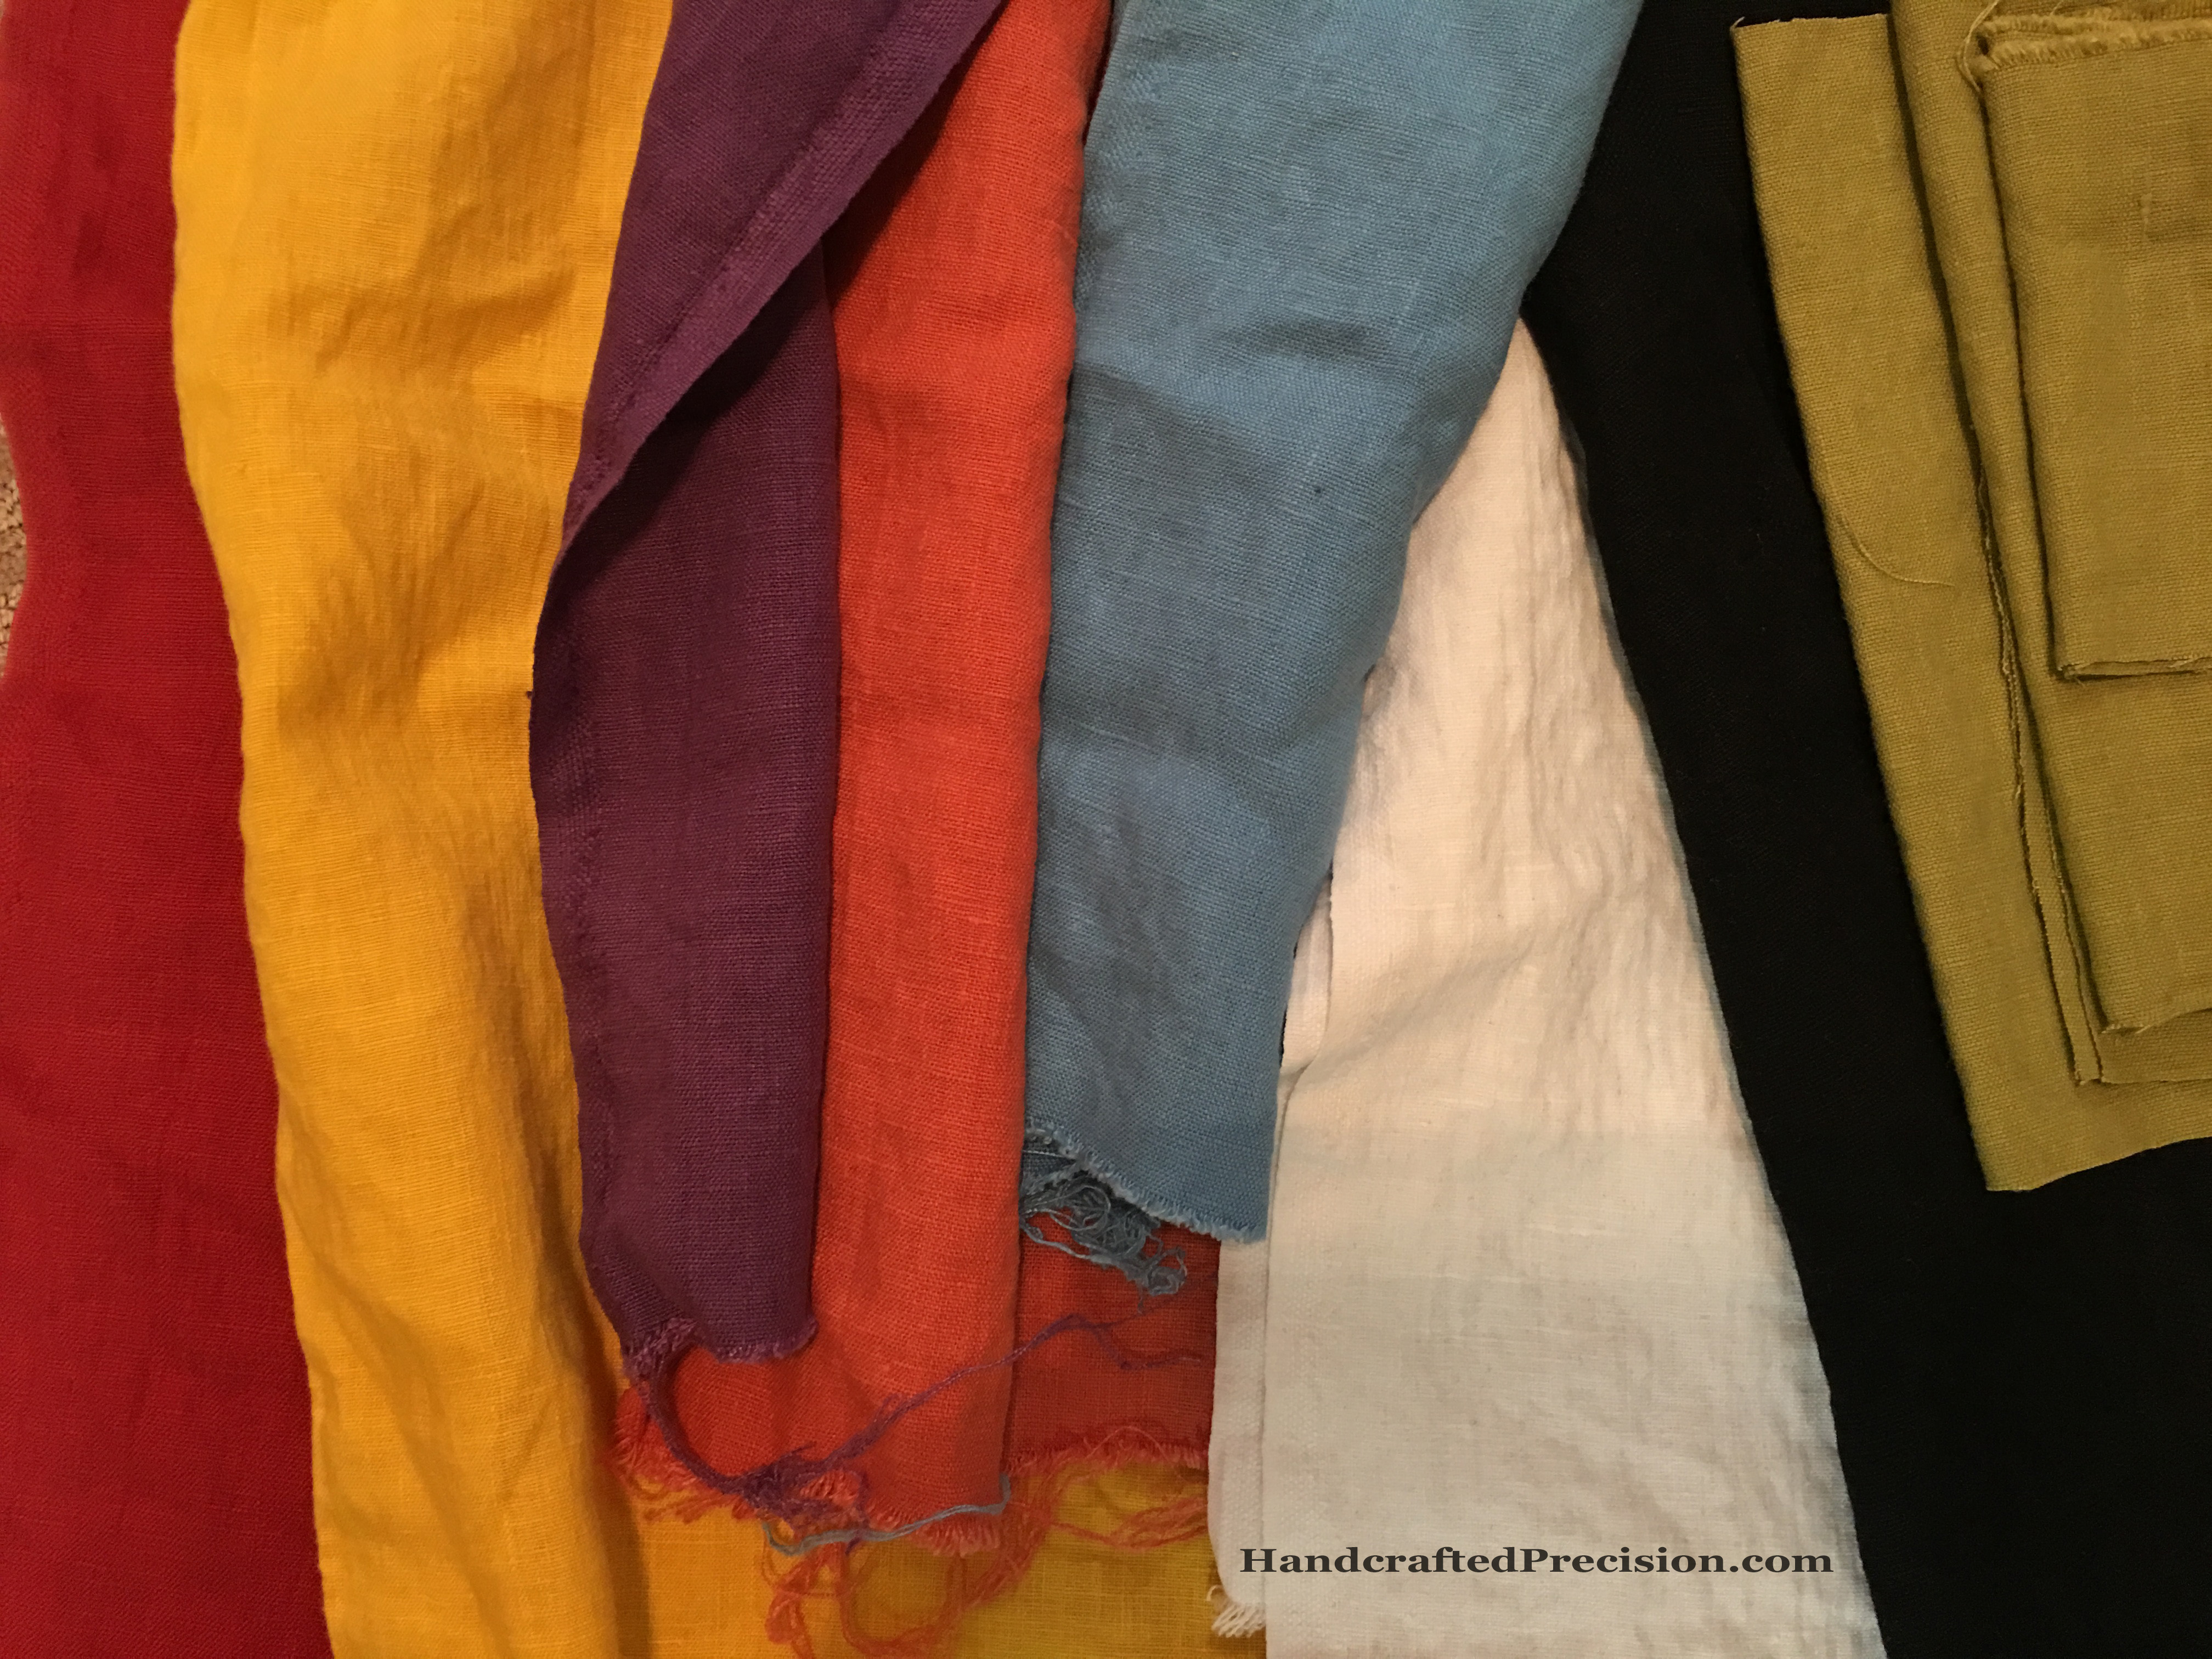
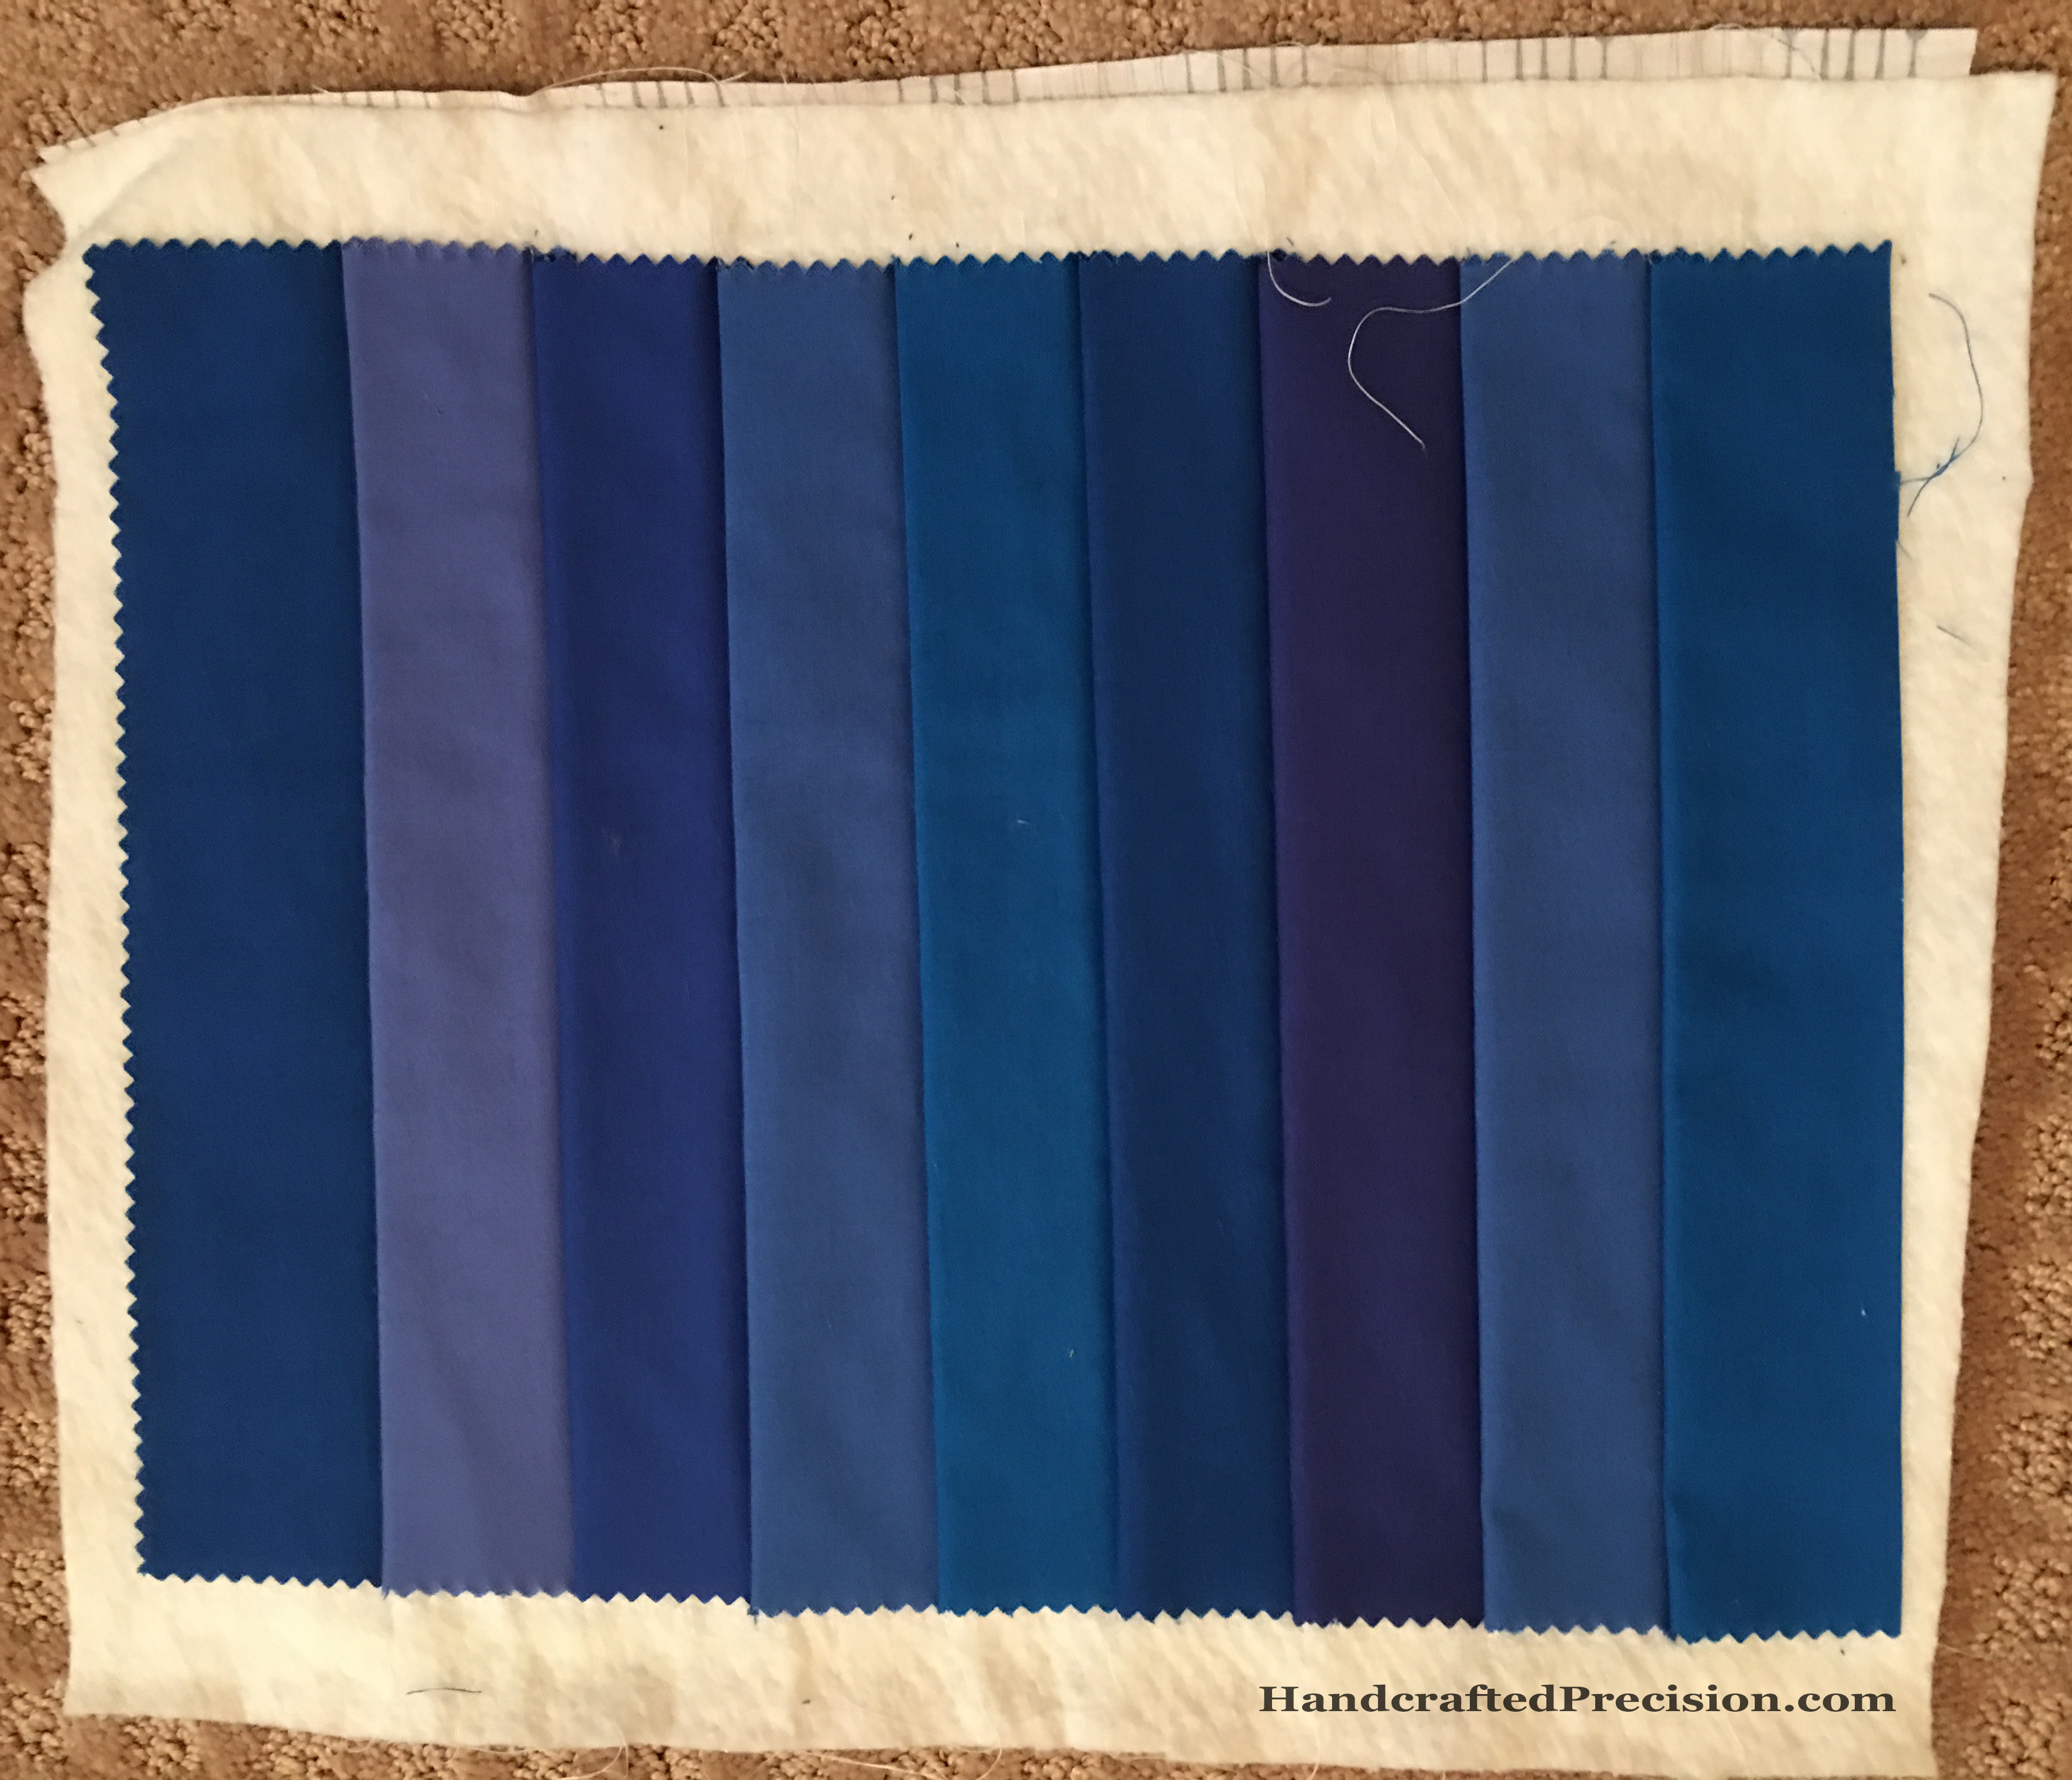
5. Improv linen throw quilt.  Chunky rectangles of color, accented with black and white.  1/2″ seams, not blogged yet.

6. Toddler placements.  I promised these to the kids’ (old) school, and I’d like to get them finished up and mailed.  Not blogged yet.

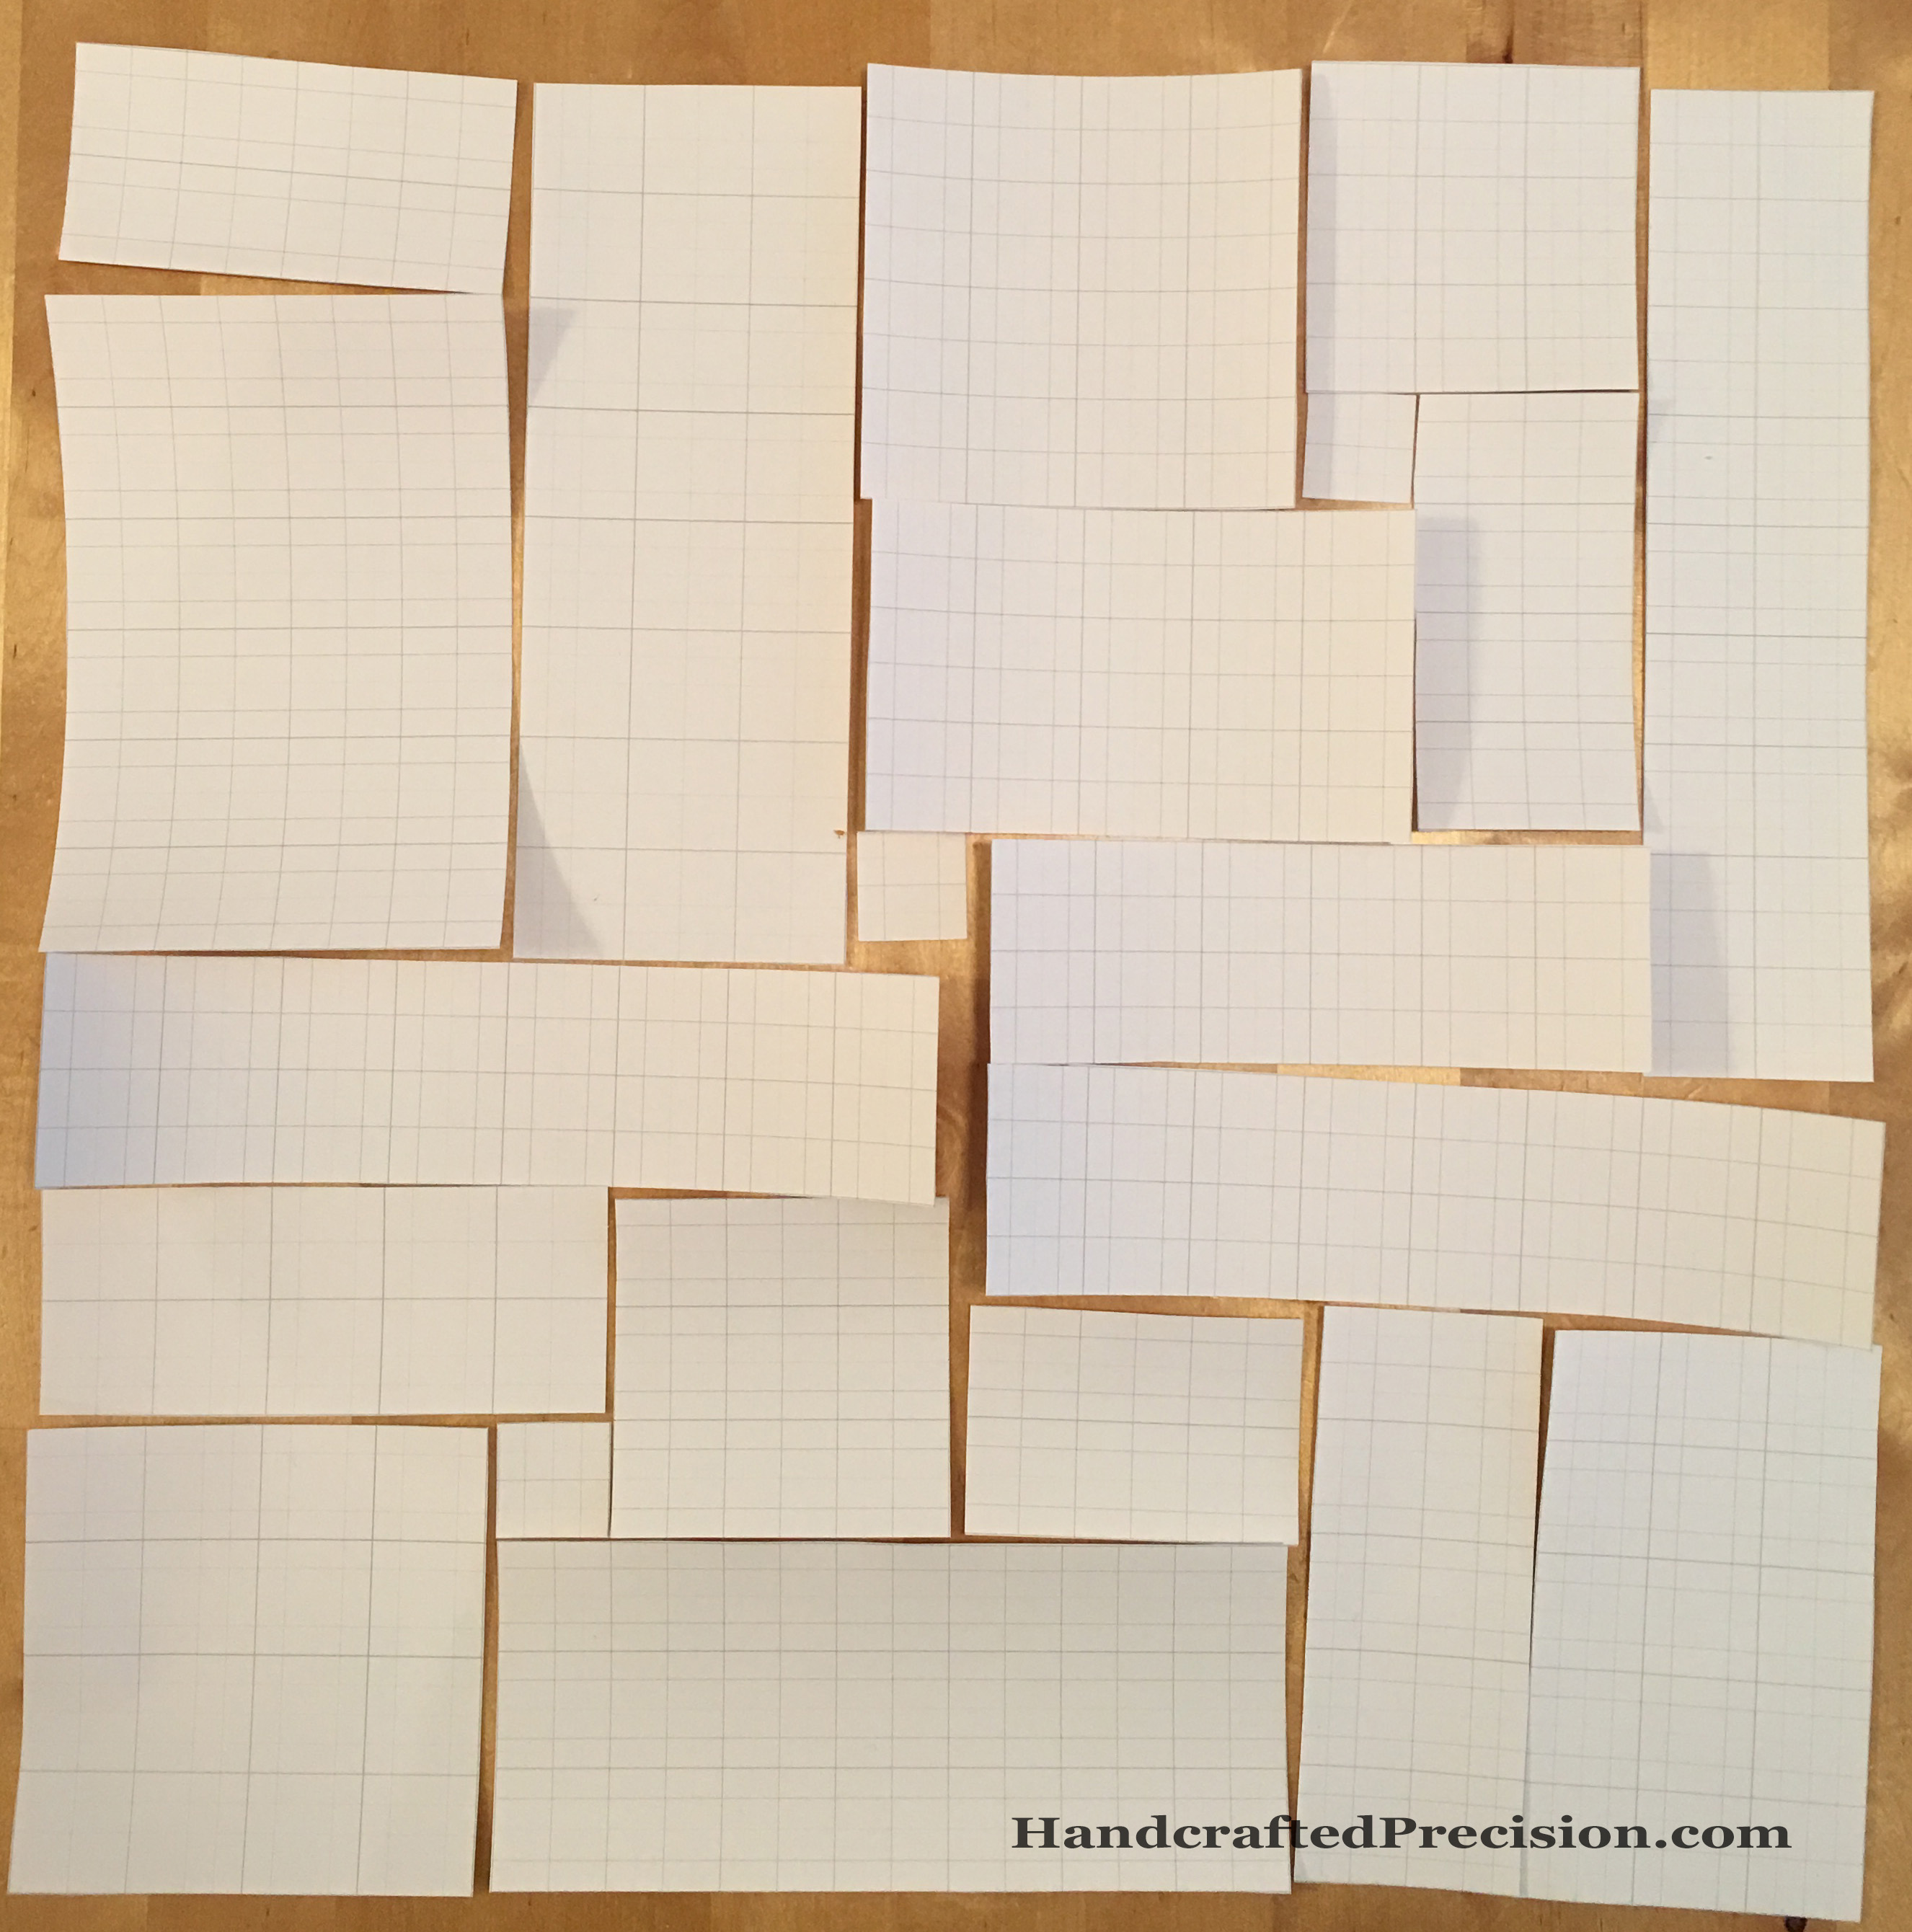
7. 16″ square epp pillow cover.  It’s currently just paper shapes, not blogged yet.

8a-d. Four 7.5″ x 8″ drink/snack mats for the kids’ new drink station.  These are EPPed and I’ll have to redact the photos, since each features its owner’s first initial.  I have Prim’s ready, but I need to re-do the binding as I rushed it and it’s not great.  The paper for Sec’s is cut out and I’m in the basting stage.  These are four separate projects, since they’re time-consuming, but they’re part of a series so I’m listing them together.  Not blogged yet.

9.  Four 7.5″ x 8″ alternate drink/snack mats.  These will be machine-pieced and are much simpler, so they count as one project.  I have the top of Prim’s sewn together and Sec pulled fabrics for his, but that’s about as far as I’ve gotten.  Not blogged yet.

And I’ll leave it here, since I don’t want to miss the link-up for the first quarter.  I’ll keep updating my “Project List” link, since I’d like a master list of my WiPs to work from.

Linking up to the Q1 2017 Finish-Along.

Third Row Progress

Still no finished third row, but here’s what I’ve done this week on my old background fabric, the tan crosshatch:

Third Row on Old Backing HP

I’m really glad I decided to go with the lighter, non-liney background.  The little dots are far softer and they fit in better with the other fabrics and the flower motifs.

I got the green “leaf” hexagons sewn to the first row.  All except that dang green gingham.  I’m really not sure about that one, but I think I need to look for something to replace it.  I also have the third flower on the third row almost surrounded by background hexes, but it was in my travel sewing kit and I didn’t want to dig it out for the photo.

With the Prim and Sec back in school this week, I should be able to get the rest of the row done.

Third Row Rosette

I think I jinxed myself when I talked about all of the steady progress I was making.  It’s been a busy week.  Well, I did manage to get the background on one flower from the third row.

Third Row Rosette Front HP

And the back:

Third Row Rosette Back HPNot much, but better than nothing.

Seeing the back remind me that I like a slightly bigger than 1/4″ seam allowance, which I think will make buying a die cutter (and die, obviously) difficult.  None of them (that I’ve seen) are going to give me the 3/8″ seam allowance I’m more comfortable with.

If you know of a die cutter with suitable dies, please let me know in the comments!  Thanks in advance.

Second Row Done

No exclamation point this week, but I have the second row sewn together.

Second TFG Row HPAnd the first and second rows as they nest together:

First Two TFG Rows HPSorry about the shadows.  I definitely need better lighting.

This project is still very portable (remember that these hexagons measure 1/2″ on a side).  I didn’t attach the single hexagon green “leaves” because I have them all oriented a certain way and it would be a pain to mark them and bring green thread.  I’ll do them all at the end.  And I haven’t decided about that green gingham one yet.

I’m making slow and steady progress, which is great.  I’m not looking forward to doing the applique to the borders, though.

First Row Done! (Almost)

Over the past couple of weekends, we spent a lot of time in the car.  I didn’t have to drive, so I spent the time sewing background hexagons to flowers and joining the first row of Tiny Flower Garden (sans green “leaf” hexagons, hence the “almost” in the post title).  I’m so excited!

First TFG Row HP

It’s actually starting to come together and the more time I spend with it, the more I like it.  I wonder if that’s because of the work I’m putting into it–or maybe it’s just that I didn’t expect much from this project, but I’m learning a lot.

I actually got halfway on joining the second row, but I’ll save photos of that until it’s done.  Soon, I hope.

To facilitate the “sewing while traveling” thing, I got a thread cutter pendant like I’d made fun of in the past.  I’m officially an old lady!  Joking aside, it worked really well.  I’m not used to wearing necklaces (and I had to wear a necklace of braided threads since I forgot to order a metal chain), but it was much less of a pain to wear it and use it than to unsheathe my tiny sharp scissors every time I needed them.  Because I was sewing instead of basting, I didn’t need them too often.

Contrast-Stitched Flower

I promised (even in jest), so I deliver!

Contrast-Stithced Flower Front HP

You’re looking at the only flower I kind of regret.  I was lazy and didn’t switch from the darker thread when I started sewing together the lighter flowers.  Remember that the photo you’re seeing is likely larger than it is in real life, where it measures just over 2.5″ tall, so the stitches aren’t quite so pronounced in person as in the picture.

This is the only light flower that got the darker thread, for reasons that should be obvious.  I justified not ripping out the stitches by telling myself that it adds a homier “make do” feel to the project, but it’s just me not wanting to spend more time undoing it and then cursing to myself as I redid it.

I learned that I need to be neater on the corners.

Contrast-Stitched Flower Back HP

On the back, the whipstitches are clear, as are the little balls of thread in the corners.  I’ve been double stitching each corner and finishing each side with a knot, but maybe it’s too much?  I don’t know.

You’ll also note that I settled into a different basting pattern than on my orange diamond’s hexagons, which were my very first.  I’m now only knotting in the beginning and letting my tail hang against the paper by putting it through the fabric one more time.  At first, I was holding the fabric to the paper hexagon while I stitched, but that was fiddly and annoying, so now I’m basting with a tiny smudge of Elmer’s washable school glue stick.  I’ve also started doing a tack stitch over each corner.  It’s more secure and lets me put the hex down at a moment’s notice without losing all of my work.

The six on the paper hexagon not only lets me find the top of the flower when I’m on the go (most of the flowers are directional) but also reminds me of its order in the pattern without having to look up a reference photo.  This has simplified things for me more than once, since I have them laid out in a not-smart, very kid-accessible place.

As an aside, I’m really not looking forward to prying all of the papers out of the fully-joined hexagons, so I’m putting it off.  I still haven’t gotten the starch yet, so that’s my excuse.

Tiny Flower Garden Scrappy Leaves

TFG Progress 2 HPPicture up front today!

I chose and cut fabrics for all of the scrappy green leaves and got them basted onto their hexagons.  I was originally going to just use the green flowers fabric but I realized it’s the same design as the yellow flower center in the upper left.  That would have been weird.  Scrappy’s the way to go for this little wall-hanging anyway, I think, but I’m not so sure about that green and white gingham on the left.  It’s a little too pale.  I’ll leave it for now and let it sit in my brain.

I also finalized the scrappy yellow flower centers.  You’ll note that there’s one repeated fabric.  It looked best with those flowers and I decided not to sweat it.  It’s supposed to be eclectic and scrappy.  I’m using what I have.

You’ll see that I basted a dozen or so of the tan crosshatch background and I hate it.  It’s too dark and too rigid and formal.  Back to the fabric store, I guess.  I’m sure I can use it for something else, but if I’m putting all of this time into the hand sewing, I want to LOVE the final product, even if it’s not totally my thing.

You’ll also note that I’ve already sewn some of the flowers together and hit with the iron. Progress!  The older EPP guru lady at the fabric store said to use heavy starch, so I’ll need to get some at the grocery store.

The colors aren’t showing true in this photo.  I think that the beige background crosshatch fabric might be a little too dark and a little too boring.  You can click through for a full-sized picture.  I’m trying not to stress too much about it since it’s a practice project (and my first EPP project), and it’s for Prim and he’ll like it no matter how it turns out.

I guess I have to go back to the fabric store.  <sigh>  I thought that since the 1/2″ hexes were so small I’d be buying a lot less fabric.  Things have not turned out that way so far.  It’s not terrible, since I’m a new sewer and have very little in my stash to begin with–and I am still pursuing some machine-pieced projects.  I’m just infatuated with the hexagons lately.  I need a permanent place for my sewing machine.  Dragging it out every time is getting old, which is why I think I’m favoring the hand sewing.  It’s much easier to get my little container of supplies and get set up to hand sew.

I’ve managed to put my mind at ease about the whole “some stitches show on the front” issue. I’ve come to rest at “good, because it’s handmade–people aren’t machines”. And that’s an okay place for me, I think.

I am regretting being lazy for one of the light flowers and not changing out to a lighter thread.  Maybe I’ll take photos of it and pretend I did it on purpose to show my process.  Ha!

Tiny Flower Garden Layout

Since “Tiny Flower Garden” is a practice project, I’ve decided not to agonize over it (anymore).  I decided on a layout.  Also, I think twelve flowers is about my maximum.  It’s going to be a wall-hanging.  For an idea of scale, this layout mostly fills two sheets of letter-sized paper.

TFG Layout HP

You can see that I decided on scrappy centers.  The bright yellow, while a fun fabric that I’m glad is in my stash, just didn’t look right with the other fabrics.  I’ve kept one center in that fabric, though, since I need some movement and interest.  I don’t want to have all of the centers (or the flowers, for that matter) in the same value range.

I was trying to figure out what to do with it when it’s done, when Prim walked by it as I was taking the picture and said, “Ooh!  It’s so pretty!”  I asked him if he wanted it to hang on his wall when it was finished, he enthusiastically agreed, so now it has a home.  Also, even though I don’t love the Grandmother’s Flower Garden Pattern, I find that I like working on it more now that it’s for him and not just an exercise or technique practice.

I really like the green flowers for the dots.  They’ll blend in well.  I also like the light beige crosshatch background hex a lot more, which is great, since I have a yard of that fabric.  I won’t need anywhere near that much for this project, but it’s a great neutral. I was just worried that it wouldn’t look right.

I’ve been impatient about actually sewing things together, so I’ll baste the rest of the green “leaves” and background pieces later.  Next up, joining flowers!

Tiny Flower Garden Mockup

I don’t love traditional Grandmother’s Flower Garden layouts, with large flowers and green paths, but what I especially don’t like is the very uneven edges.  I don’t want to do half-flowers, either.  I already have twelve flowers done and don’t want this project to become a huge deal.  I also don’t like GFGs when there’s no path and just a jumble of flowers (though I see how that could be pretty–argh!  No sidetracking!).

This is how I’m thinking of finishing my “Tiny Flower Garden”:

TFG Mockup HP

Pretend that the hexes touch.  The flower colors in the mockup don’t correspond to reality. I’ll applique the finished garden onto more of the same background fabric (right now, I’m planning on that being a beige crosshatch, but I’m not sure the color’s right) and then quilt (by hand? dunno) and bind the straight edges normally, probably in green.  I have a green fabric in mind for the single “leaf” hexes.

I need to get the leaf hexes basted, then I’ll lay it all out and snap a picture.