Minuscule Hexagon Flowers

As I was working on sewing the minuscule hexagons together for the flowers, I realized that it wasn’t that much fun.  The small needle was too small and it was easier with a longer needle, but still no fun.  So I’m only going to make four flowers for the needle book.  I don’t need flowers on the back cover or spine.  They’ll be a feature for the front.  Here are the three I have done, and a few basted hexagons of the green path fabric.  Only the orange flower left to go.

I was planning on a white/light hexagon with a fussy-cut motif for the center of the four flowers, but I’m not finding anything suitable in my stash.  I thought the fabric I have them on above would work, but it’s not precise enough a motif.  I’ll keep looking.  I haven’t had time with the kids on Winter Break.

Also, I see, especially in the photo, that the stitches are showing more than normal (and they’re about six on each edge, not seven).  I hope the fabric will relax a little when I take the papers out, as I do plan on taking the papers out.

There will be a blog post for 2017 plans, but it’s not done yet.  I do plan to backdate it to the first.  Try not to freak out about it, my single blog follower.  ;)

Plans for 2017

This is a picture-free post (and backdated from the 9th to the 1st), so buckle in.

I’ve been giving a lot of thought to what kind of person I want to be, what kind of parent, and I want to be someone who finishes things.  I love starting projects, but I often don’t see them through because I’m so wrapped up in them being “perfect”.  As we know, “perfect” is the enemy of “good”, and it murders “done”.  In the interest of pushing myself to rack up some finishes in 2017, my word of the year is:

FINISHED!

Obviously, some of my handwork projects are long-term, and it’s fine for me to have long-term projects, but I need to get some done and quilted and finished.  I also want to blog more, so every post I do is something that I can call “done”, even if it’s not perfect, which it won’t be.

Now for more concrete goals:

WiP List.  I’ll have a separate blog post with finishes I’d like to make, in conjunction with at least one blog’s link party (see below).

Blogging more.  Will this be daily?  Doubtful.  Weekly?  At least.  Somewhere in between?  Likely.  I need to figure out a more efficient way of watermarking images (I think, like Bonnie of Quiltville fame), I’ll just put the info in the same place and size for every picture and make a macro.  I also want to take better pictures, since one of the pleasures of following a craft blog is seeing all of those amazing colors and fabrics.

Blogging more diversely.  This isn’t just a quilt blog, though it’ll be mainly a craft blog.  But I do have other crafty interests, and as I get to do them, they’ll likely be the subject of a post or two.  Expect, in the next year, posts about apparel sewing, cross stitch, knit, and crochet.  Also maybe doll repainting or rerooting.  Maybe doll clothes-making.  See below about Throwback Tuesdays.

Blogging community/Link Parties.  I’d like to use my blog to reach out to the quilting community.  I’ve followed some blogs for almost three years now, and I’d like to share in that.  To this end, I’ll link up to some parties, hopefully on a regular basis.  Right now I’m thinking:

  • The 2017 (Quarterly) Finish-Along (I refuse to spell it “Finish-A-Long”), probably through She Can Quilt, which I follow.
  • One Monthly Goal at Elm Street Quilts, though I missed January’s intention post deadline.
  • The Rainbow Scrap Challenge (Saturdays) at So Scrappy, when my color aligns with the color of the month.  January is purple, so I won’t be linking up in January.
  • Needle and Thread Thursday at My Quilt Infatuation, since I plan to be doing a lot of handwork this year.
  • Others that I’ve forgotten–I’ll update this list once I see I’m doing them.

Unpacking.  We moved in the summer and my sewing/crafts area is nowhere near unpacked.  This is a priority, since I can’t find anything, and if I can’t find it, I can’t use it.

Giving up.  I have projects, mostly crochet projects, from DECADES ago.  I’ve kept them and moved them, over and over, thinking I’ll finish them or re-purpose them or save the yarn, but none of that has happened, and I know it’s never going to happen.  So, as I unpack, I’ll end up tossing a lot of acrylic yarn projects that aren’t in a state to proceed with and/or that I have no use for and/or aren’t my style anymore.

Throwback Tuesdays.  Or maybe Thursdays or Mondays or whatever.  As I go through my old projects, I intend to photograph them and blog about them, so I have a record of them.  These span the gamut from embroidery to knit and crochet.  A very few might get finished, but the rest are for the trash collector.

Stash Bee Blocks.  I don’t have time to do a bee, but I follow the Stash Bee blog, and I’ve decided to make a block of my favorites from each month, eventually to end up in two quilts, modern and traditional, where I can also mix in orphan blocks gifted from my sewing relative and one-off or tester blocks I make over the year.

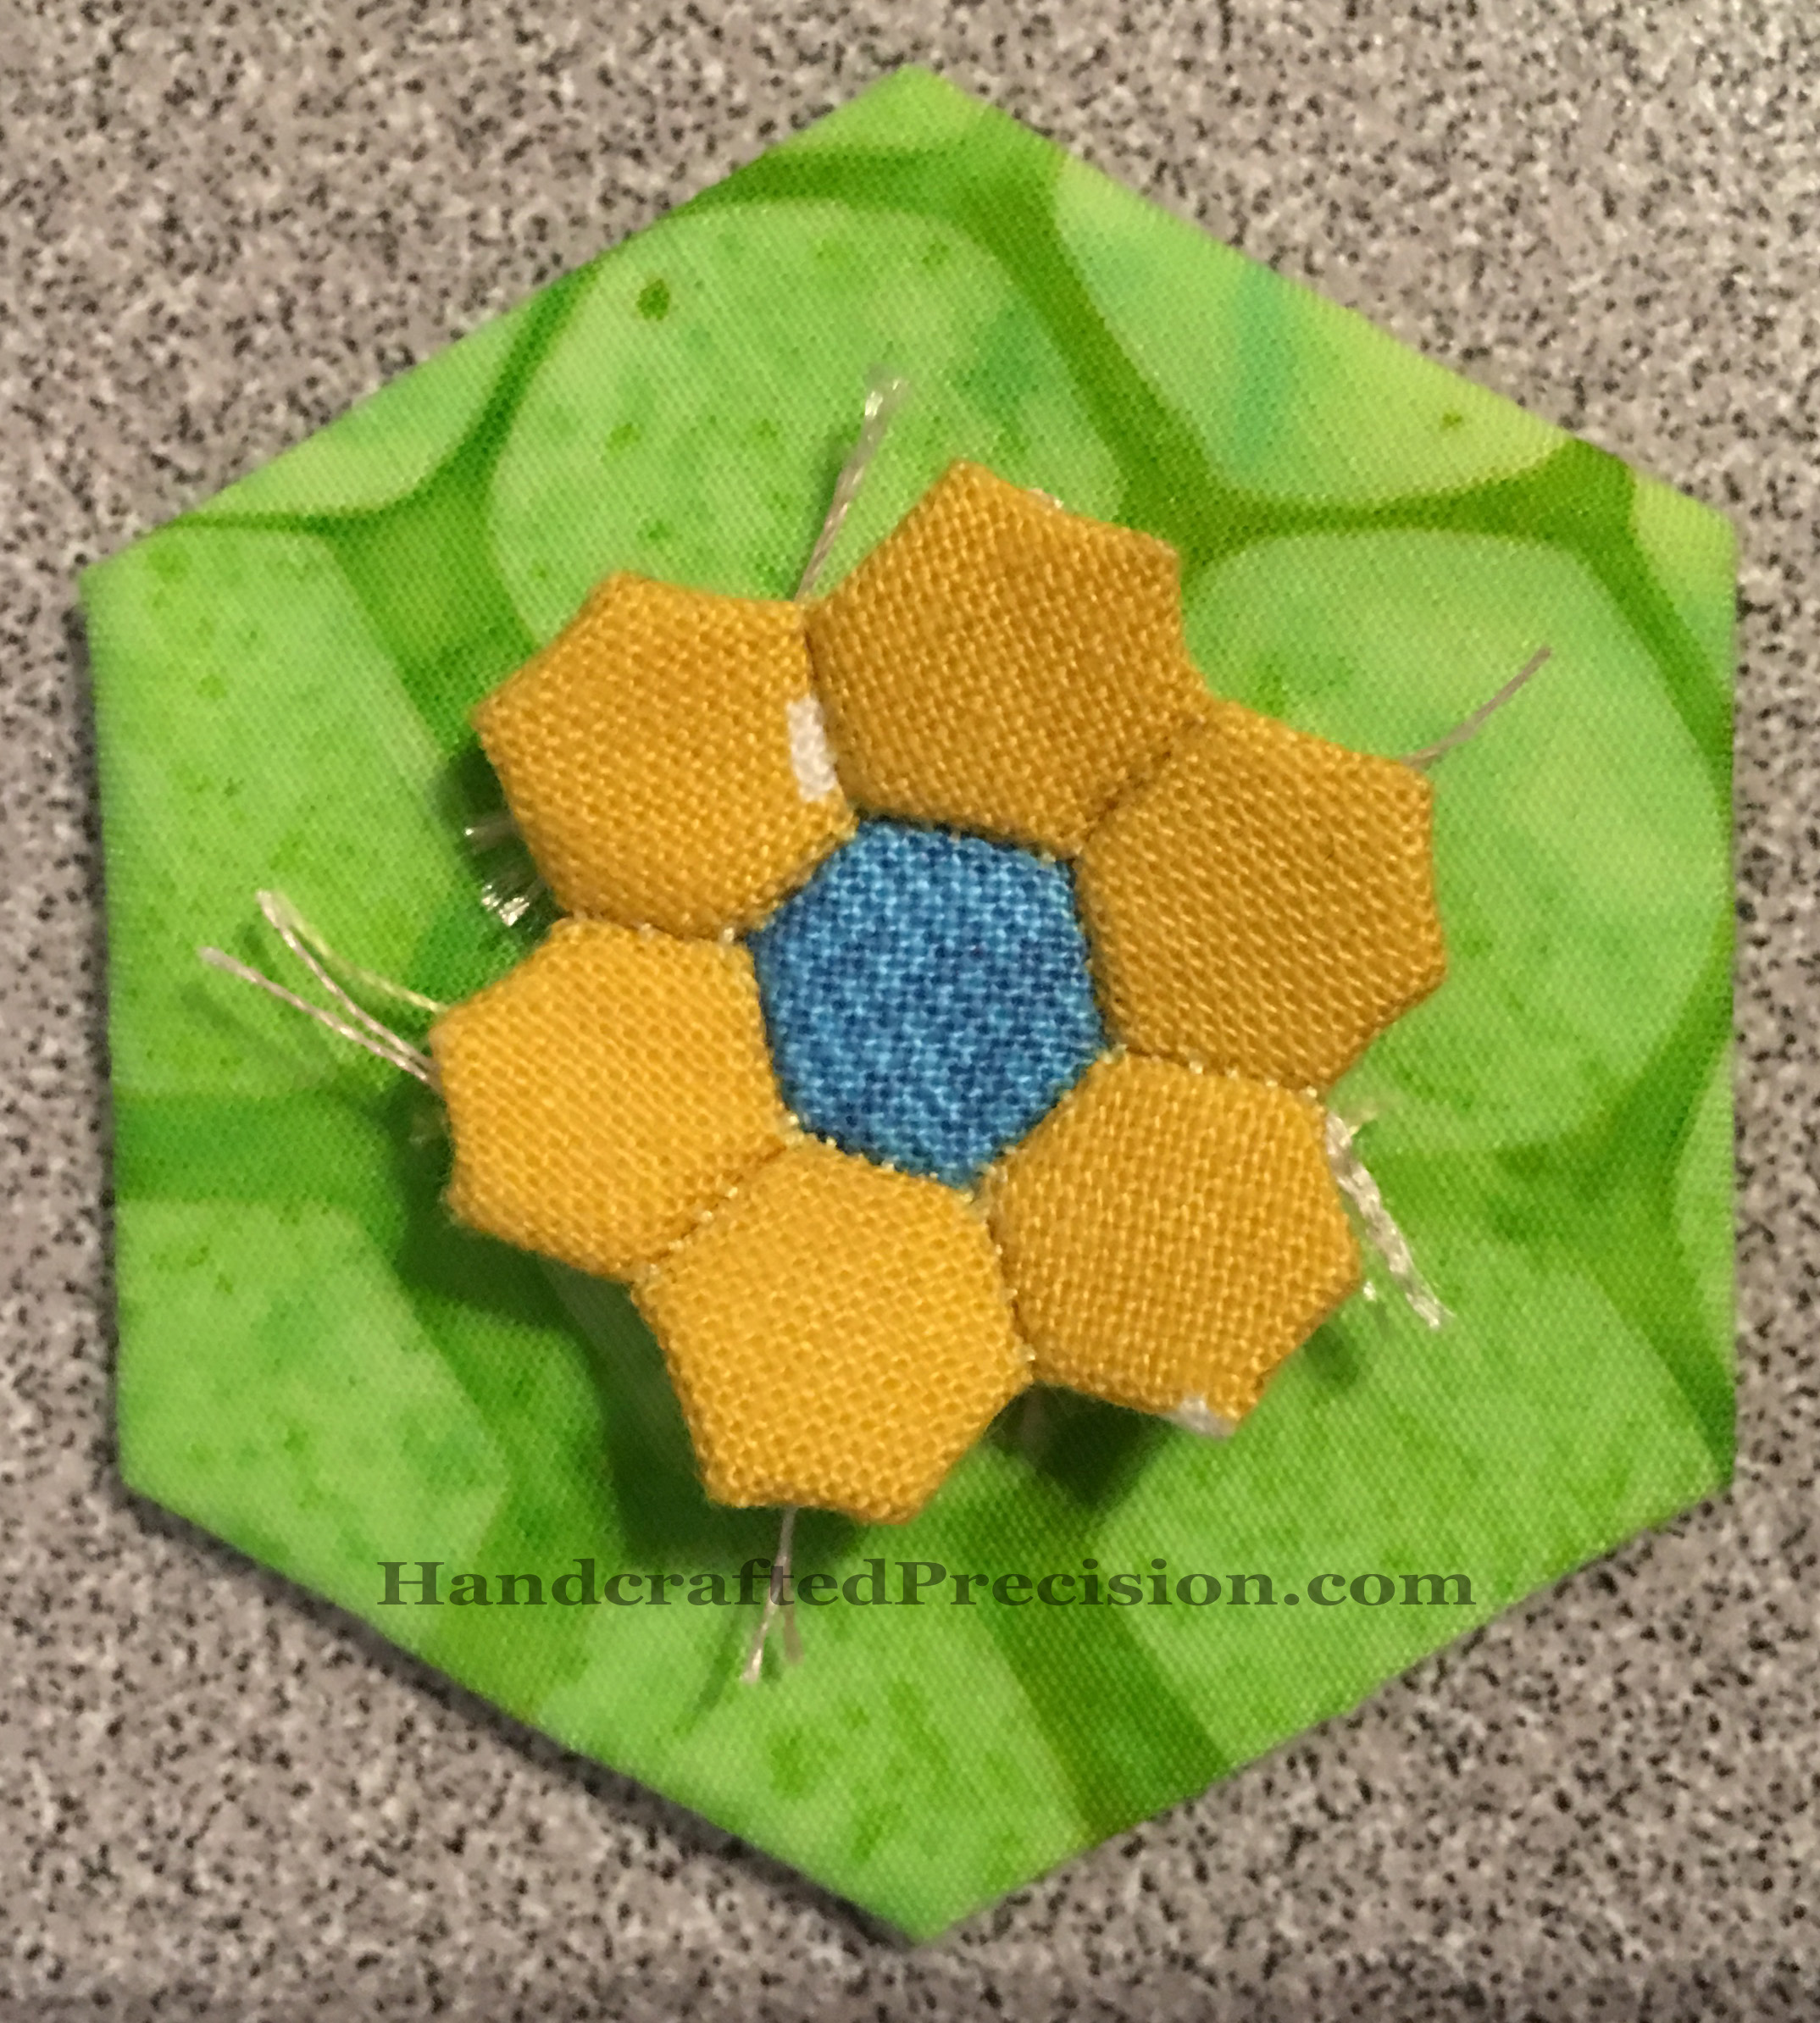
Design.  I’d like to continue designing my EPP sea-life blocks, as well as trying my hand at some surface design.  I have some books I want to read about it, and I can give it a try on Spoonflower when I order labels.  These, especially the latter, are likely both multi-year projects, but I’d like to get started on them.

Kid Craft Involvement.  This is a multi-year project, but the best time to start is now.  Prim is working now on hand-piecing the exterior of a tote bag for himself, and he’s said he’d like to learn how to crochet, so as I go through my old projects and yarn, I’m sure I’ll be able to find some light acrylic yarn and a hook for him to work with.   He’s young, and I remember at that age it was hard to keep with it, but if we start with something smaller than a scarf (and I do the foundation chain and first row), I think it’ll go well.  I’m really excited about this one.

And, that’s a lot, but I’m interested to see how it plays out.

Year-End Wrap-Up 2016

Well, this year I moved to a new state (again) and had a(nother) baby, so not too much on the crafting front, but there were some things, and I’m feeling pretty good about 2017 on a crafting/blogging front:

  • I started sewing again with the Grackle Party project in the spring.
  • I moved and half-unpacked my sewing/craft room.
  • I then started the as-yet unblogged 1″ hexagon diamond rainbow bed quilt.
  • I started designing and testing EPP sea-related blocks.
  • I started blogging again in November.
  • I made and finished an as-yet unblogged EPP drink/snack mat for Prim, which he wants to use as a wall-hanging.
  • I re-started blogging again in December.
  • I got obsessed with teeny tiny minuscule hexagons.
  • I thought about how I want my crafty 2017 to look.
  • I wrote and scheduled this post.

The end.

Hexes on a Hex

I’m running out of good titles, but I’m loving this photo:

Eleven 3/16″ hexagons on a 1″ hexagon, with space for more.

The orange hexagons are all from the same fabric.  Unfortunately, I don’t seem to have another section with the dots, so the flower from this orange fabric will have one plain petal.

Yes, I’m going to make a 3/16″ hexagon grandmother’s flower garden needle book.  How big?  How will I finish it?  No idea yet.  I’m going to have at least two orange flowers, one red, one yellow, two blue, and one purple.

That’s seven flowers, which is not a great number for this, so I’ll probably add another purple and one pink.  I don’t tend to buy pink fabric, but I’m sure I have enough scraps on hand from my eBay haul for six 3/16″ hexagons.

Scrappy green path, maybe green borders, very minimal quilting, some felt pages (I have some wool/poly felt on hand), and done.  (Ha!  It’s not going to be that easy or that fast.)

Minuscule(er) Hexagons

My local quilt shop, amazingly, had a charm pack (5″ squares) of cotton lawn fabric (Moving On Lawns by Jen Kingwell Designs for Moda).

Apparently lawn quilts are a thing now, since they’re light and airy.  This charm pack’s fabric patterns weren’t the best for the 1/8″ or 3/16″ hexagons, but since it was just a trial for weight, it didn’t matter.

I also picked up some John James size 12 quilting needles.  I’d heard good things about the brand and the quilt shop lady said that was the smallest they carried, and that the short length would help.  Well, she was not wrong.  I won’t keep you in suspense, though my camera was unenthusiastic about focusing on such small things:

I used a size 12 quilting needle and one strand of my usual 50 weight thread (the quilt shop didn’t have anything finer).  I started on the pink one, and I think you can see what happened: though the fabric itself was easier to fold, the paper inside also folded as I was folding the TINY seam allowances around it.  I was more careful on the blue one, but had the same problem.  It was really hard to hold onto the tiny, tiny paper, too.

Then I had the genius idea to use cardstock instead of the thick paper I’d been using.  I cut a 1″ hexagon from Paper Pieces into the 1/8″ size.  It was pretty silly.  So much waste from a 1″ hexagon!

Then I did the green one SUPER-carefully.  It’s still not even, but it was the best I could do.  Honestly, I could practice and get marginally better, but the paper’s never coming out of there and it’s never getting sewn into anything.  It lays flat (the other two don’t) and looks mostly hexagonish, so I’m calling it a win.

Remember that those sides are 1/8″ wide.  So half of that is 1/16″ of an inch.  If the fabric folding (or the paper hexagon) is off by a SLIVER, you get the unevenness of the green one.  It’s way better than the ball of fabric I did for my very first one, so I’m satisfied.  I think.  I hope.

It was truly ridiculous.

Minuscule Hexagon Flower

Pretty cute, right?  Just another hexagon flower in blogland.  But no, it’s tiny!  It’s made of 3/16″ hexagons.  Here’s the blurry back:

It’s pretty ridiculous and I’m not sure about ever getting those papers out, since the seam allowances are so small (about 1/8″, though I wasn’t very precise with my cutting).  I’m afraid they’ll fray when I remove the copious basting and lever the papers out.

I was only able to get about seven stitches along each edge, which I didn’t think was too bad.  I did the math and that’s about 37(!) stitches to the inch.  I’m pretty sure my stitching isn’t that dense on my 1″ hexagons, though I’ll have to check.

Here are the 1/8″, 3/16″, and 1/4″ basted hexagons on a basted 1″ hexagon:

Yay, I’m up to green on my as-yet unblogged rainbow hexagon diamond project.  And here’s the flower on the 1″ hexagon.  Pretty.

I think I’ll do some with a green background, like a traditional Grandmother’s Flower Garden.  I’m thinking needle book, since I don’t want to do too many.  And then if I have to leave the papers in, it’ll just make the needle book covers hard and I can pretend I meant to do it that way.  (Shhh.)

But that 1/8″ hexagon is nagging me.  It should be possible, and the 3/8″ hexes aren’t ridiculous enough.  Now to see if my local quilt shop has finer needles (yes, I bet), finer thread (I hear Aurifil makes an 80 wt now), and some cotton lawn fabric (they have a small selection of apparel fabric, so maybe).

Minuscule Hexagons Revisited

Well, it turns out that 1/8″ hexagons are ridiculously small, even with a finer needle.  Regular quilting fabric is just too bulky and fray-prone for the necessary 1/8″ seams.

I’d give it a shot again with a cotton lawn, but I don’t have any on hand or plans to acquire any soon.

There’s likely a good measurement between 1/8″ and 3/16″ which yields a small hexagon, but not one that’s impossibly small.  I’m not sure I care enough to figure out what it might be.

The 3/16″ hexagons are growing on me, though.  So cute and not really fiddly at all, with a little bit of practice.

Minuscule Hexagons

I follow a blogger (Karen at Quilts…etc) who does awesome handwork, EPP as well as applique and hand quilting, and posts daily (!).  She recently started making “tiny” hexagon flowers with 1/2″ hexagons.  She usually works with 1″ hexagons, so that’s a big step down.  But since I started with 1/2″ hexagons and the project I’m working on has 1/4″ squares, which have less area than 1/4″ hexagons, hers don’t seem all that tiny to me.

I started wondering what the actual tiniest WOULD be.  I went to Paper Pieces to see what their smallest hexagon is (3/16″) and decided to try to baste one.  I also did a 1/4″ hexagon, since those seemed to be less of a special order item.  (I didn’t order these, I just printed some out from a graph paper site, since I didn’t want to wait and didn’t need 200 of them–or for them to be cut super-accurately.)

Front and back, with a US penny for scale:

tiny-hexagons-front-hp tiny-hexagons-back-hp

They were actually not as annoying to baste as you might imagine, though if I ever did it again, I’d use a slightly bigger seam allowance on both of them, and a MUCH finer needle.  I might make a single flower of each for fun, to see how the sewing-together goes.

I was curious, so I did some math, and in dollhouse scale (1″:12″), the 3/16″ hexagons would equate to 2.25″ hexagons, which is a reasonable size for a quilt.  The 1/4″ hexagons equate to 3″ hexagons in full scale.  (That math was easier.)  The 3″ hexagons are also still a reasonable size for a quilt showing off big chunks of large-print fabric.

These sizes would make sense for jewelry, like a flower pendant.  That would eliminate the problem of how to keep the work supple with such small seam allowances.  Maybe using a very lightweight fusible interfacing on the back to lock in those seam allowances?  I don’t have enough sewing experience to say for sure, but I think even that would destroy the drape at dollhouse scale.

There might be a 3/16″ dollhouse grandmother’s flower garden (or just totally scrappy) quilt in my future.  Way, way in my future.

Shirt Patch

I wasn’t planning on this, obviously, but I caught my shirt on a nail and ripped it near the side seam.  I had some red scraps out for my as yet unblogged project and decided to use some to fix the rip.

Outside:

shirt-patch-outside-hp

Inside:

shirt-patch-inside-hp

You’ll note I used black thread on a red patch.  Laziness because I was using it to baste hexagons, but also the largest dimension of the front patch is only about 1 1/2″, and this is on the side down near the bottom hem so it’s very unobtrusive.  I also sewed the patch on the front before the smaller patch on the back, so some of the back stitches come through the front.  In real life, they’re TINY, so I don’t care.

I’ve worn it a couple times since sewing the patch and I don’t notice it at all.  It washed well, too.

Success!

EPP Fish

epp-fish-1-hp

It’s an EPP fish of my own design.  I didn’t embroider/applique the eye or fin yet.  Looking at it, it doesn’t need the fin.

As you see it, it finishes at 5″ x 6″.  Just the fish, without the surrounding water, is 3.25″ x 4″, which is a slightly weird size, but that’s how to proportions of the fish looked the best.  That dorsal fin had to be tall.

No, this isn’t the unblogged project from my posting hiatus.  It’s a new (slow) project and there will be more fish/sea life EPP blocks to come.