I’m not loving the reverse applique process so far, but I’m learning a lot. Let’s start with a cool image.
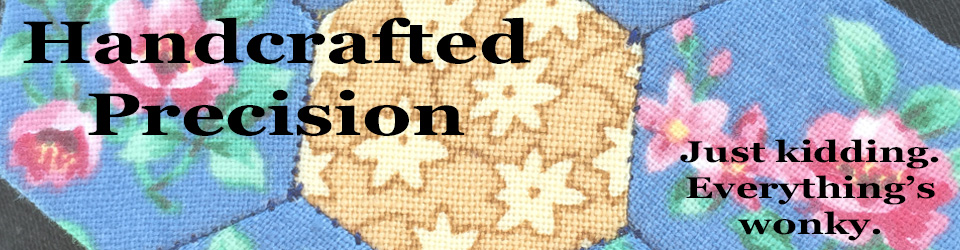
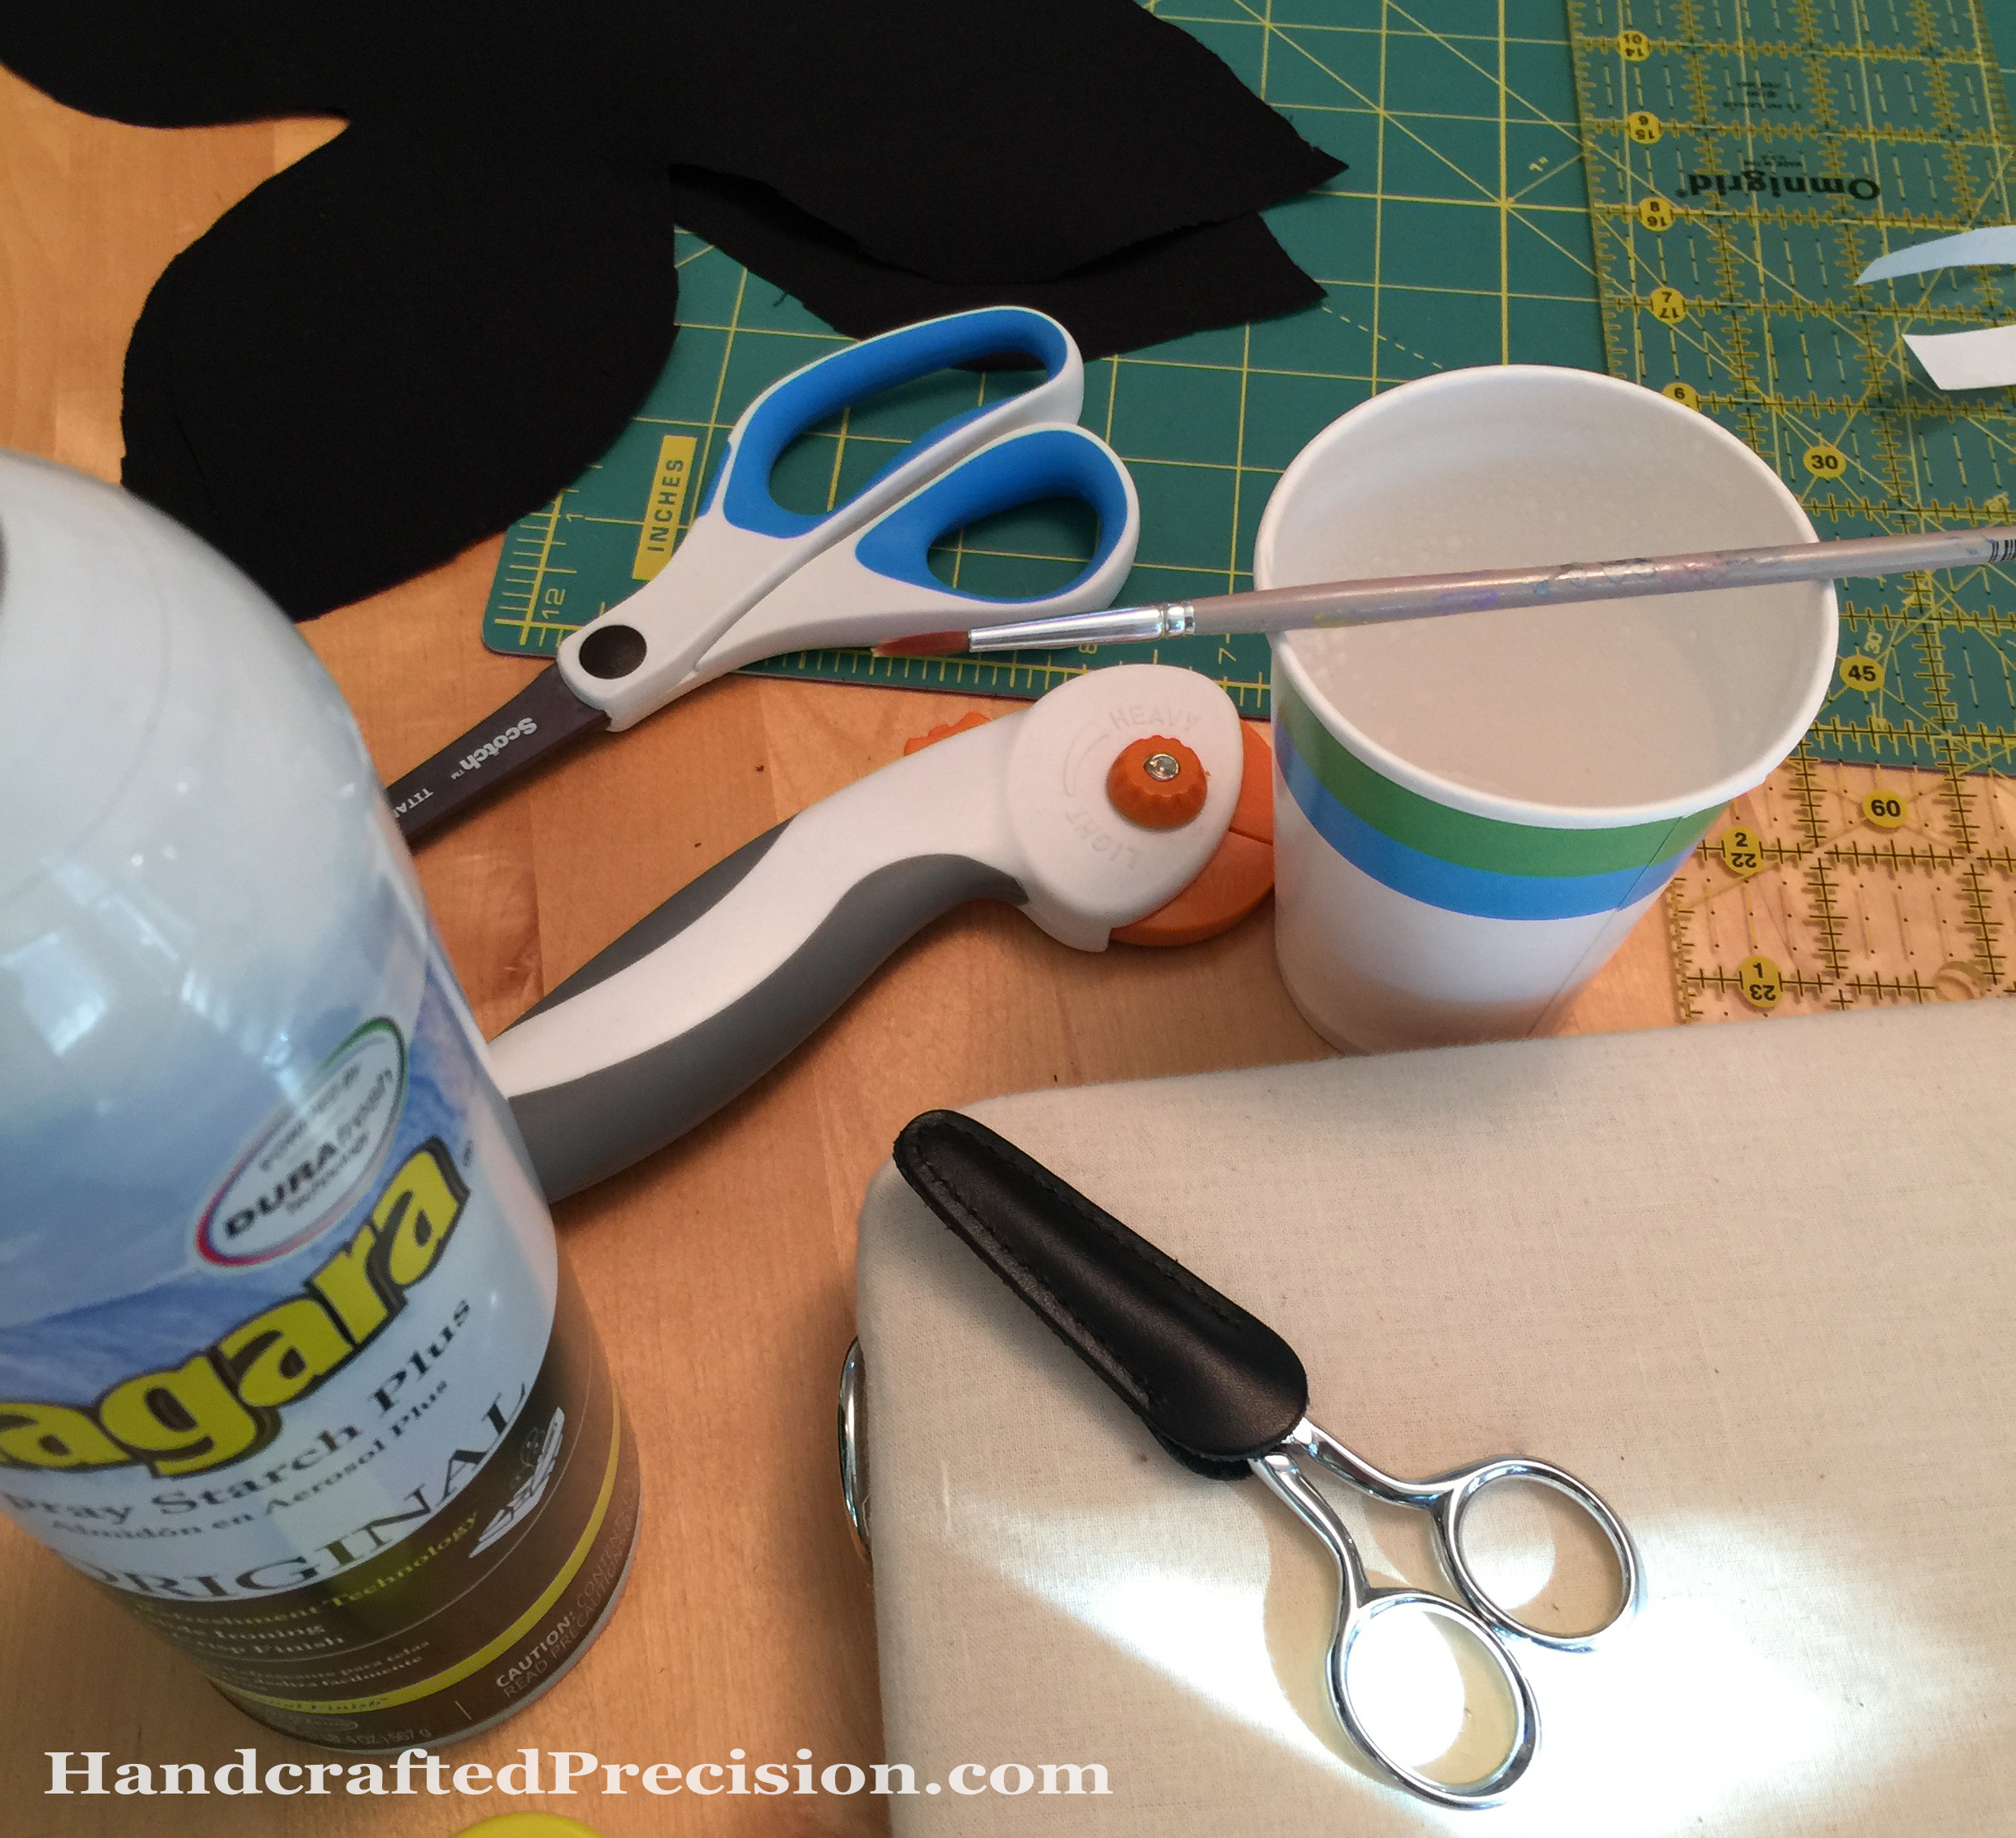
This is my black background fabric with the freezer paper adhered to it. Remember this image, since I came to a realization about it further along in the process.
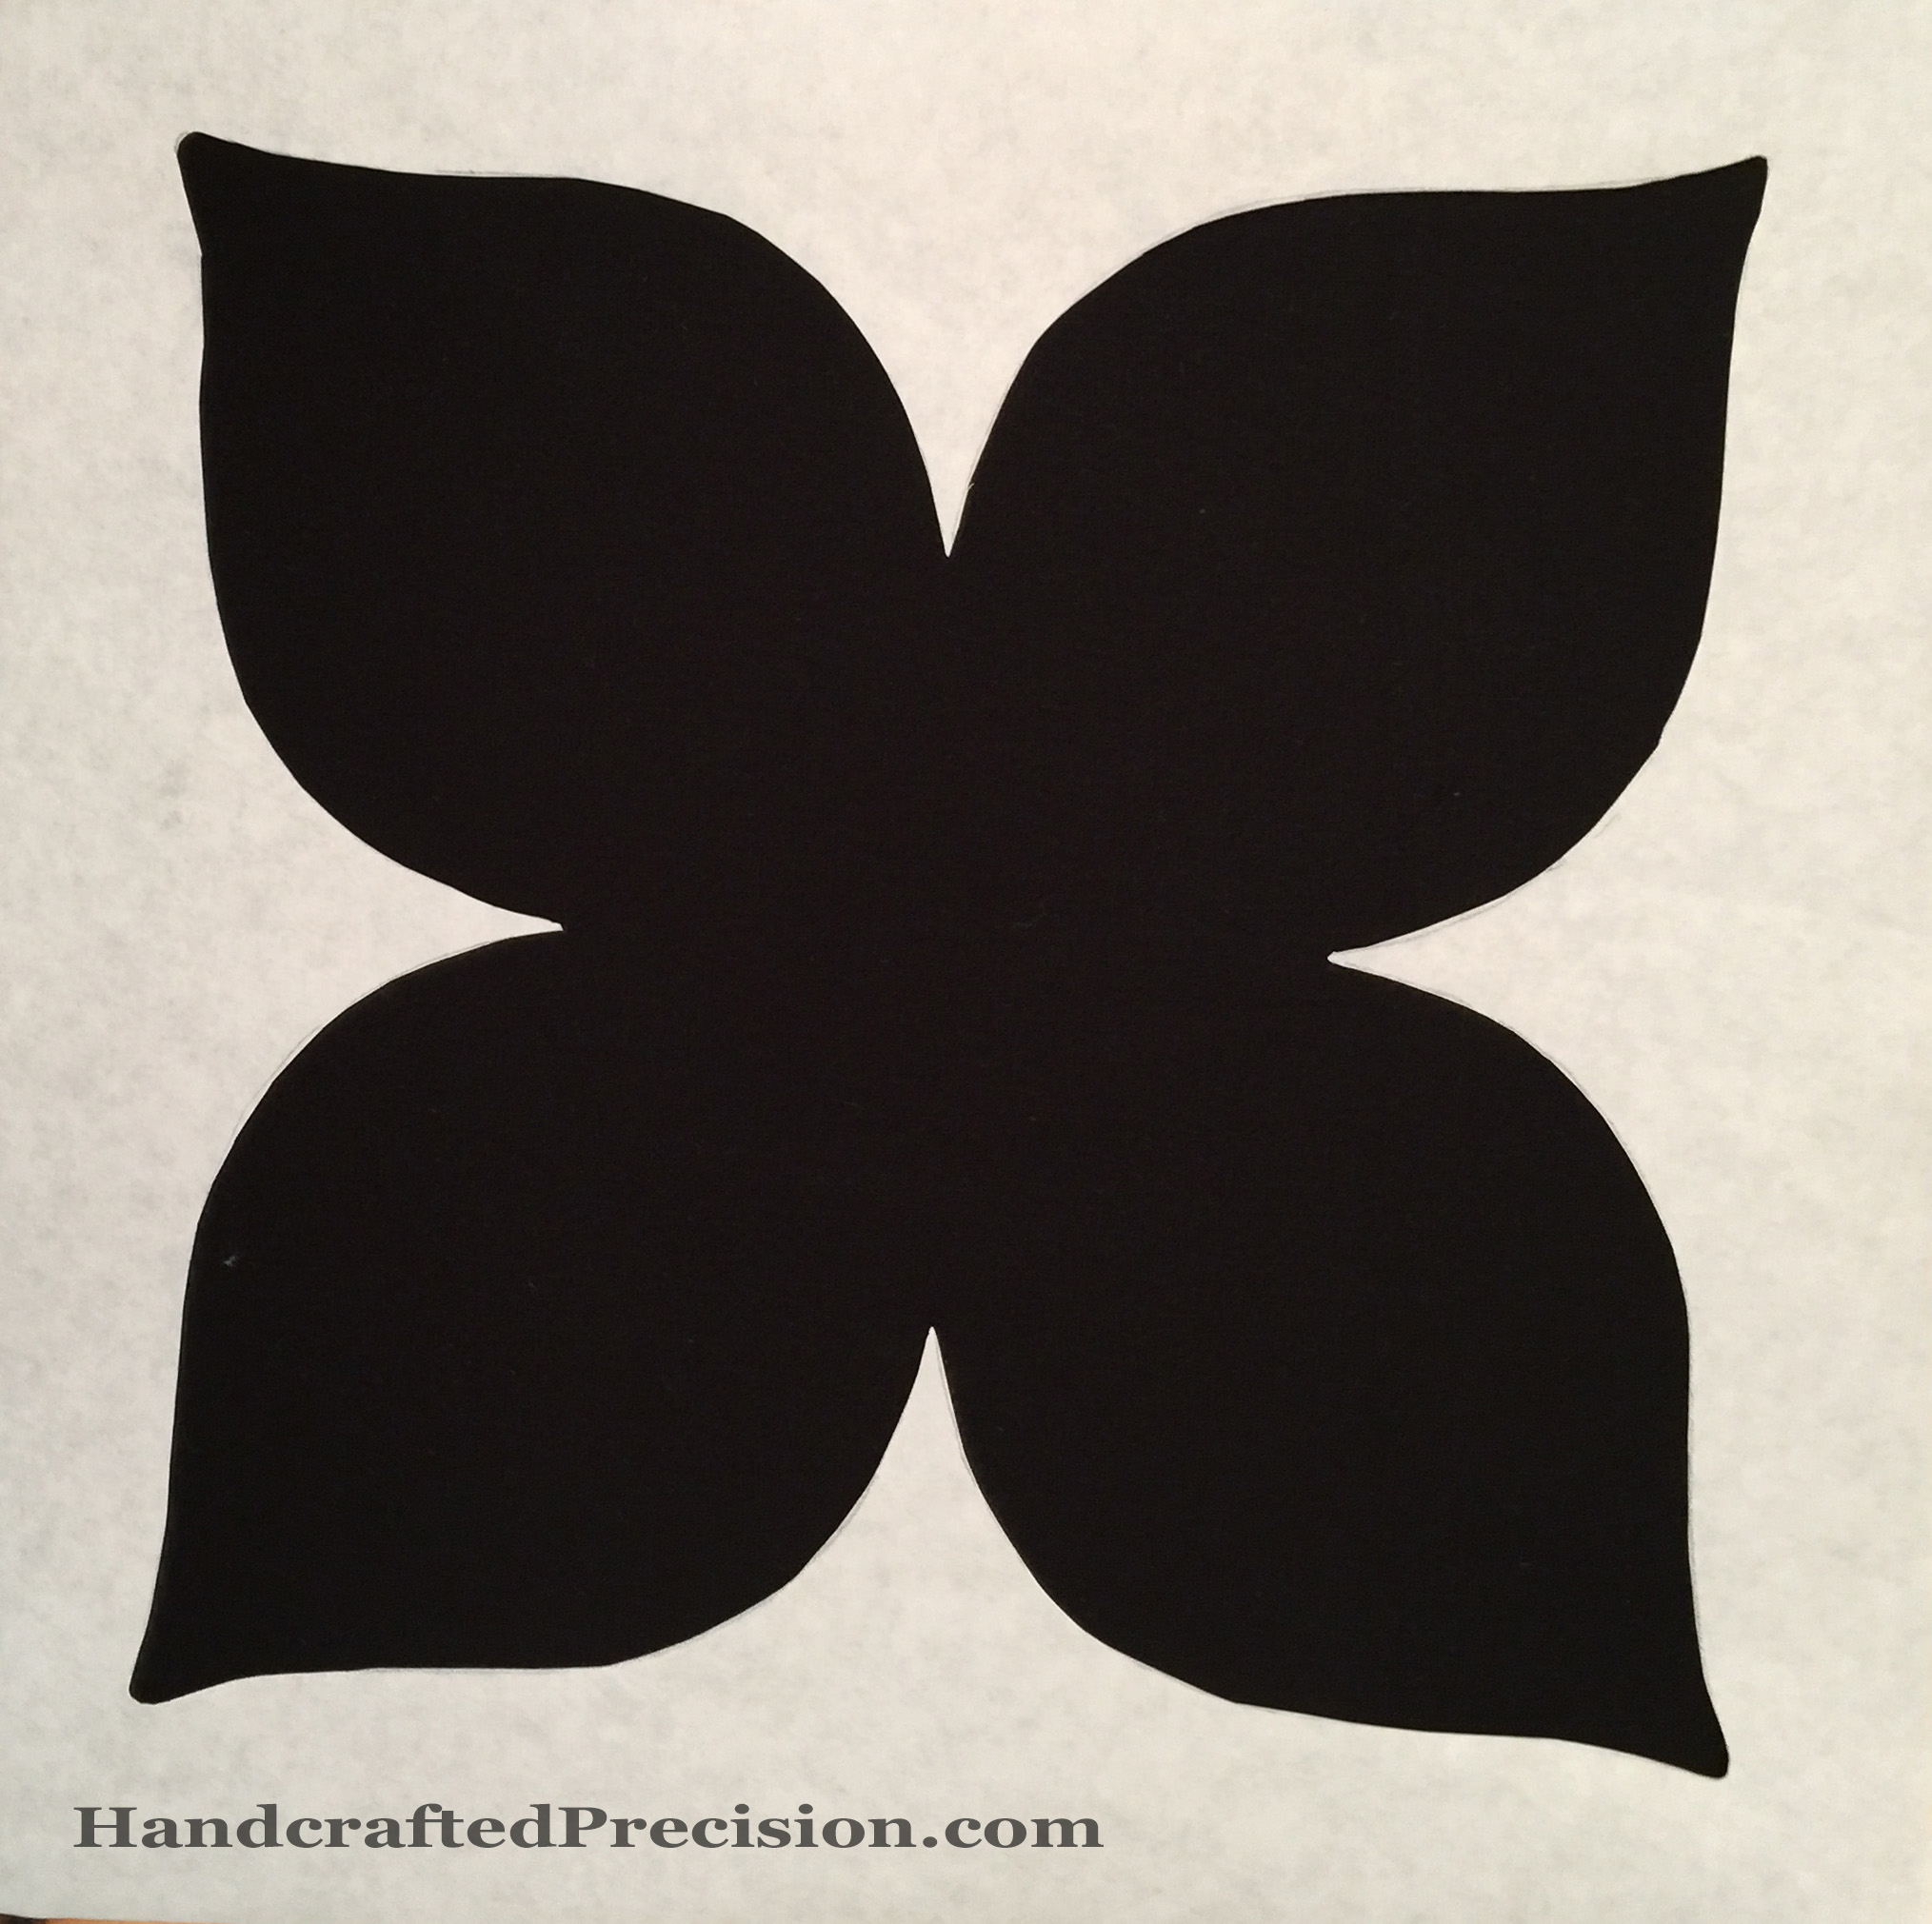
You really, really need that little brush for the starch. I’m glad I had one handy.
See those terrible corners, inside and outside? Yeah, I really didn’t like doing this.
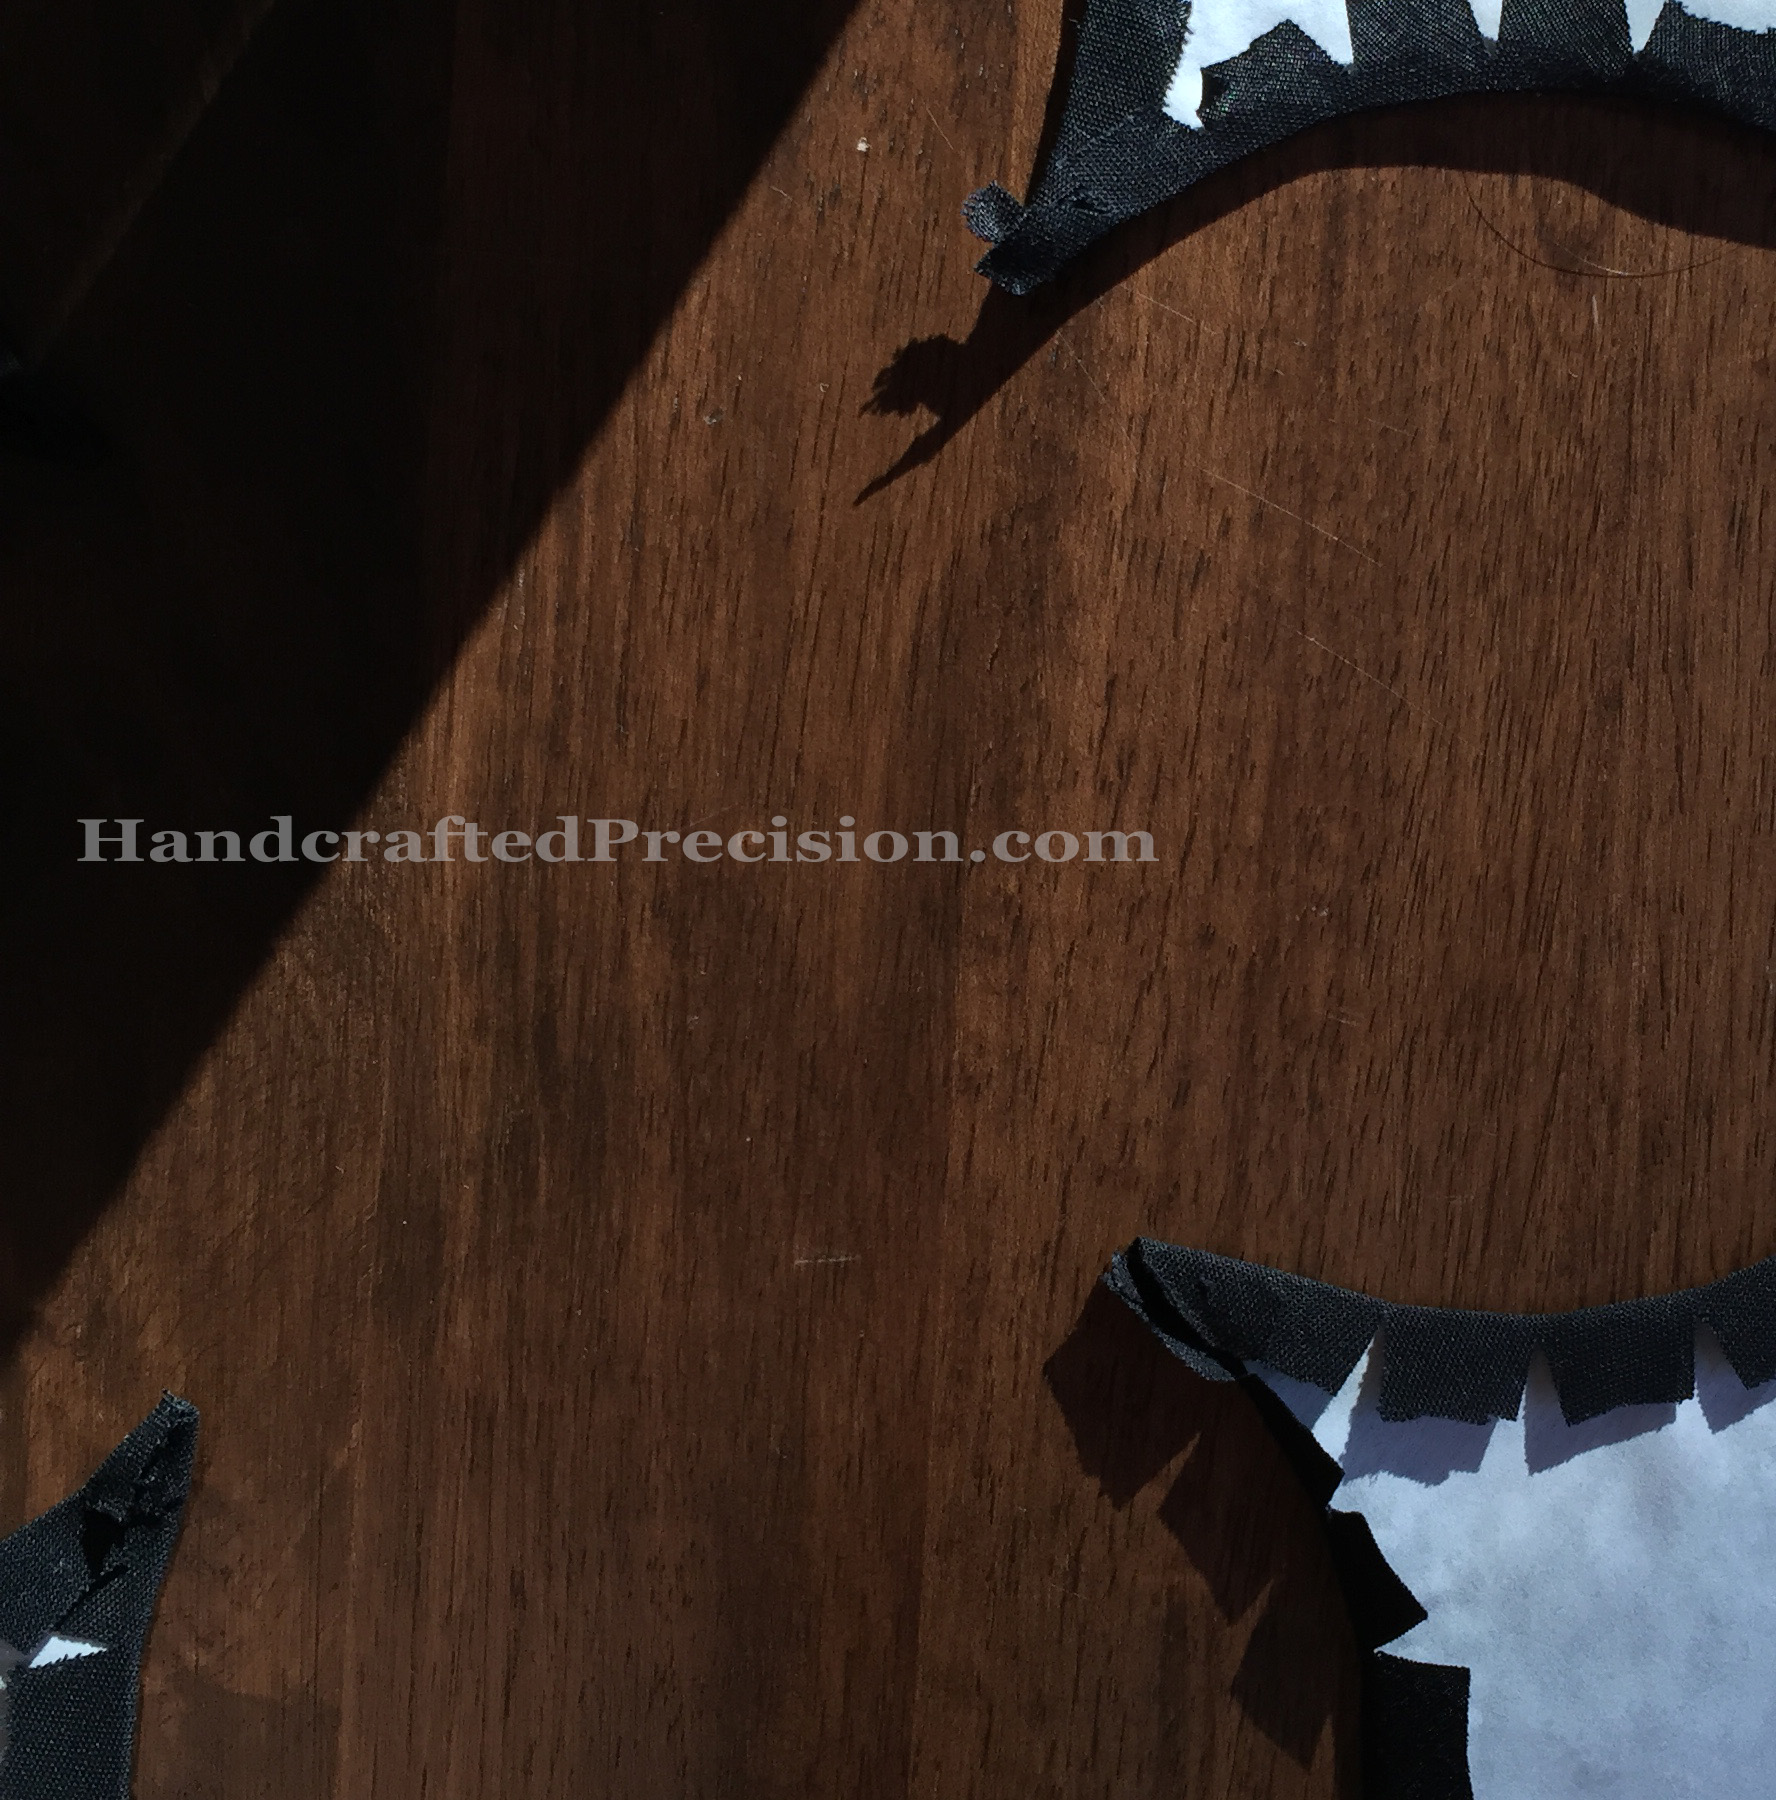
More pictures of the ugly, please excuse the shadows: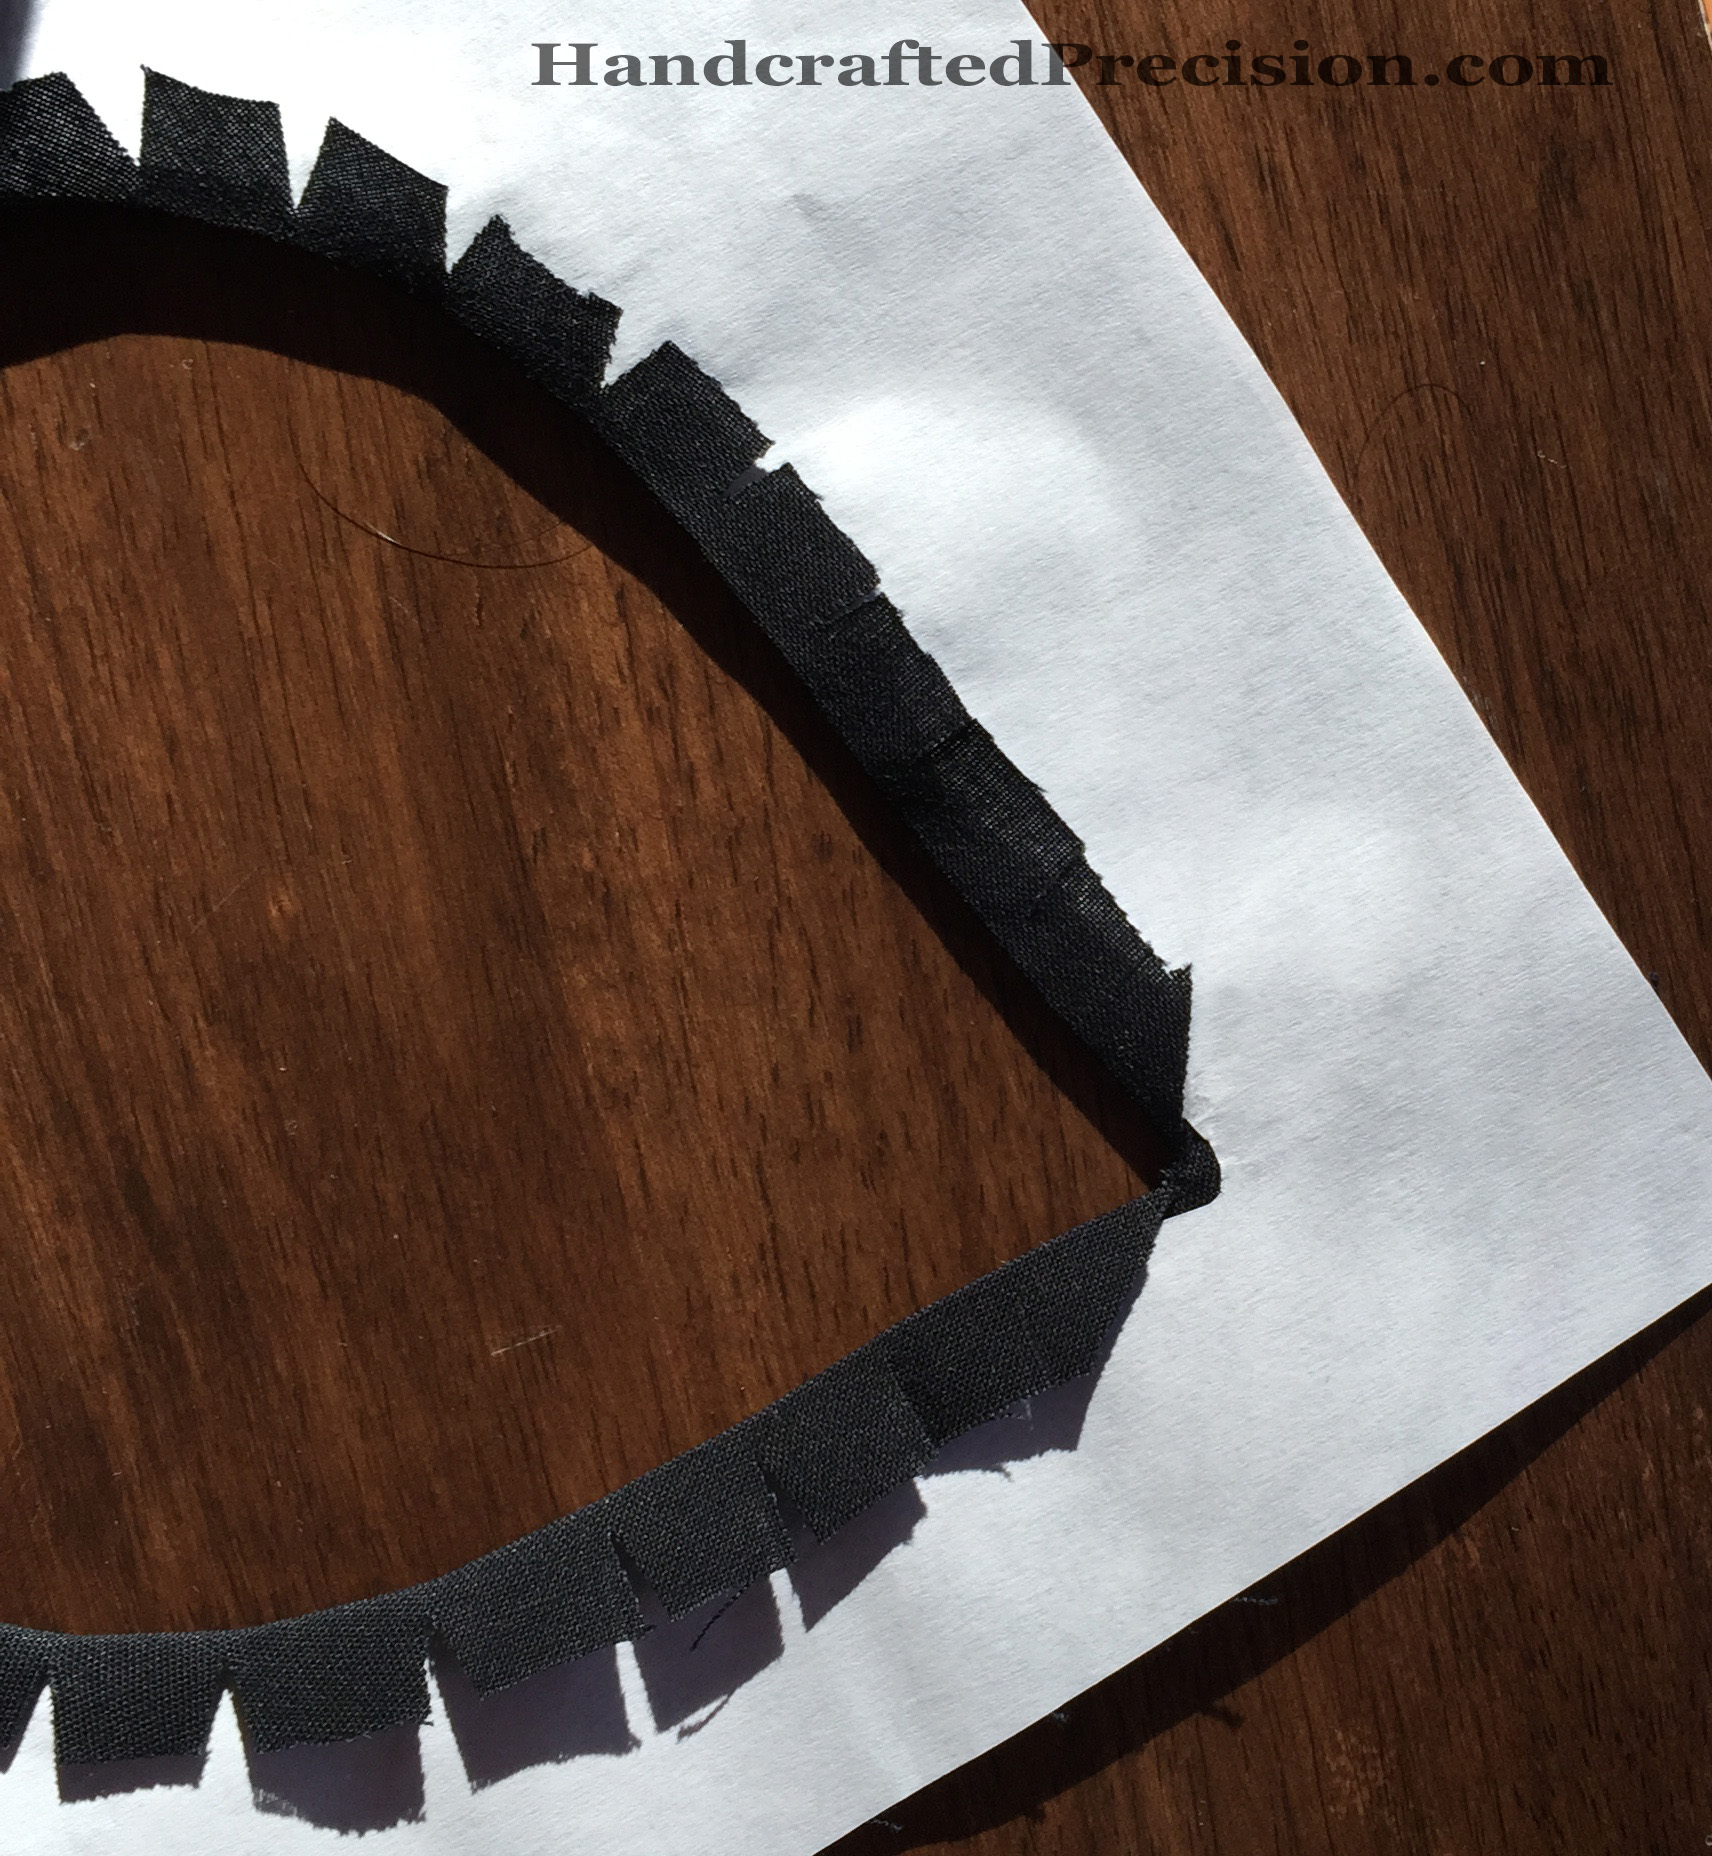
Look at them with the “feature” fabric inside: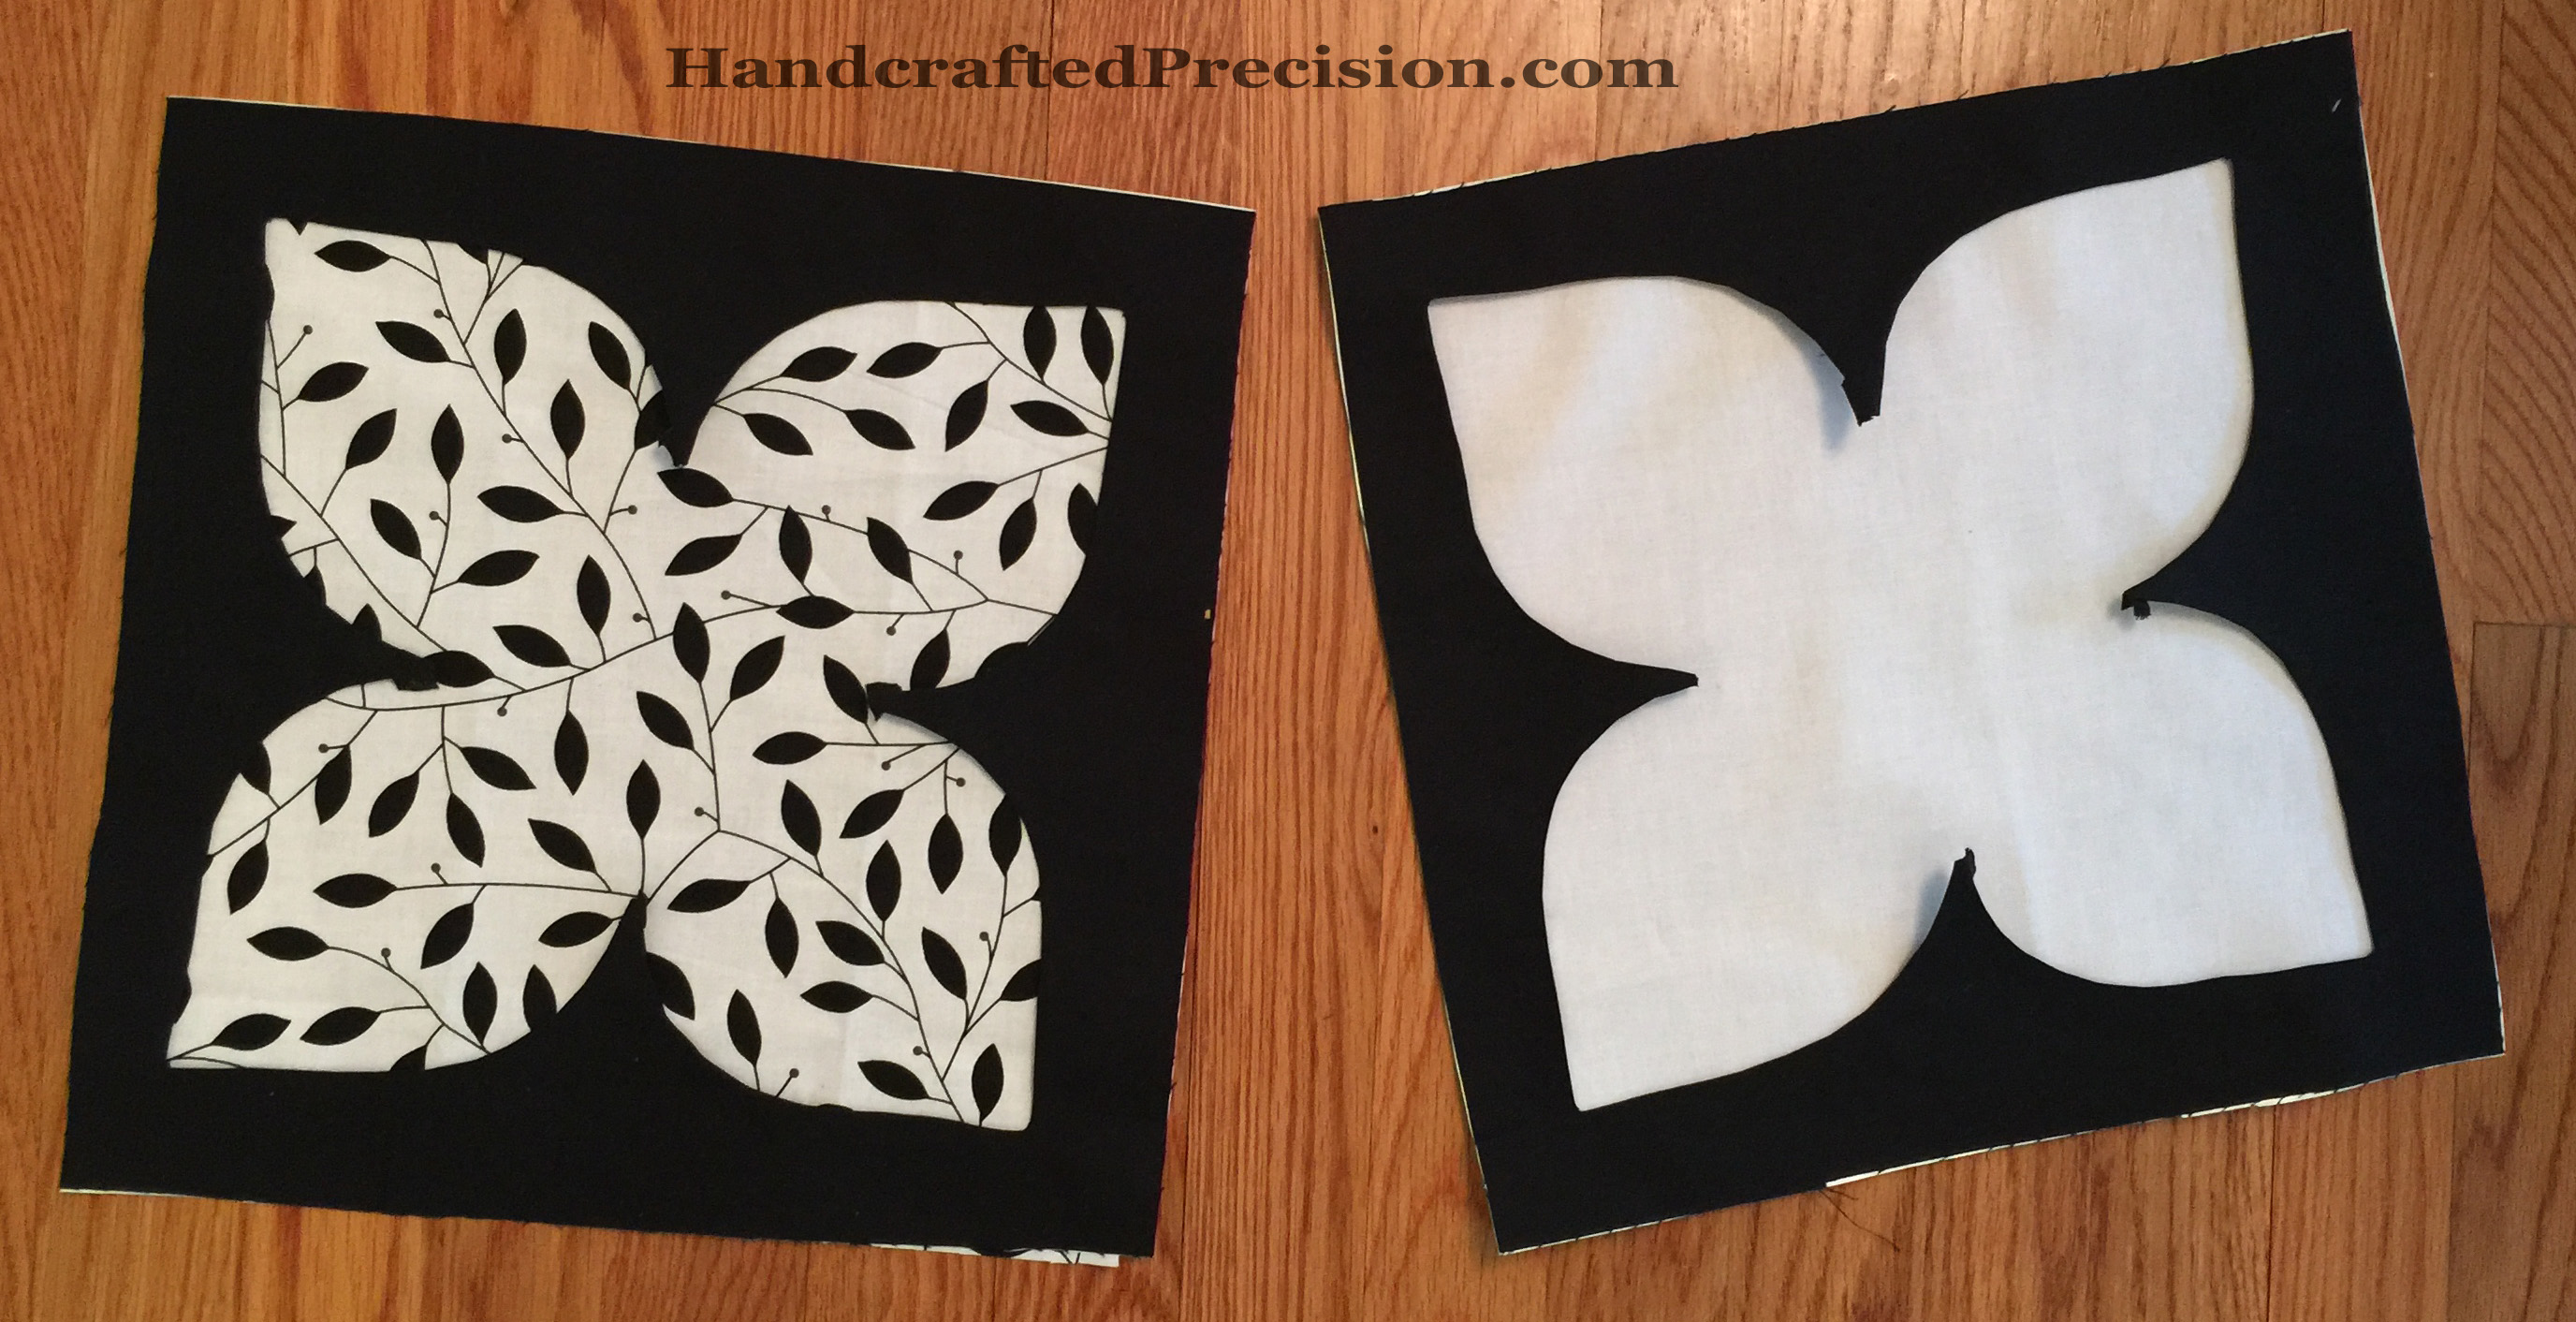
Not terrible, but not great. Why? Because it’s a MEDALLION quilt and the very central fabric has to be outstanding, not necessarily a busy print, but it has to draw your eye, like the black center in the first photo above.
Duh, I said to myself, but I wasn’t about to jump ship and change plans. That’s why you’re looking at two medallions. I did the plain white one first, thinking I’d spice up the inside with embroidery and/or quilting (like a real dogwood blossom–lines on the petals and circles in the center), but it wasn’t grabbing me so I used the biggest black and white print I had, but that print’s not special enough to be the main focal point of the quilt.
I think I know how to fix them, but I need to get them stitched together first.